
Hello, I would like to share the steps you need to follow in order to be able to deploy Teleport Access Management on Kubernetes, in order to authorize users to access services like Postgres DB without exposing it to the internet directly.
Lets Dive In...
- Deploy Teleport with Helm
helm install teleport-cluster teleport/teleport-cluster --create-namespace --namespace=teleport-cluster \
  --set clusterName="<subdomain>.ngcloudops.net" \
  --set acme=true \
  --set acmeEmail="admin@someone.com" --wait
# Verify the pod is running
PROXY_POD=$(kubectl -n teleport-cluster get pod -l app=teleport-cluster -o jsonpath='{.items[0].metadata.name}')

kubectl wait --for=condition=ready pod/$PROXY_POD
- Deploy a test Postgres DB with Helm
 helm upgrade --install test-postgres bitnami/postgresql \
 --values ./values.yaml --wait
# The Values as follows bellow:
---
architecture: standalone
auth:
  postgresPassword: "< VE(RYSecurePAss^1@ >" ## Use a secure pass!
  enablePostgresUser: true
  database: testdb
metrics:
  enabled: true
resources:
  requests:
    cpu: 256m
    memory: 512Mi

# Verify the Database is running
kubectl wait --for=condition=ready pods -l app.kubernetes.io/name=postgresql
Some useful information after the installation has finished
** Please be patient while the chart is being deployed **

PostgreSQL can be accessed via port 5432 on the following DNS names from within your cluster:

    test-postgres-postgresql.default.svc.cluster.local - Read/Write connection

To get the password for "postgres" run:

    export POSTGRES_PASSWORD=$(kubectl get secret --namespace default test-postgres-postgresql -o jsonpath="{.data.postgres-password}" | base64 -d)

To connect to your database run the following command:

    kubectl run test-postgres-postgresql-client --rm --tty -i --restart='Never' --namespace default --image docker.io/bitnami/postgresql:14.5.0-debian-11-r14 --env="PGPASSWORD=$POSTGRES_PASSWORD" \
      --command -- psql --host test-postgres-postgresql -U postgres -d testdb -p 5432

    > NOTE: If you access the container using bash, make sure that you execute "/opt/bitnami/scripts/postgresql/entrypoint.sh /bin/bash" in order to avoid the error "psql: local user with ID 1001} does not exist"

To connect to your database from outside the cluster execute the following commands:

    kubectl port-forward --namespace default svc/test-postgres-postgresql 5432:5432 &
    PGPASSWORD="$POSTGRES_PASSWORD" psql --host 127.0.0.1 -U postgres -d testdb -p 5432
Now we have both deployments up and running, lets configure Teleport.
- Create a admin user in order to login to the console
kubectl -n teleport-cluster exec $PROXY_POD -- tctl users add --roles=editor,access <username>
The above command will provide you with endpoint to setup the password and to enable 2Factor Authentication.
After you login to the console, navigate to Roles(Teams/Roles ) in order to create an access Role for Databases and then assign it to your User.
kind: role
metadata:
  id: 1664541502781088332
  name: dbaccess
spec:
  allow:
    db_labels:
      '*': '*'
    db_names:
    - '*'
    db_users:
    - '*'
  deny:
    logins:
    - guest
  options:
    cert_format: standard
    create_host_user: false
    desktop_clipboard: true
    desktop_directory_sharing: true
    enhanced_recording:
    - command
    - network
    forward_agent: false
    max_session_ttl: 8h0m0s
    pin_source_ip: false
    port_forwarding: true
    record_session:
      default: best_effort
      desktop: true
    ssh_file_copy: true
version: v5
- Next step is to generate the TLS Certificates used to authenticate on the database
kubectl --namespace=teleport-cluster exec -i ${PROXY_POD?} --  tctl auth sign --format=db --host=test-postgres-postgresql.default.svc.cluster.local --out=server --ttl=2190h
# Download the certificates in order to create a secret
kubectl cp teleport-cluster/<pod-name>:server.crt server.crt
kubectl cp teleport-cluster/<pod-name>:server.key server.key
kubectl cp teleport-cluster/<pod-name>:server.cas server.cas

# Create the kubernetes secret
 kubectl create secret generic test-postgres-tls-secret --from-file=./server.crt --from-file=./server.key --from-file=./server.cas

# Ensure the secret contains the correct values (more importantly the keys of the balue pairs)
kubectl get secret/test-postgres-tls-secret -o json | jq '.data | map_values(@base64d)'

# Update Helm Values and Upgrade Postgres Statefulset to be able to enable TLS.

---
architecture: standalone
auth:
  postgresPassword: "< VE(RYSecurePAss^1@ >" ## Use a secure pass!
  enablePostgresUser: true
  database: testdb
metrics:
  enabled: true
resources:
  requests:
    cpu: 256m
    memory: 512Mi

tls:
  ## @param tls.enabled Enable TLS traffic support
  ##
  enabled: true
  ## @param tls.autoGenerated Generate automatically self-signed TLS certificates
  ##
  autoGenerated: false
  ## @param tls.preferServerCiphers Whether to use the server's TLS cipher preferences rather than the client's
  ##
  preferServerCiphers: false
  ## @param tls.certificatesSecret Name of an existing secret that contains the certificates
  ##
  certificatesSecret: "test-postgres-tls-secret"

  certFilename: "server.crt"
  ## @param tls.certKeyFilename Certificate key filename
  ##
  certKeyFilename: "server.key"
  ## @param tls.certCAFilename CA Certificate filename
  ## If provided, PostgreSQL will authenticate TLS/SSL clients by requesting them a certificate
  ## ref: https://www.postgresql.org/docs/9.6/auth-methods.html
  ##

  certCAFilename: "server.cas"
# Verify the Database is running
kubectl wait --for=condition=ready pods -l app.kubernetes.io/name=postgresql
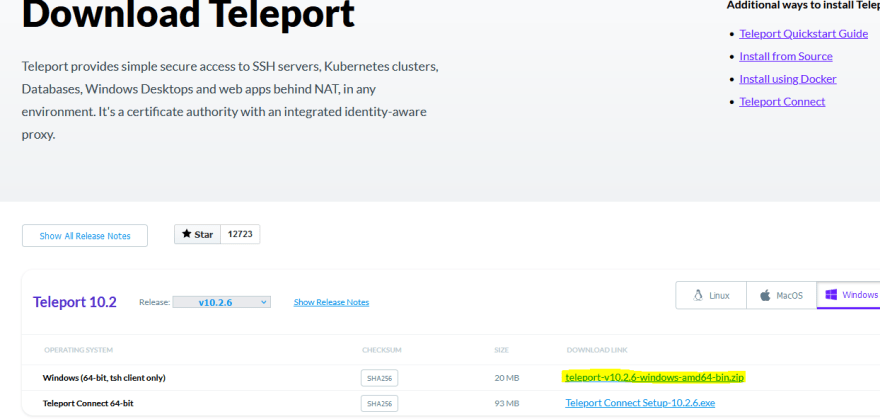
Finally you have to setup / configure the tsh in your computer which it is easy process (Download it from the site: https://goteleport.com/download/)
Connect to your Database via Teleport
tsh login --proxy=<subdomaidn>.ngcloudops.net:443 --auth=local --user=<selected-user>
tsh db login --db-user=postgres --db-name=postgres  test-postgres
tsh proxy db --db-user=postgres --db-name=postgres --tunnel test-postgres
Voila the Magic Happens!!!
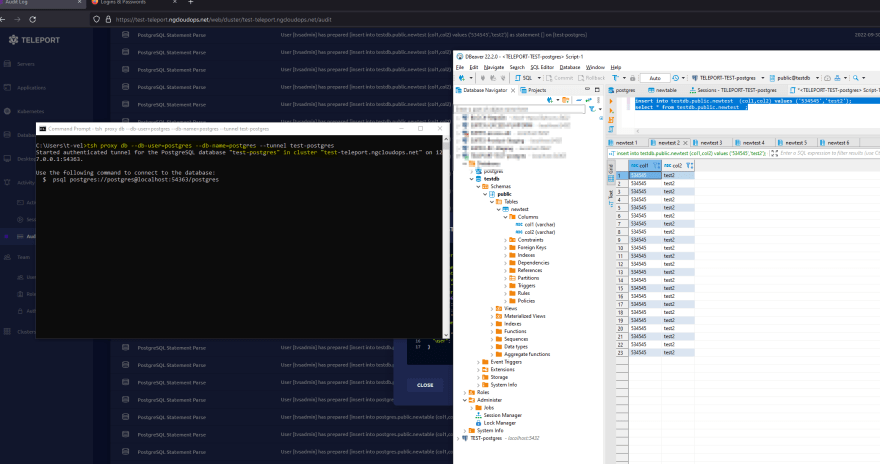
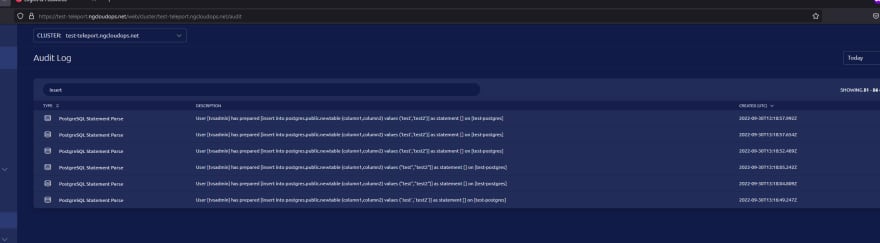
If you are an DevOps you will be very happy when you see that you can go to Audit and search for specific Events

I hope you like the tutorial, if you do give a thumps up! and follow me in Twitter, also you can subscribe to my Newsletter in order to avoid missing any of the upcoming tutorials.
Media Attribution
I would like to thank Clark Tibbs for designing the awesome photo I am using in my posts.
Happy Teleporting, Thank you, Cheers!!!


Oldest comments (0)