Hello, all thank you for signing up for the free e-book Automate the Boring Stuff with GO.
I'll be delivering a chapter each Monday, so keep an eye out.
Intro
A developer environment can mean several things, but for you, it means getting your laptop or desktop configured to write GO and run GO programs.
I'll show you the easiest ways of installing GO for the two most common personal computer operating systems; Windows and macOS.
Through my years of getting people started, I know package managers are the easiest; a package manager is a tool that makes installing and managing software easier. I recommend this route because the GOPATH tends to trick folks up. But you don't need to worry about that if you follow along. I'll show the links for the package manager for both a Windows and Mac machine.
Notice: If you're ever stuck on any code snippets, then make sure to star or bookmark the GitHub Repo Automate the Boring Stuff with GO,
which will contain all the source codes for each chapter and the text.
So let's get going.
I. Installing GO
I.a Windows
I recommend first installing Chocolatey, which will make installing software on a Windows-based machine effortless.
To install it, open your Windows Powershell in Administrative mode and paste the following:
> Set-ExecutionPolicy Bypass -Scope Process -Force; [System.Net.ServicePointManager]::SecurityProtocol = [System.Net.ServicePointManager]::SecurityProtocol -bor 3072; iex ((New-Object System.Net.WebClient).DownloadString('https://community.chocolatey.org/install.ps1'))
Then type the following to install GO:
PS C:\ choco install golang
Once it's done, then you're ready for part II.
I.b MacOSX
For Mac, I recommend first installing Brew if you haven't already.
To do so, open your Terminal app and type the following:
/bin/bash -c "$(curl -fsSL https://raw.githubusercontent.com/Homebrew/install/HEAD/install.sh)"
Once it's done, do the following:
brew install go
Now, you're ready for Part II.
II. Installing Visual Studio Code (VSC)
Visual Studio Code (VSC) is a text editor. A text editor is standard tool developers use daily to make writing code more manageable. It is similar to how writers use Microsoft Word to create books or essays.
There are a lot of choices when it comes to text editors, and not all of them are free. We'll stick with Free so that all readers can follow along.
And the current champ of free text editors is Microsoft's Visual Studio Code. I recommend using it because there's a lot of support online. And by support, I mean you can ask Dr.Google for help whenever you get stuck.
Here's the official Visual Studio Code Download link.
Click the icon for your Operating System, and It'll begin installing.
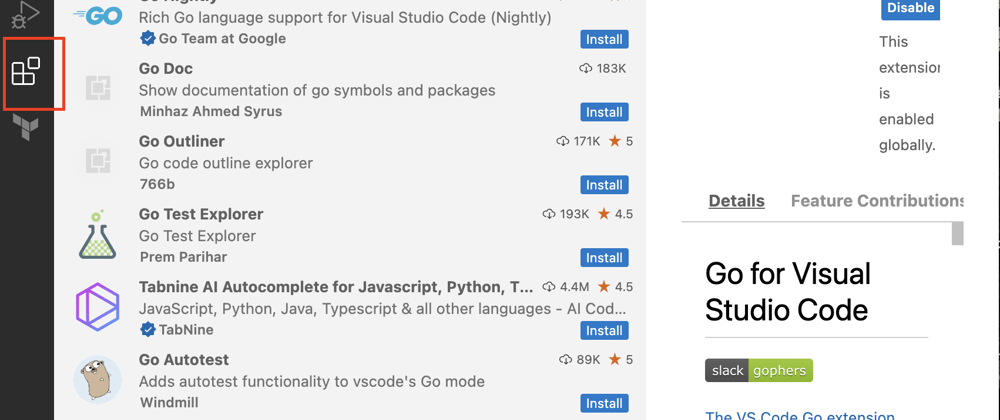
Once it is done, double-click the Visual Studio Code icon and navigate to the extensions section of VSC.
Type GO, then click install for the first result.
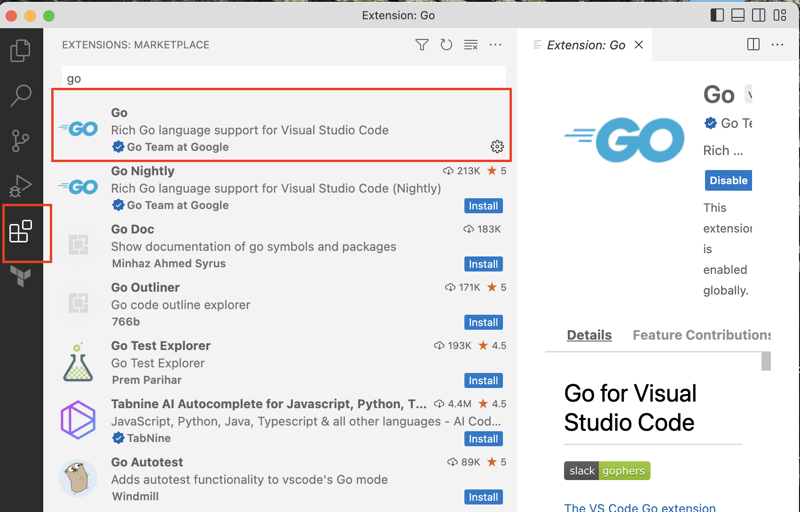
This extension will provide automatic syntax highlighting and formatting, similar to how Microsoft's Word provides the red squiggle when you've mistyped a word.
Once it has finished installing, you're ready for the next part.
III. Writing 'Hello World'
Before we write your first program, let's verify that go is installed and accessible within VSC.
Open a new terminal within VSC.
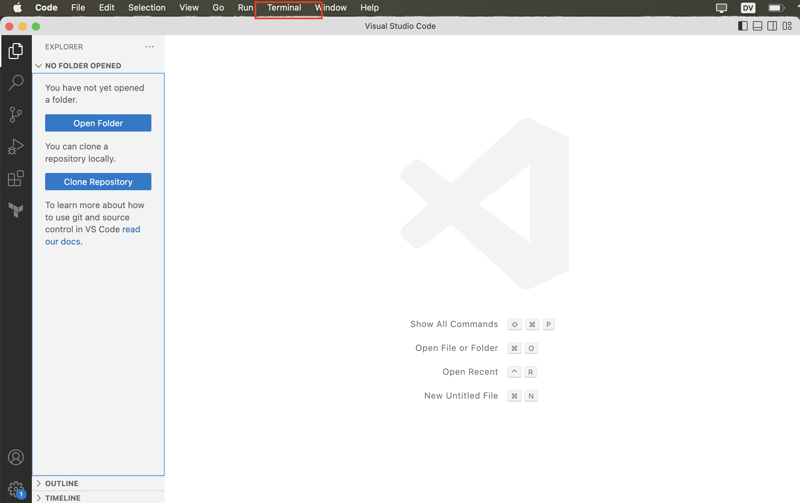
Then type
> go
And press 'enter,' and you'll see something like this.
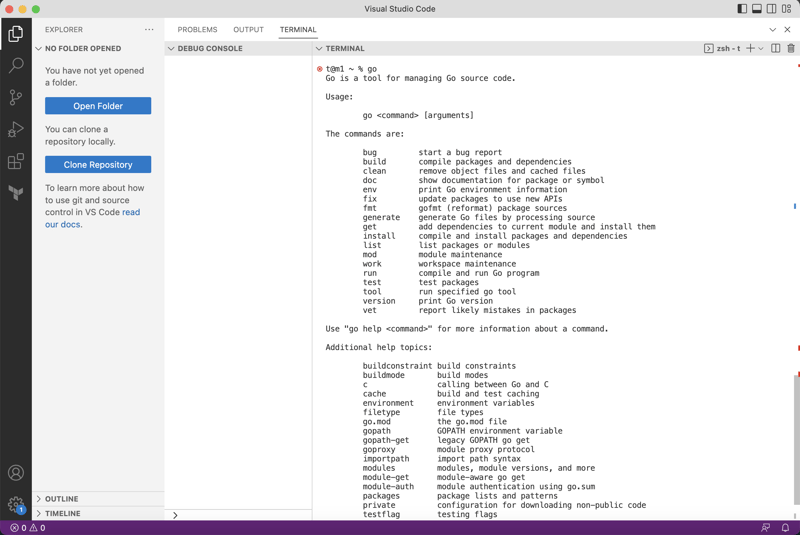
If you don't, reach out to me on Twitter @toul_codes, and I'll try my best to help debug what's happening.
Now that we've confirmed everything is lined up, it's time to write your first GO program.
First, create a new file within VSC (cmd + n / ctrl + n) and type out the following.
package main
import "fmt"

func main() {
   fmt.Println("Hello, world!")
}
Then hit (cmd + s/ctrl + s) and save it as 'main.go'.
Then on the terminal, type out the following.
go mod init github.com/<your-name>/automate-the-boring-stuff-with-go-ch1
Note This is using one of the features of the GO toolchain that manages dependencies. A dependency is someone else's code you use to save time writing your own code. In this case, the GO developer team and the formatting package named 'fmt.'
Don't worry if it doesn't make sense. The next chapter will investigate the GO toolchain and its most valuable features.
After the command is done running, you'll see a go.mod file next to your main.go file.
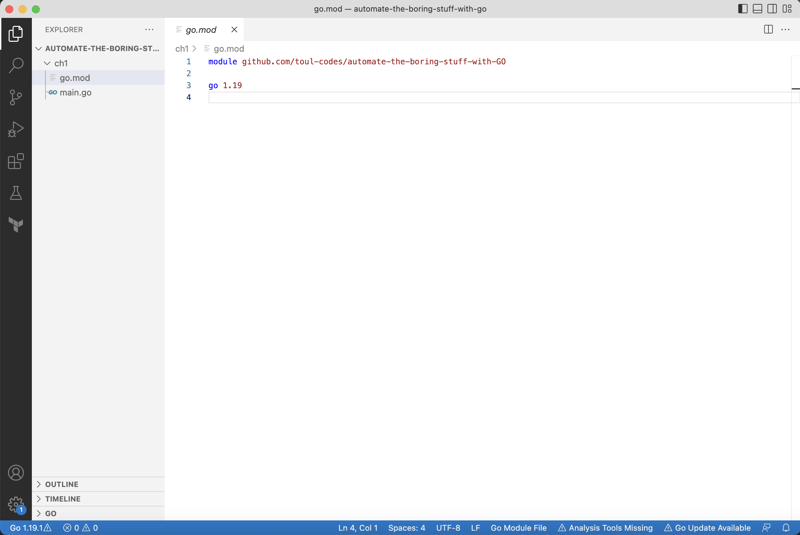
And in it, you'll see that your program requires go 1.19.3 or whichever version of GO you have installed. Don't worry; any version will work; that's the beauty of GO.
Now, you can compile your GO program and run it like so.
> go build -o hello
> ./hello
Hello, world
Alternatively, and the way I usually do it to save a step is to type
> go run main.go
Hello, world
This will build and then execute your GO program all at once.
Conclusion
Wow! You've just tackled a lot of topics as a budding developer. This is a lot to take in for the first time. If your brain is aching, remember that's normal. So, take a snack break or a rest to reward yourself before going on to the next chapter. If you're feeling social, send me a Tweet with your celebratory snack of choice!


Top comments (0)