
Azure Key Vault is a cloud service for securing and accessing secrets, keys and certificates. Azure key vault can be use to centralize application secrets, securely store secrets and keys, monitor access and use, simplifies administration of application secrets and integrate with other azure services.
In this walkthrough, we will create an Azure Key Vault and create a password secret within the key vault.
- Create an Azure Key Vault
- Sign in to the Azure portal
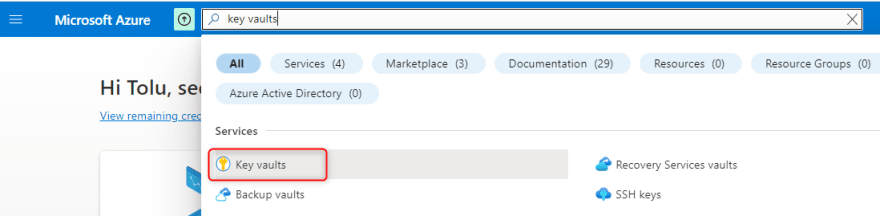
- From the search box, type key vaults and select Key Vaults under Services
- Select + Create

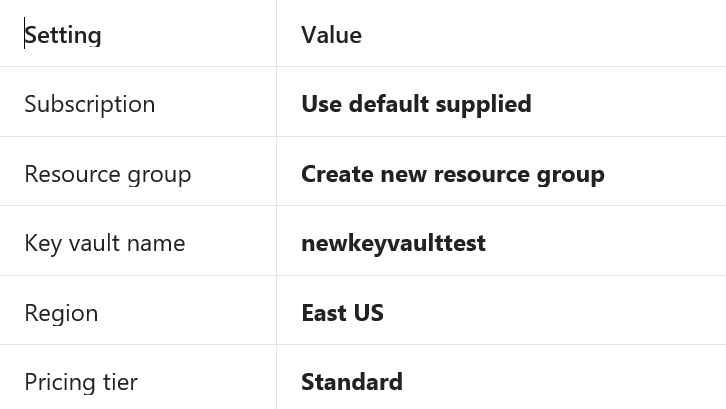
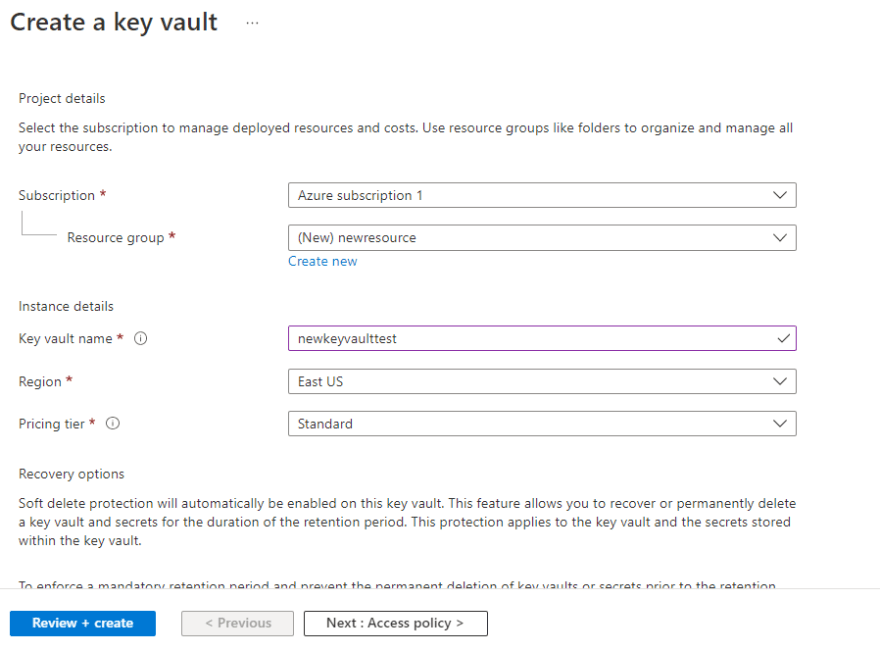
- Configure the key vaults with the following and leave the defaults for the remaining. The key vault name must be a globally unique name
 Select Review + Create and select Create once validation has passed
- Once deployment is completed, select Go to resource
- Select Overview tab and take note of the Vault URI. Applications that use your vault through the REST APIs will need the URI
 Note: Your Azure account is the only one authorized to perform operations on this new vault. You can modify this if you wish in the Settings and then the Access policies section.
- Add a secret to the Key Vault
- Under Settings, select Secrets and click + Generate/Import

- Configure the secret with the following and leave the others at their defaults
Note: You can also set an activation and expiration and also disable the secret

- Select Create

- Once the secret has been successfully created, click on the secret name mytestpassword and note that it has a status Enabled
- select the secret created and note the Secret Identifier. This is the url value that you can now use with applications. It provides a centrally managed and securely stored password.
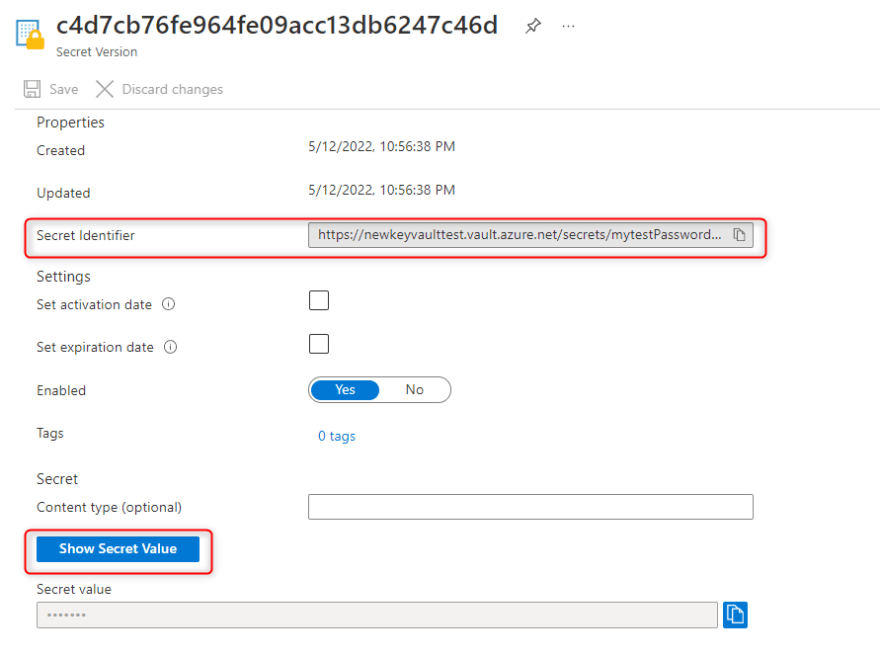
- Select the Show Secret Value to display the password you specified earlier
Following this steps, you can try to generate keys and certificate at your own free time.
Note: To avoid additional costs, you can remove the resource groups. Search for resource groups at the search box, select the resource group and click Delete resource group.


Oldest comments (0)