Happy Sunday! Today, I am going to be going over react-page-animations, an easy way to add customizable page transitions into any React app. It is important to note that this library works with react-router, and react-router-dom, so it is not compatible with Next.js at this time. But, for any regular React users: fear not, this solution is by far the easiest.
Install the library
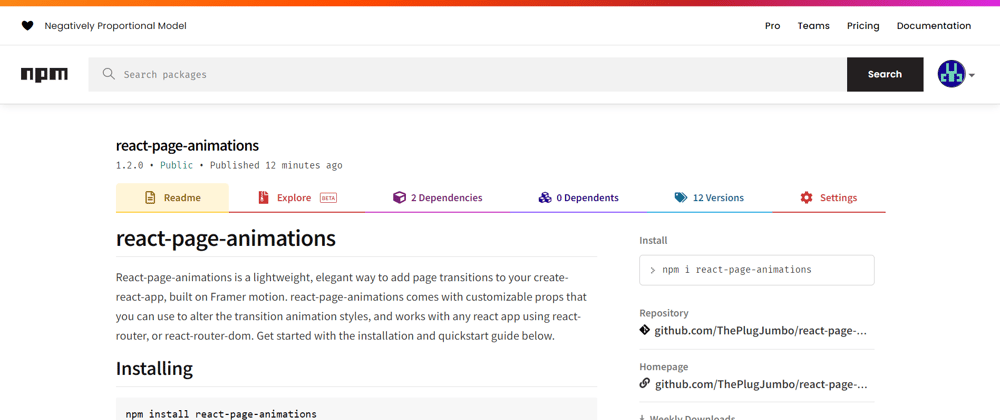
npm install react-page-animations
Start by installing react-page-animations from npm, which will install the library and its one dependency (Framer motion). You are good to go!
Quickstart
import { Link } from 'react-router-dom';
import { AnimatedPage } from 'react-page-animations';

export default function HomePage () {
    return <AnimatedPage initialOpacity="0" finalOpacity="1">
        <h1>home page</h1>
        <Link to="/page1">Page 1</Link>
        <Link to="/page1">Page 2</Link>
    </AnimatedPage>
}
Here, we are wrapping our home page which the AnimatedPage component, which provides page transition animations. Then, we are adding the props initialOpacity="0", and finalOpacity="1", which is the simplest way to add a fade transition.
Your set
That's it! If you followed those two steps, you should now have a fade transition applied to any page you wrap with AnimatedPage. The "Customization" section of the GitHub repo shows all the props that are currently available to customize the transition to your liking.
What's next?
I am working hard to build out this library and spread awareness about how easy it is to now add page transitions! If you have any ideas for the project, or would like to contribute, please submit a new issue or check out the contribution guide. Thank you for reading!


Top comments (0)