Who is this for?
Anyone and everyone. It's got tons of photos to show the step-by-step set up, the only part that's not covered is creation of an AWS account.
Why Should We Do This?
Simple. You want to participate in the eradication of COVID-19, but you don't have $800 to lay out on a nice video card and a massive electric bill.
You've got three options:
- Donate to Folding At Home
- Run you some WU's (Work Units) on your current machine
- Run you some WU's (Work Units) in the cloud on a budget
This is about that last item. A short story and then on to the real work!
The Story
I spun up a giant 30-task cluster on ECS following this tutorial. The CPU cluster I created didn't do nearly as much work as I hoped it would on the Folding at Home project and it cost me around $300 for the month. The entire cluster of CPU's net me about 1M PPM (Points Per Month) where my home PC net me about 1.8M PPD (Points Per Day). If you do the math, two months of that cluster would get me close to the price of a GPU that could do that same work in half a day!
Credits
All credit must go to the two other humans that got me to this point:
- Ric Harvey and their F@H ECS tutorial
- Gergely Imreh and their F@H EC2 launch template tutorial
I merely expanded on Gergely Imreh's tutorial in order to make it a little more friendly for beginners, which also made it much longer. If you want the original, shorter tutorial, then go to the link above.
Let's Get to Work
Step 0: Get an AWS Account
Go to the AWS Console and either log in to your existing account or create an account.
Step 1: Pick an Instance Type
First thing I did was look at the pricing list for the cheapest GPUs on AWS:

The g4dn.xlarge is the one we're going to target as the spot price is around $0.16 per hour. That's pretty cheap as far as GPU time goes. Remember, we can run this for a few hours and shut it off if we want / need to. Feel free to pick one that fits your budget. You could even do multiple instances if you wanted to.
Step 2: Create a Launch Template
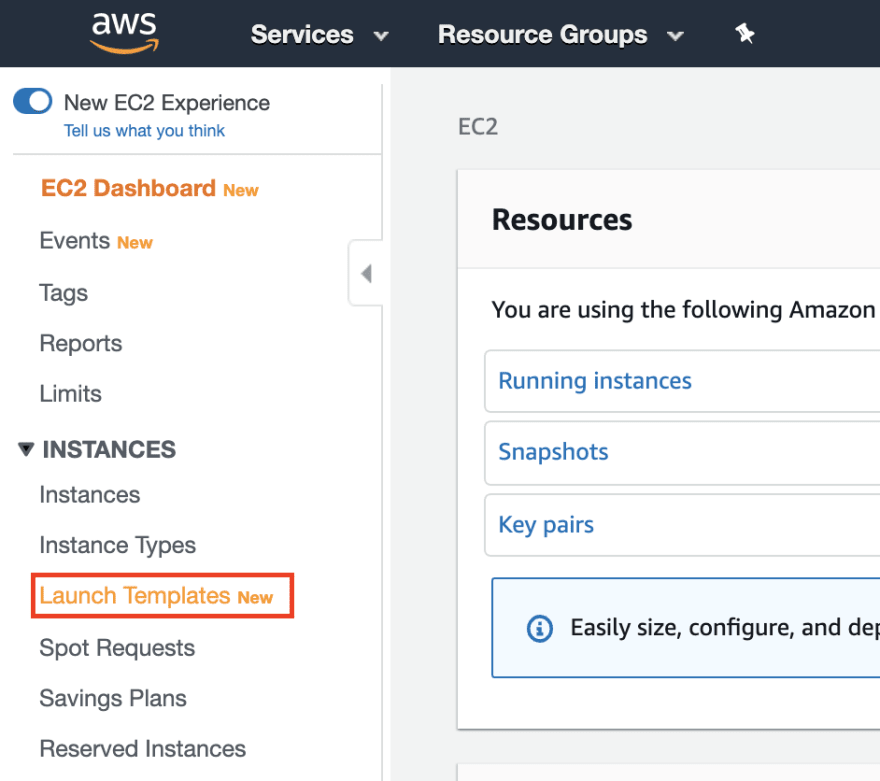
Once you're logged in to your AWS account, head over to the EC2 service page. Everything I do will be in the us-east-1 (N. Virginia) region, but you can look in us-east-2 (Ohio) for potentially cheaper prices. The template creation will be 90% of the work. Once you're done with this you should be able to launch a bunch of instances with this template, although you may have to request a limit increase for spot instances if you go wild.
Click Launch Templates on the left in the menu.
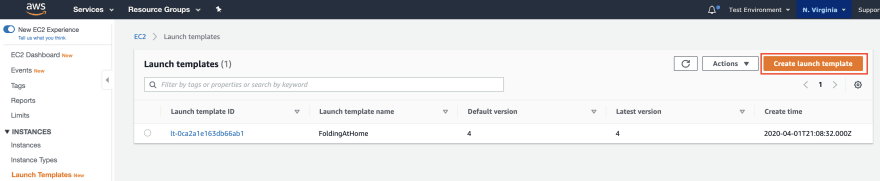
Then click on the Create launch template button in the upper right area of the screen.
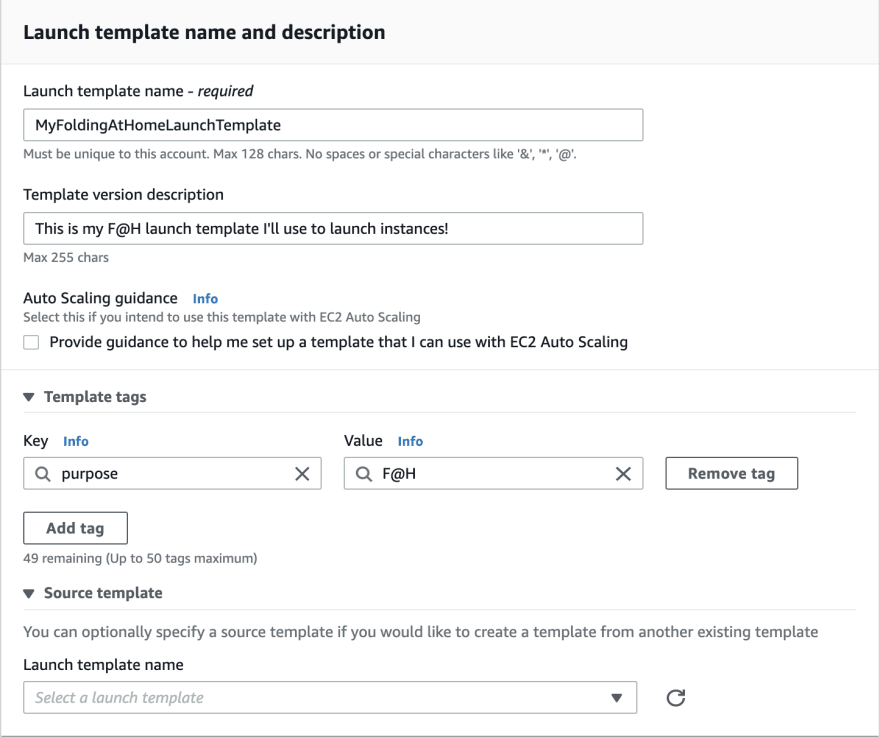
Template Name and Description
The first area you'll see is the name, description and tag section. Fill this out however you want to, include tags if you feel like tracking your billing in a more granular fashion.
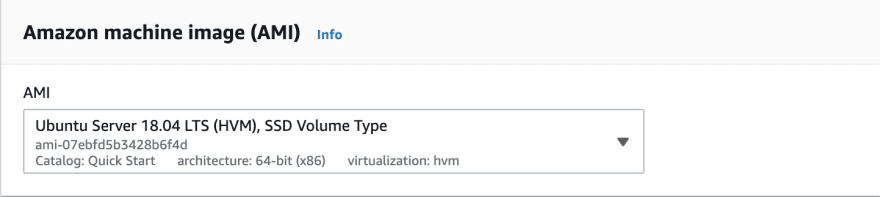
Amazon Machine Image
Now we have to choose the AMI. I've chosen to go with the Ubuntu Server 18.04 LTS.
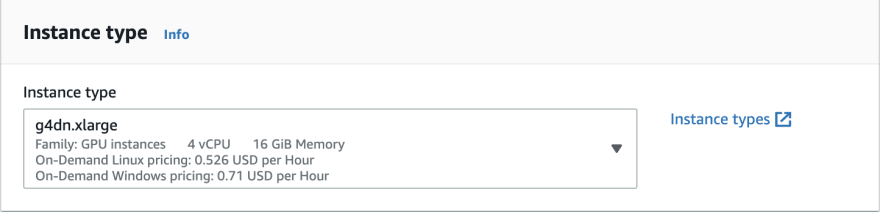
Instance Type
I'm going for the least expensive GPU option here: g4dn.xlarge.
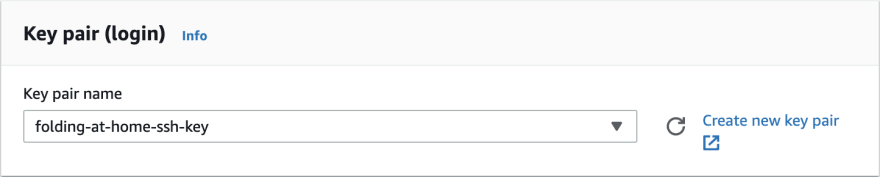
Key Pair Section
If you already have a key pair or you don't plan to connect to this box via SSH, you can skip this and go to the next section. However, if you do want to connect to your instances, click the link that says "Create new key pair."
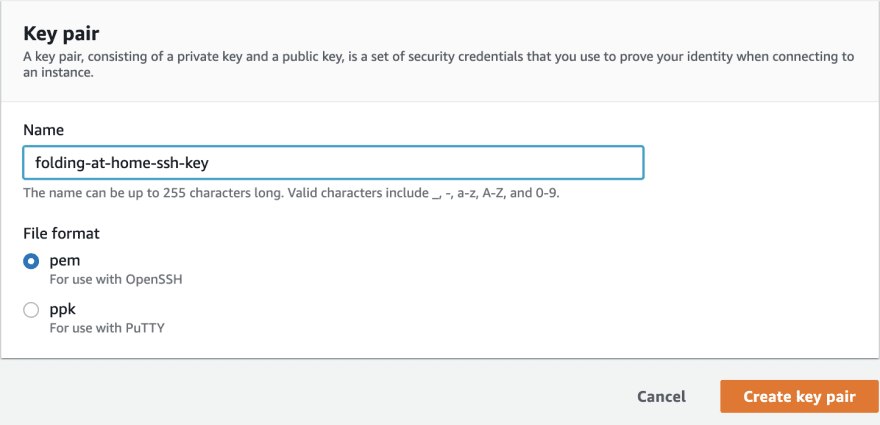
Create a Key Pair
You'll see a new tab open with the key pair main screen. Click the Create key pair button in the top right area of the screen.

Fill this out with whatever name you wish, select the pem radio button and click the Create key pair button in the lower left. This will download a pem file on to your computer for later use.
When you finish, head back to your original tab and click the small refresh icon next to the drop-down. Your key will now appear in that box, select it and move on to the next section.
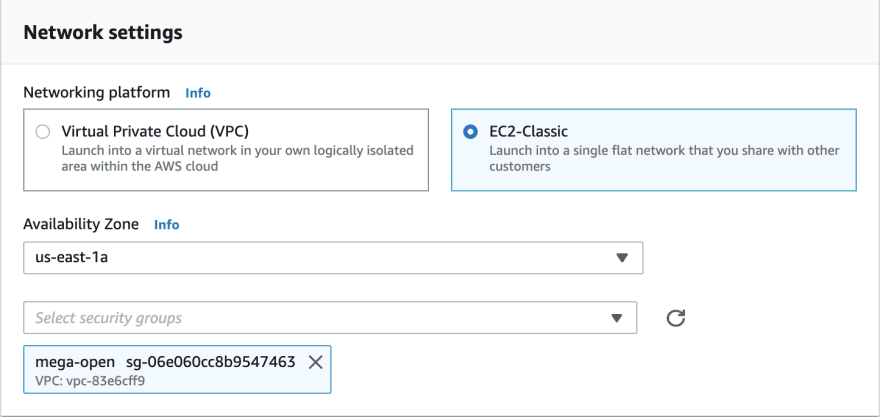
Network Settings
Here we have a bunch of options. I'm going with the EC2-Classic for ease of use, as well as the us-east-1a Availability Zone. We will need to create a wide open Security Group for this so we can attach our local F@H client to it in order to watch our progress. This is not best practice, but it's easy and we won't have this instance for too long.
Create a Security Group
Duplicate your current tab, switch to that tab, and click the Security Groups menu item on the left. You'll be presented with the screen below. Click the Create security group button.

When creating a Security Group we can name it whatever we want and give it any sort of description we want as well. Leave the VPC drop down alone and scroll down to the Inbound rules and Outbound rules sections.

Set the first drop-down in the Inbound rules section to All traffic and change the Source drop-down to Anywhere and leave the Outbound rules as they are. Click the Create security group button and we're done.

Head back to your original tab and click the refresh icon in the Network Settings area. Your security group should now appear when you click the drop-down box. Select that and we can move on.
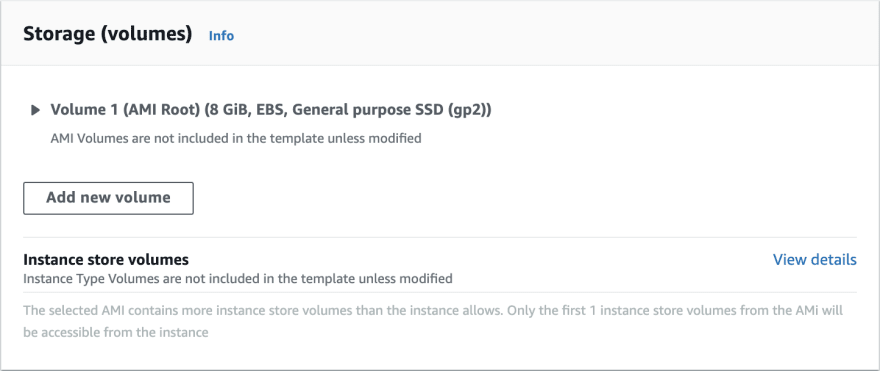
Storage
Leave the Storage area alone.
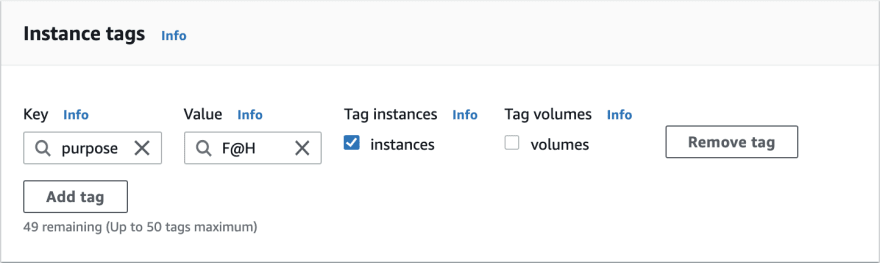
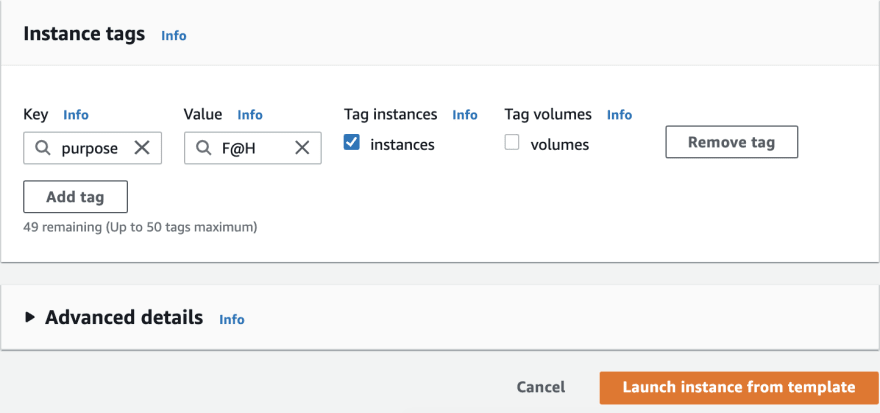
Instance Tags
Add instance tags if you want. Again, this is simply a good way to sort things, especially in the billing section.
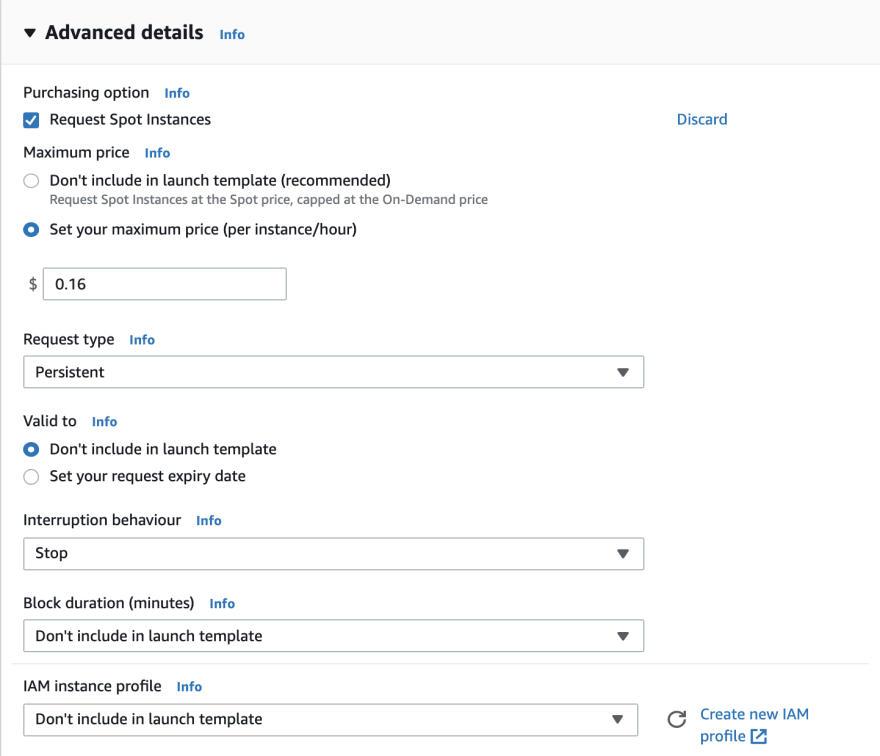
Advanced Details
Now we're in final steps! Check the Request Spot Instances checkbox. You can let AWS control your bids for spot instances or control the bids yourself, that's up to you. I really want to minimize my expenses so I will click customize.
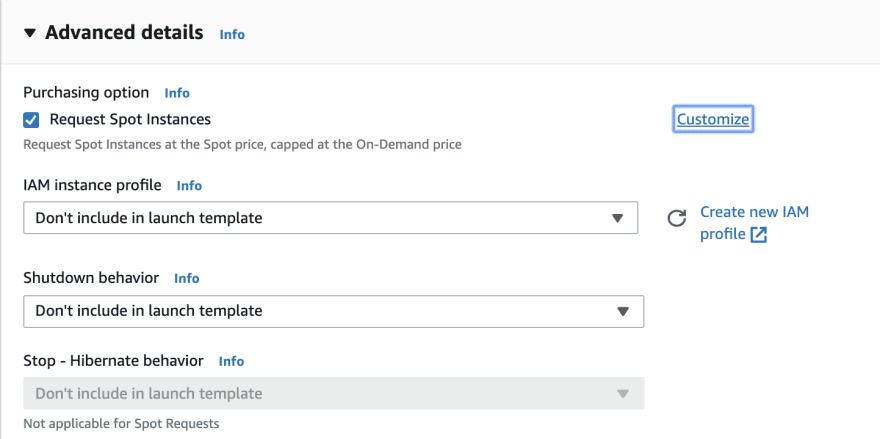
I want to set my price to around the minimum for the spot instance, so 0.16. I'm going to set the Request type to Persistent, and the Interruption behaviour to Stop. You could probably use hibernate here, but again, these won't be here forever. Now scroll all the way down.
The only other field we'll need to fill out is the User data.

Take the following script, put it into an editor, and fill out the passkey, team, and user values. This data will all come from F@H. The allow and web-allow tags are for allowing a specific IP access to connect to this instance and monitor it - most likely your IP at your house. The password will be the password you use when connecting to the instance to monitor it - you make this up. After editing this, copy it all and paste it into the User data input box and click the Create launch template button.
#!/bin/bash

export DEBIAN_FRONTEND=noninteractive
sudo apt update
sudo apt install -qy nvidia-headless-435 ocl-icd-opencl-dev expect

wget https://download.foldingathome.org/releases/public/release/fahclient/debian-testing-64bit/v7.4/fahclient_7.4.4_amd64.deb
sudo mkdir /etc/fahclient/ || true
sudo chmod 777 /etc/fahclient
cat  <<EOF > "/etc/fahclient/config.xml"
<config>
  <!-- Client Control -->
  <fold-anon v='true'/>

  <!-- Folding Slot Configuration -->
  <gpu v='true'/>

  <!-- Slot Control -->
  <power v='full'/>

  <!-- User Information -->
  <passkey v='111222333444555666777888999000AA'/>
  <team v='111111'/>
  <user v='YOUR NAME'/>

  <!-- Folding Slots -->
  <slot id='0' type='CPU'/>
  <slot id='1' type='GPU'/>

  <allow>YOUR.IP.ADDR.HERE</allow>
  <web-allow>YOUR.IP.ADDR.HERE</web-allow>

  <!-- Remote Command Server -->
  <password v='YOURawesomePASSWORDhere!'/>
</config>
EOF

cat <<EOF > "/home/ubuntu/install.sh"
#!/usr/bin/expect
spawn dpkg -i --force-confdef --force-depends fahclient_7.4.4_amd64.deb
expect "Should FAHClient be automatically started?"
send "\r"
# done
expect eof
EOF

chmod +x /home/ubuntu/install.sh

sudo /home/ubuntu/install.sh
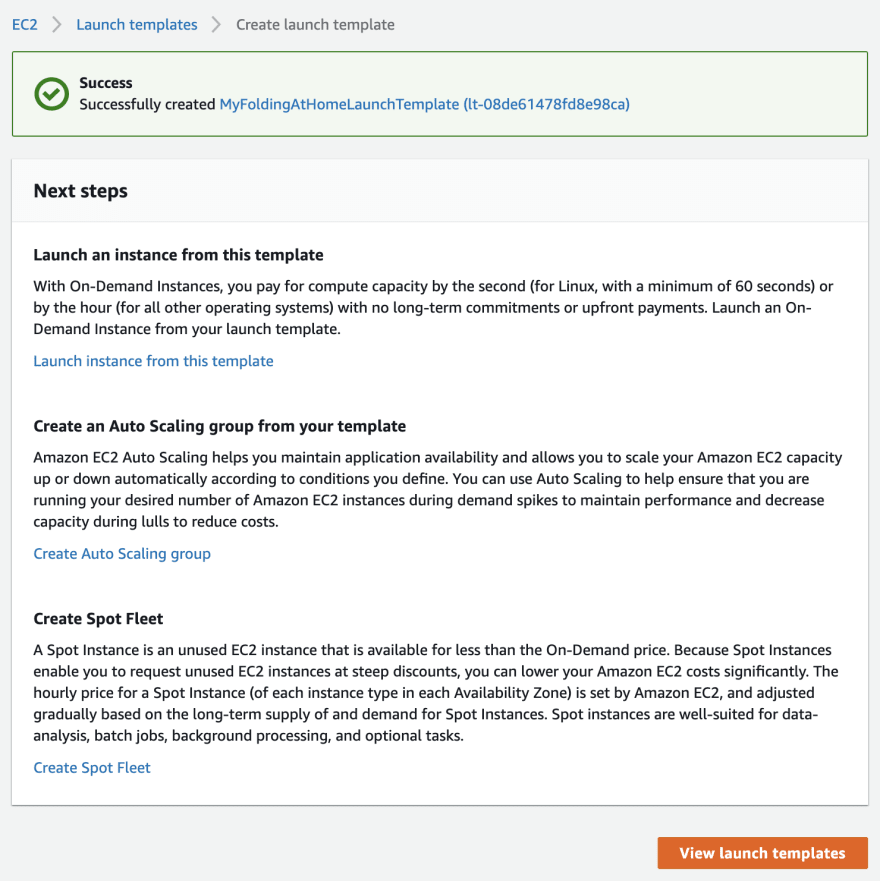
Template Creation Completion
You should then see this success message. Click the View launch templates button or go directly to your EC2 dashboard.
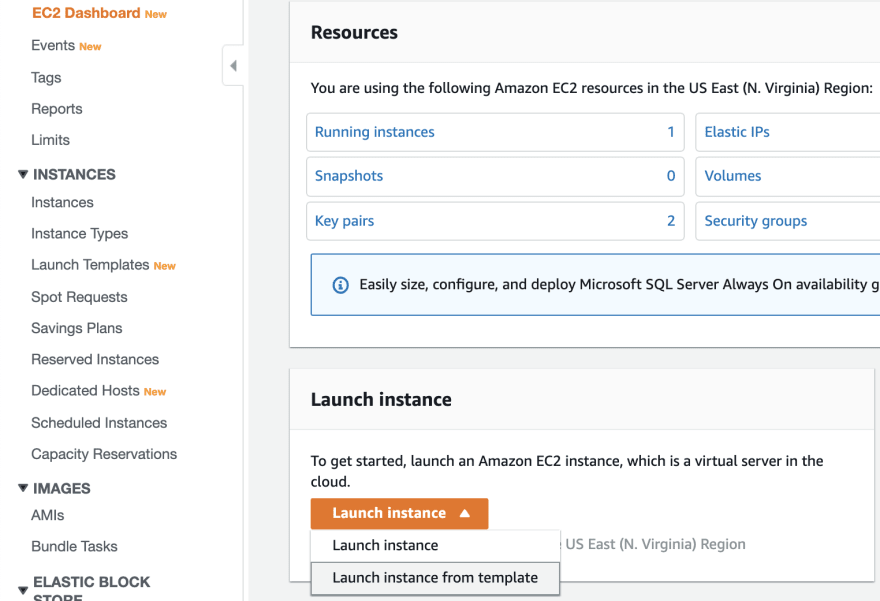
You should see the Launch Instance button, when you click it you'll get a drop-down. Click on Launch instance from template.
Instance Creation
It will bring you back to the Launch Instance page, but if you choose your custom launch instance, everything will be filled out for you and you can scroll directly to the bottom and click the Launch instance from template button.
Success
YOU ARE DONE!
Go back to your EC2 Instances and your instance(s) will be spinning up.

Conclusion
With this setup, you should be able to get about 1M PPD per g4dn.xlarge instance you create, should they run for 24 hours. I've seen them pull about 30k-50k PPH (Points Per Hour) depending on their mood. At $0.16 per hour, that's about 1875-3125 points per cent spent.
If you were to purchase an RTX 2080 Super for about $800, assuming it's running 24/7 at ~254 watts, that's 6.1kWh per day. At $0.10 per kWh, that's $0.61 per day. By my horrible math, it would take about 89 days of full-time F@H in order for that purchase plus the electricity used to match the 1875 points per cent spent that you get with AWS G4 instance.
I know there are a bunch of other things we can be doing to help with COVID-19, this post is simply one of those things. Stay strong, stay safe, continue social distancing, and do what you can to help out!
Extra Goodies
SSH Into Your Instance
Since you're already on your EC2 Instances page and you have your pem file in your downloads, click the button that says Connect, at the top of your EC2 Instances page. You should see a line that looks like this:
ssh -i "fah-ssh.pem" ubuntu@ec2-11-222-333-44.compute-1.amazonaws.com
- Open up your favorite terminal
- cd to your downloads directory
- run
chmod 400 YOUR_FILE.pem - copy and paste that ssh command from your browser into your terminal
- run it
- follow the prompts and you will be logged in to your EC2
- profit?
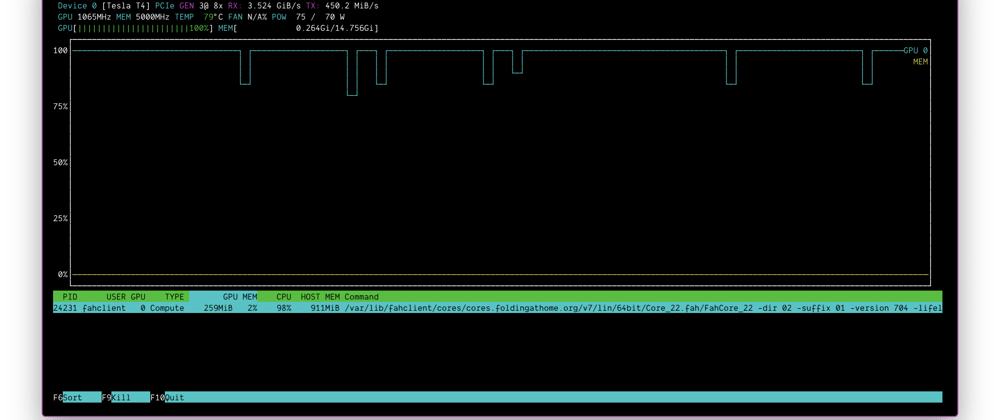
Installing and Running NVTOP
Unfortunately nvtop does not come pre-installed on Ubuntu until version 19 and we do not have access to Ubuntu 19.X, so we'll install nvtop by hand and run it to see how our GPU is doing.
Run the following string of commands:
sudo apt install cmake libncurses5-dev libncursesw5-dev git && \
git clone https://github.com/Syllo/nvtop.git && \
mkdir -p nvtop/build && \
cd nvtop/build && \
cmake .. -DNVML_RETRIEVE_HEADER_ONLINE=True && \
make && \
sudo make install
(yes you can copy-paste the entire thing at once)
After that has completed, you should be able to run nvtop from the command line and get a cute little graph of your GPU. Give it a little time to warm up and get a job from F@H. You should see it spike up to 100% and maintain that workload for a while.
Trying Other Instance Types
I tried getting this to work on the P2 instance types which are about 8x as expensive as the G4. I saw nothing in the performance of the P2 running F@H that would make me consider switching from the G4, it's just not worth it.


Oldest comments (0)