
In this article, I am going to setup a free VPN server and I will use this server for my personal use for 1 year.
Prerequisite:
Setup AWS account(which comes with a Free Tier Eligibility for 12 months)
Now before starting you need to decide in which region you want to host the VPN server
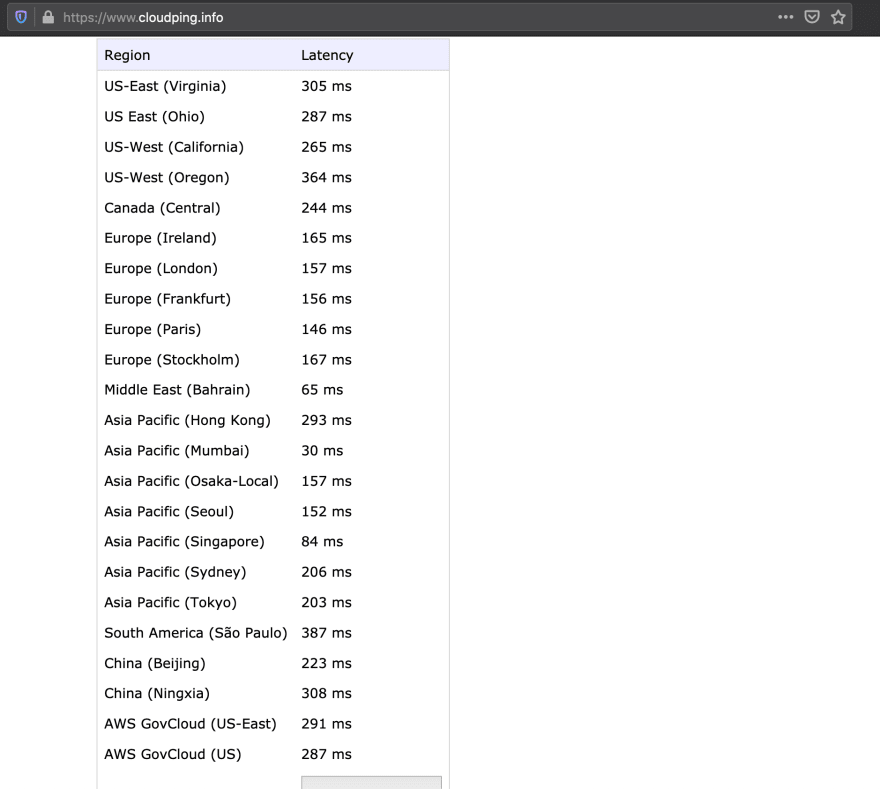
You can check latency across different regions and decide accordingly, and if you have any certain reasons like in my case, some of the Anime on Netflix is only allowed in USA regions so I decided to host my VPN server in the US 😛
Let’s start
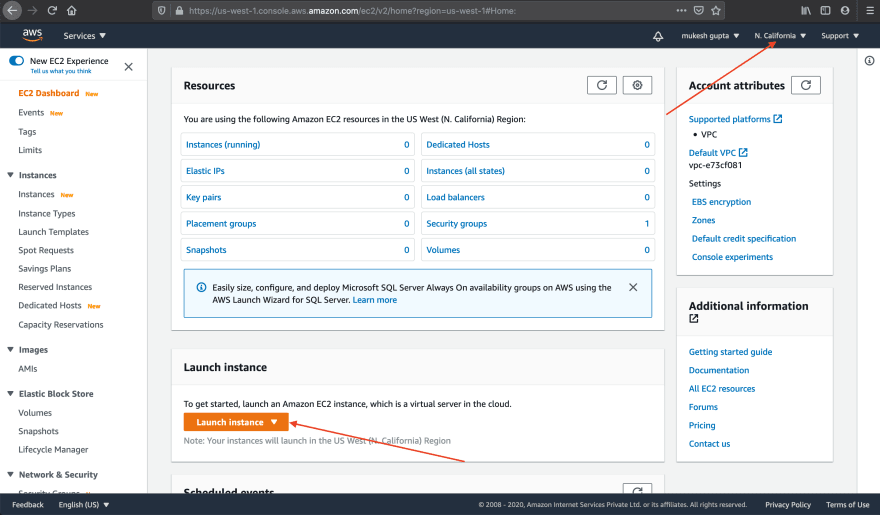
- Open EC2 service in AWS
- Change region from the top to the region where you want to host the VPN server
- Click on Launch Instance
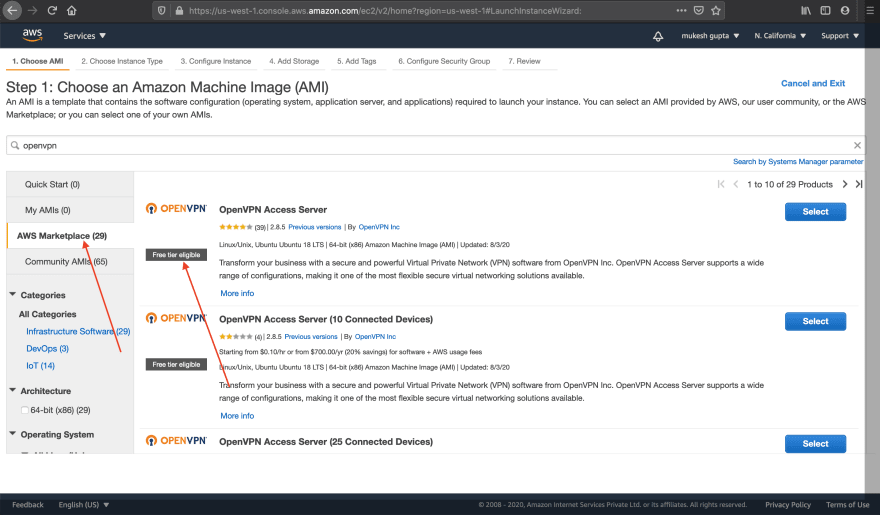
Next, it will ask you to choose AMI,
We will be using ubuntu machine which already has OpenVPN server installed, so you need to select AWS Marketplace and search OpenVPN, then you have to select OpenVPN access server which has Free tier eligible tag
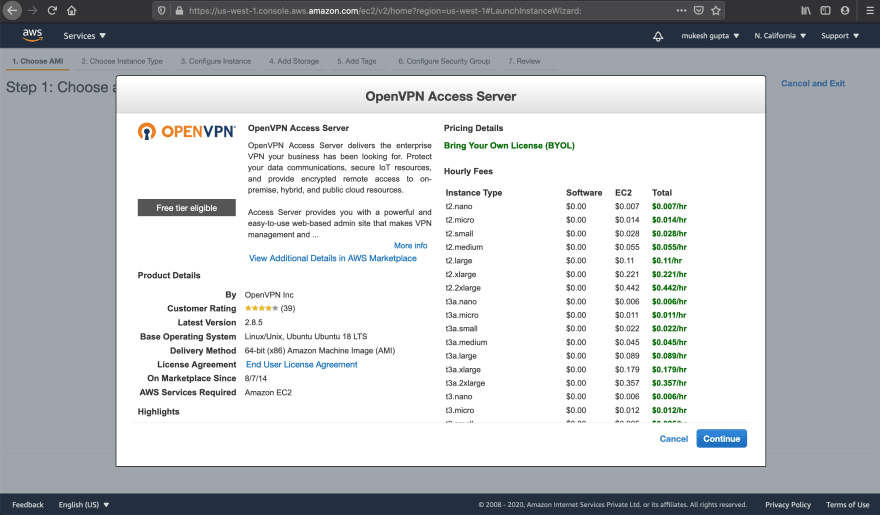
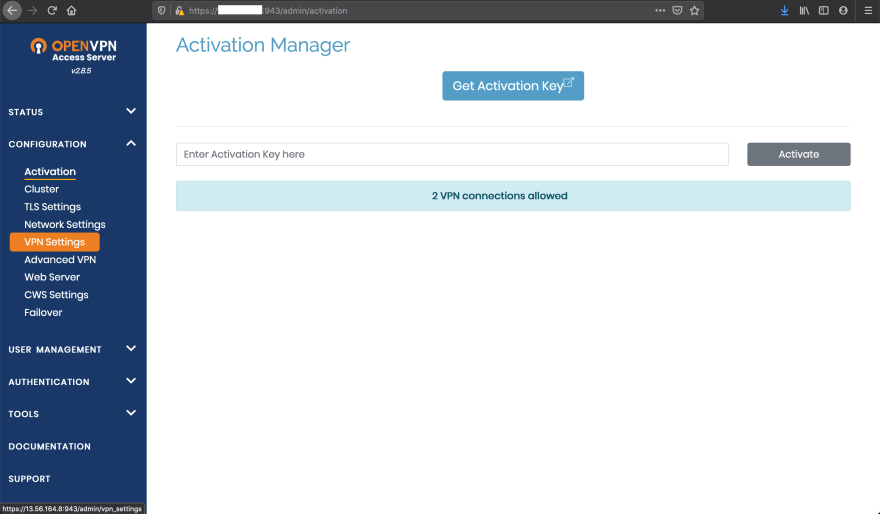
OpenVPN is a free and Open Source VPN, but it’s a commercial service but although we can be allowed to open two VPN accounts for free without being charged anything using the Bring Your Own License(BYOL) option and that’s the essence of the page being displayed here.
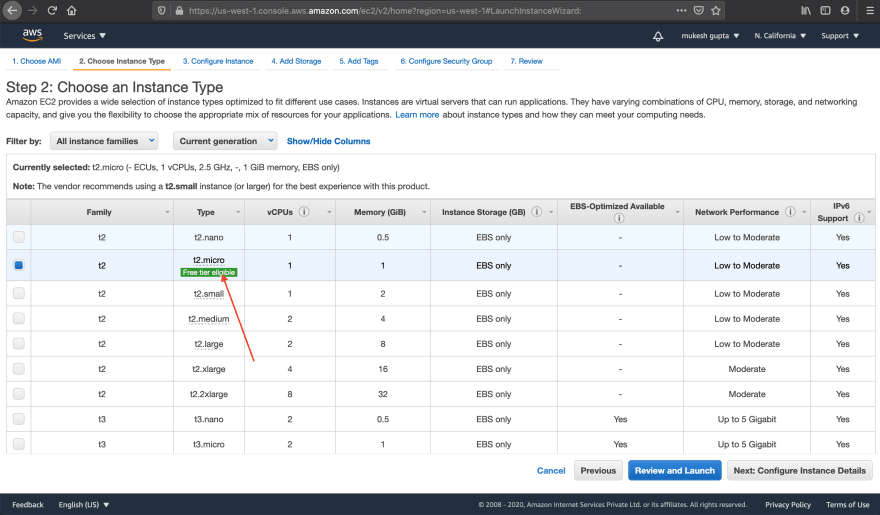
Choose an Instance Type
- Select t2.micro which has
Free tier eligibletag - Click on "Review and Launch"
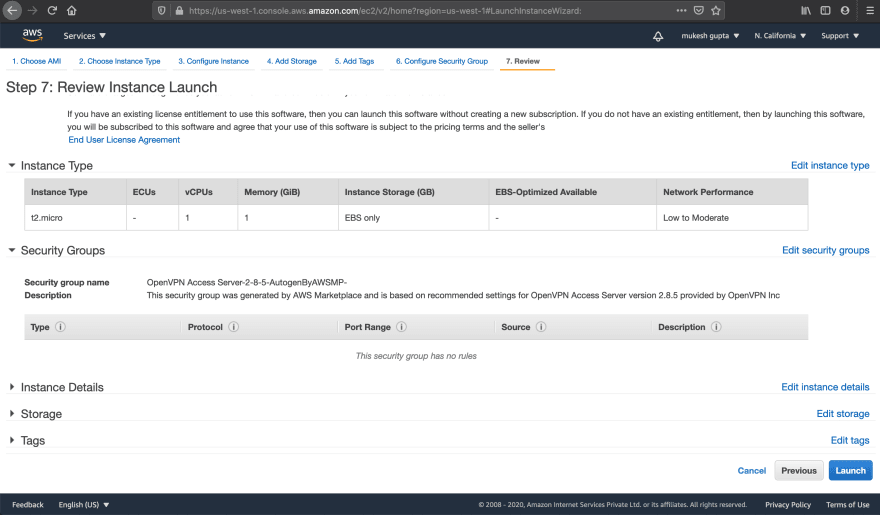
Select Launch

Now you will see a pop-up like above
- Choose
Create a new key pair Type key pair name(which can be any string)
Download key pair(Note: It is important to Save this file properly, you will need this file to ssh to this machine)
Click Launch Instance

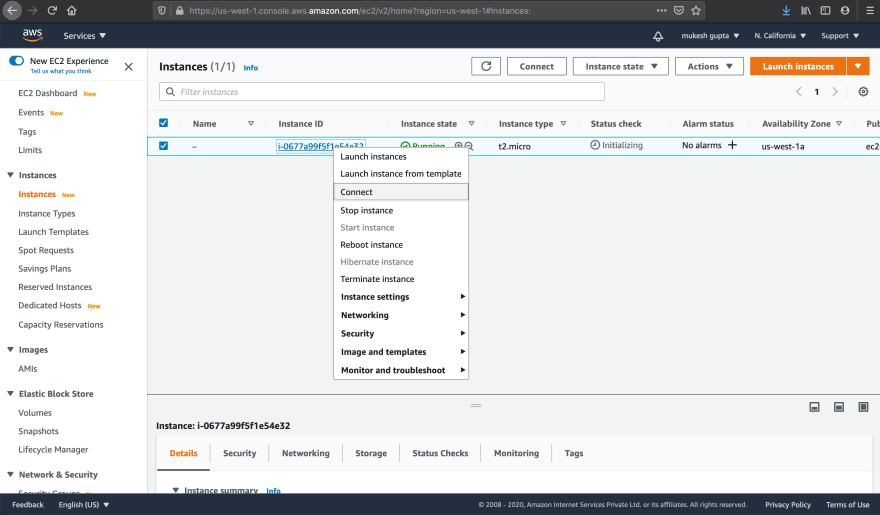
Now connect to this instance by choosing to connect

In the SSH-client tab, you will see how to connect to this machine using SSH

- Open terminal or PowerShell
- Change the permission of the private key file if required
- Now SSH to the machine as a root user in order to configure the admin side of the VPN
ssh -i "/<path_of_the_file>/<your-key-pair>" root@<your-public-instance-domain>

Press yes and enter

Now keep pressing enter if you want to have a default setting for VPN
After it's done you’ll see an instruction to no longer login as root but as user openvpnas which is created by default.
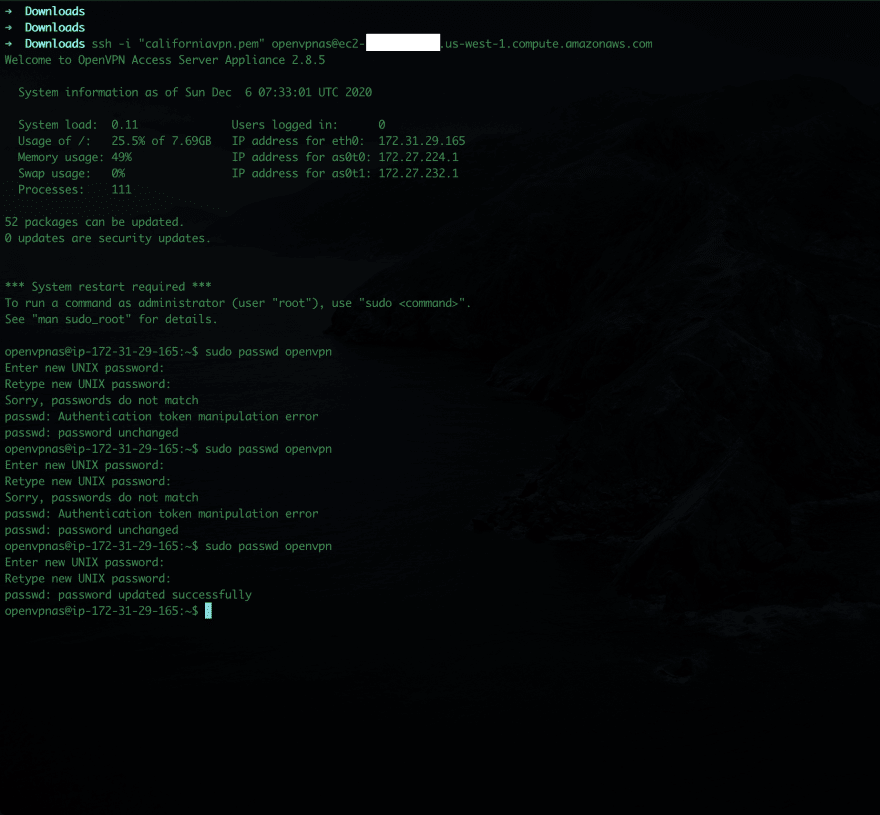
Now SSH to the instance again, but not as root but as user “openvpnas” using the command below:
ssh -i "/<path_of_the_file>/<your-key-pair>" openvpnas@<your-public-instance-domain>
Now you have to create a password for this user so that you can access the admin and client page of the OpenVPN portal
sudo passwd openvpn

Now get the public IP of the instance and type in the browser
like below:
http://<public IP address>:943/admin
Enter username -> openvpn, password ->
Click sign in

Agree on T&C
Now on this page, select VPN setting

Scroll down and find Should client Internet traffic be routed through the VPN? and enable this

Scroll down and save the settings
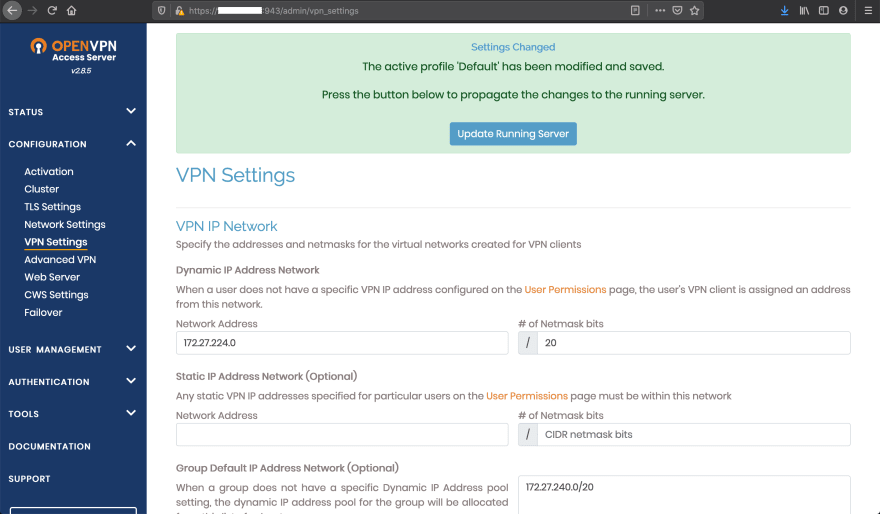
When you change the settings, you’ll need to update the server, so click on “Update Running Server”

Now to connect to this VPN, go to a new tab in browser and type
http://<public IP address>:943/

Choose a device for which you want to download OpenVPN client

I downloaded for mac device and installed it now open the app and click on + icon

Now enter the public IP address of the ec2 machine

Enter username and password(It is same that you used to login for admin panel)
Congrats, Now you have successfully connected to the VPN
You can also check your IP by googling what is my IP
Thanks


Latest comments (1)
Thanks, i didn't use WireGuard earlier, Surely i will check it out now that how good performance it is providing.