
Hi guys, hope you are fine! :)
Recently I came across a teaser video on my Twitter feed: it was a @prismicio post of an interview with the great @brunosimon. During the interview he explains how to use ThreeJS to enhance a website with 3D elements.
Here's a reference to that tweet:

 In this tutorial, @bruno_simon explains how to use #threejs to enhance a website with 3D elements.
He takes a standard header section from basic to #dynamic by swapping out the image for a cool shape with a matcap.
Watch the full interview 👉 youtu.be/tVr89249gwM13:32 PM - 29 Oct 2021


This interview and the passion with which Bruno explains ThreeJS concepts inspired me A LOT so I've decided to start digging into this new virtual world.
I'll try to recap and explain in the easiest and clearer way possible.
I promise you that in around 30 lines of code you will create your first working 3D element (recap at the end of the article).
Project setup
The first step is to create a new index.html file that should look like this:
<!-- index.html -->

<!DOCTYPE html>
<html lang="en">
  <head>
    <meta charset="UTF-8"/>
    <meta name="viewport" content="width=device-width, initial-scale=1.0, maximum-scale=1"/>
    <link rel="stylesheet" href="css/styles.css"/>
    <title>My first ThreeJS demo app</title>
  </head>
  <body>
    <script src="js/script.js" type="module"></script>
  </body>
</html>
Then we should add the two external files 'linked' inside our index.html file: we create the styles.css and script.js files and we put them respectively inside css and js folders.
Now it's time to initialize our package manager for the configuration of our project so we launch a
npm init
My default package manager is NPM but you can obviously use Yarn instead.
Three.js installation and setup
In order to start playing with Three.js, we should install it. We can do it by opening the terminal and launching:
npm install three
Then, inside the script.js we can import Three with the following line:
import * as THREE from "three";
Now that we have imported it, we can start using it.
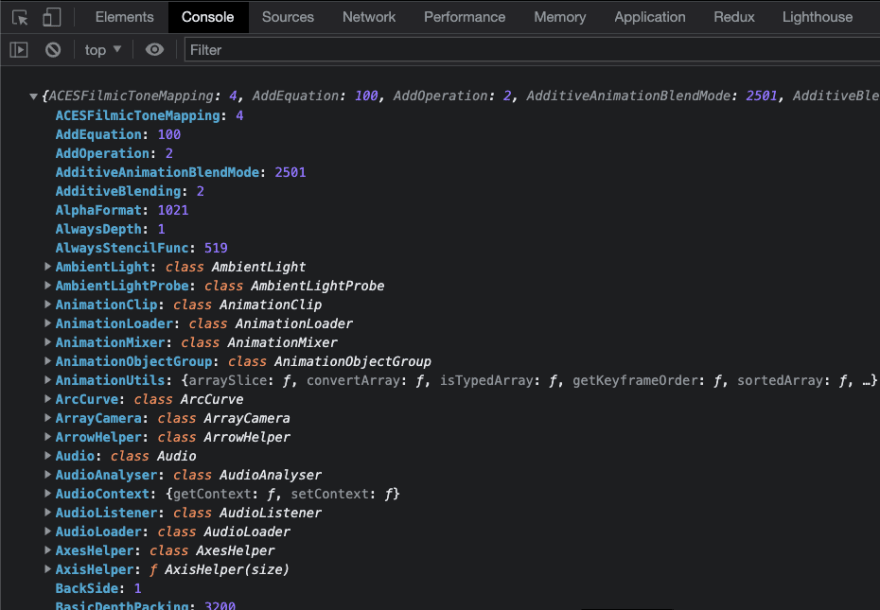
The first thing to know is that once Three is installed, we have access to one very specific variable which is 'THREE'. By logging it we can already see that we have access to a lot of things that this library supports:
console.log(THREE);
How to add a scene, a camera and aspect ratio
We need three things to start with: the first one is a scene, just like a movie set. On the scene you will add objects (that might be characters) and a camera.
First of all we create the empty scene:
const scene = new THREE.Scene();
Inside the scene we said that we need to add a camera.
Here it's necessary to know that in Three.js exists various types of camera (have a look here in the docs for further info).
The one we will use is the PerspectiveCamera, which mimics the way the human eye sees, it's like a real-life camera: the nearer you are, the bigger you will see.
To create the camera we need to add:
const camera = new THREE.PerspectiveCamera(55, window.innerWidth / window.innerHeight);
The camera needs some options as parameters:
the first option is the FOV (Field Of View) and is intended as degrees. We might choose an open angle of 180 degrees or a very close angle of 30 degrees, like photo lenses.
As Bruno experience, he recommends to stay in a range that goes from 40 degrees to a maximum of 70 degrees, so we will use an angle of 55 degrees.the second required option is the aspect ratio: since we want to cover the whole background of our page, we will insert the width and the height of our viewport, and in JS we can retrieve these sizes with window.innerWidth and window.innerHeight.
TL/DR: The aspect ratio is just the width divided by the height.
One of the things to understand with Three.js is that whatever object we want to include, we have to add it to the scene, and at this stage we can already add our camera by typing:
scene.add(camera);
Add a mesh to the scene
With this first article (yes, it will be a small series 😉), we will add a cube to the scene.
A cube is an object that we will be able to see, and in Three.js an object that we will be able to see is called mesh.
A mesh is composed of two things: its geometry (the points that composes a geometry, like the number of vertices of a cube) and a material, that is how the geometry will look when it will be rendered in the scene.
We need to create first our geometry and since we want a cube, we will use its related class, the "BoxGeometry":
const geometry = new THREE.BoxGeometry(1, 1, 1);
This class automatically knows that it should create the cubes points once it receives its required parameters, which are the width, the height and the depth (reference to the docs).
Now it's time to add the material that our cube will use when it renders. For this first experiment we want our cube to be completely red. So we add the following:
const material = new THREE.MeshBasicMaterial({color: 0xff0000});
The "MeshBasicMaterial" class and all the available mesh and geometry classes are available in the documentation with a lot of examples. As a parameter we are passing in a color.
The color parameter can be specified in many ways:
- as a string ('red');
- as a hexadecimal (#FF0000);
- as hexadecimal in base 16 (0xff0000).
At this point we have our geometry and our material, so we can proceed to mix them in a mesh and add it to the scene:
const mesh = new THREE.Mesh(geometry, material);
scene.add(mesh);
Rendering the scene
It's finally time to see our cube!
We declare a renderer using the most common WebGL renderer, the "WebGLRenderer":
const renderer = new THREE.WebGLRenderer();
Our renderer needs to know a size, and as we said before, we want our scene to take the full viewport width. So we can tell it to the renderer:
renderer.setSize(window.innerWidth, window.innerHeight);
In order to see our scene, we now need to draw inside a canvas 🎨.
Looking at our renderer variable we can notice that our canvas is contained inside the domElement property.
If we log it we can see our canvas:
console.log(renderer.domElement);
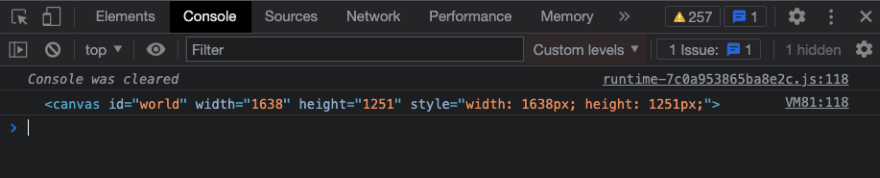
At this point we will let ThreeJS create our canvas and append it inside the <body> of the page; we can do it by adding the following line:
document.body.appendChild(renderer.domElement);
Inspecting our DOM we should now see our <canvas> element added inside the <body>.
As a last step for our renderer, we now have to tell it to render the canvas inside the page. It requires the scene (in which we should have added all the necessary elements) and the camera.
renderer.render(scene, camera)
But wait a minute.
Why can't we see the cube yet?

Fixing the camera and rotating the cube
The answer of the previous question is related to the camera position.
We still can't see the cube because we are inside the cube.
You may be wondering now: shouldn't I see everything red around me since the cube is red?
The answer is no: by default we cannot see the "inside" of the geometry. We can see the face, but not its reverse side.
So, now that we know the above, we should move the camera position outside of the cube. Moving up where we defined the camera variable, we add the following below that line:
camera.position.z = 3
In order to move the camera back, we need to work on the Z axis.
Once done, we can finally see our cube:

We might also move the camera position to the left/right or to top/bottom by editing the position on the x and y axis (ie: for our final demo we will move our object a little bit to the right so we can reserve a space on the left for the heading, a paragraph and maybe a CTA).
Since with these settings our object is flat, it doesn't seems to be a real cube. We can rotate the cube in order to see some angles.
To do a rotation, we just need to work on our mesh object.
As Bruno says, in order to move it horizontally, we have to think about putting something a spike on the y axis, so under our mesh declaration line we will add:
mesh.rotation.y = 0.5

Keep in mind that the unit of measure is in radiants, not degrees. So math here can be our best friend with some concepts like the PI, that is half of a circle.
If you think with PI in mind, you can think like "1/8 of a circle" and things like that, just dividing or multiplying the Math.PI value.
Recap
I leave down here the full script.js code block so you can have a better look at it:
// script.js
import * as THREE from "three";

const scene = new THREE.Scene();
const camera = new THREE.PerspectiveCamera(55, window.innerWidth / window.innerHeight);
camera.position.z = 3;
scene.add(camera);

const geometry = new THREE.BoxGeometry(1, 1, 1);
const material = new THREE.MeshBasicMaterial({ color: 0xff0000 });
const mesh = new THREE.Mesh(geometry, material);
mesh.rotation.y = 0.5;
scene.add(mesh);

const renderer = new THREE.WebGLRenderer();
renderer.setSize(window.innerWidth, window.innerHeight);
renderer.render( scene, camera );

document.body.appendChild(renderer.domElement);
We can finally see our 3D cube on the page and we can play around with its position, its rotation, and its color.
In the next articles (coming shortly in the next days), we will animate the cube, we will see how we can change its geometry and material and we will also see how to make the canvas responsive.
We will also throw in some smooth animations and some cool little interactions with our object.
The final result that we will achieve is already visible at this demo link:
👉🏼 https://th3wall-threejs.netlify.app
I hope you have already learned something and I hope you find this article interesting.
Please follow me on Twitter, GitHub & Hashnode.
Let me know if you liked it!
Thanks.
Th3Wall


Top comments (0)