
Would you like to learn how to create a simple "Hello World" screen using JavaScript and Web Components from scratch? Follow these steps to see how I did it!
Before you Start
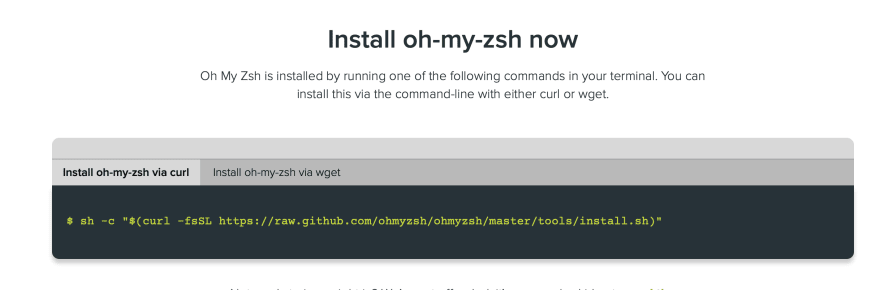
- Install oh-my-zsh It is not necessary to install this on your terminal, this is a preference. It does, however, increase usability in my opinion.
- Install Visual Studio Code This is my preferred IDE to complete this process.

What is Node.js/NPM?
As an asynchronous event-driven JavaScript runtime, Node.js is designed to build scalable network applications.
Basically, Node.js is going to allow you to run code written in JavaScript. NPM is the default package manager for Node.js. This means that it:
puts modules in place so that node can find them, and manages dependency conflicts intelligently.
The good news is that once you have successfully downloaded Node.js, NPM will automatically be usable!
Downloading Node.js
Go to Node.js to begin installation. If you are using a Mac like I am, you should see a screen that looks like the following image:
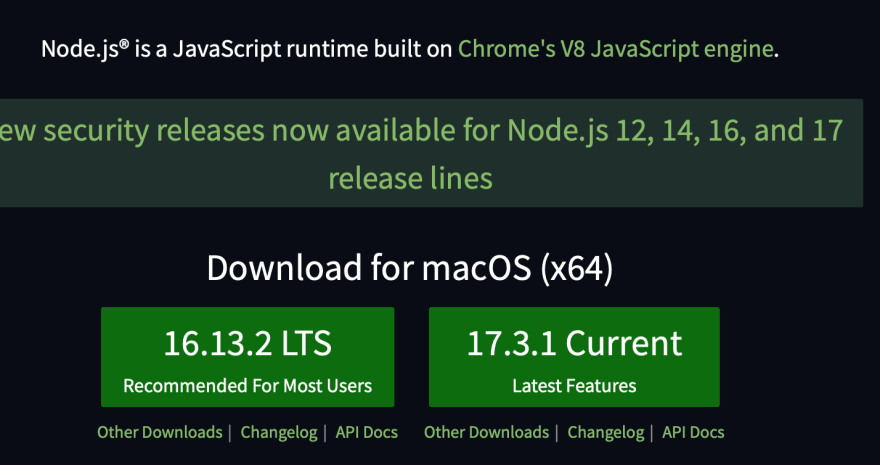
You are going to want to download the "Recommended For Most Users" version. Once installation is complete, you can go to your terminal and run node -v.
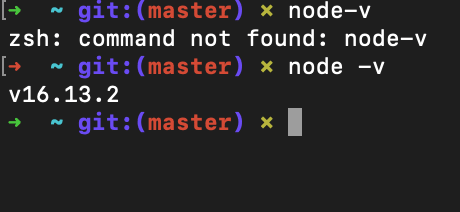
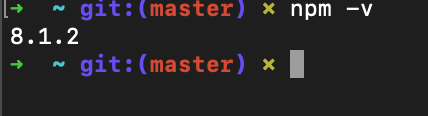
If you have correctly installed Node.js, then you should see the version of it that was recommended. To check NPM, simply do npm-v. If everything is in working order, you will see that there is a version of NPM running on your machine.
Working with GitHub
The first thing you're going to need to do is create a profile for GitHub. Once you have created a profile, you can create a new repository by clicking the "New" button, as shown below.

If you haven't already, install Git. This is going to make it possible to interact with GitHub via your terminal. To ensure Git is installed, run git --version in your terminal. If you have successfully gotten git, then you will see a similar screen (below):

Making a Directory via Terminal
Following these steps you can make a directory straight from your terminal:
- Open the terminal. Run
cd Documents. This is going to navigate you to the Documents folder on your machine. This is where I made my directory. - Run
mkdir sampleDirect. You can name it anything, but for the sake of the example I named mine "SampleDirect". - Run a
lsif you want to be sure that it has successfully been created. -
cd sampleDirectNote: if you run alshere, its going to appear empty because you haven't added anything to it yet.
Bringing it all Together
Keep your terminal open! If you closed it, simply run the following (name specific!) to get back to your directory:
cd Documents/sampleDirect
The first step you should take is to clone your repository. To do so, copy the link for your specific repo:
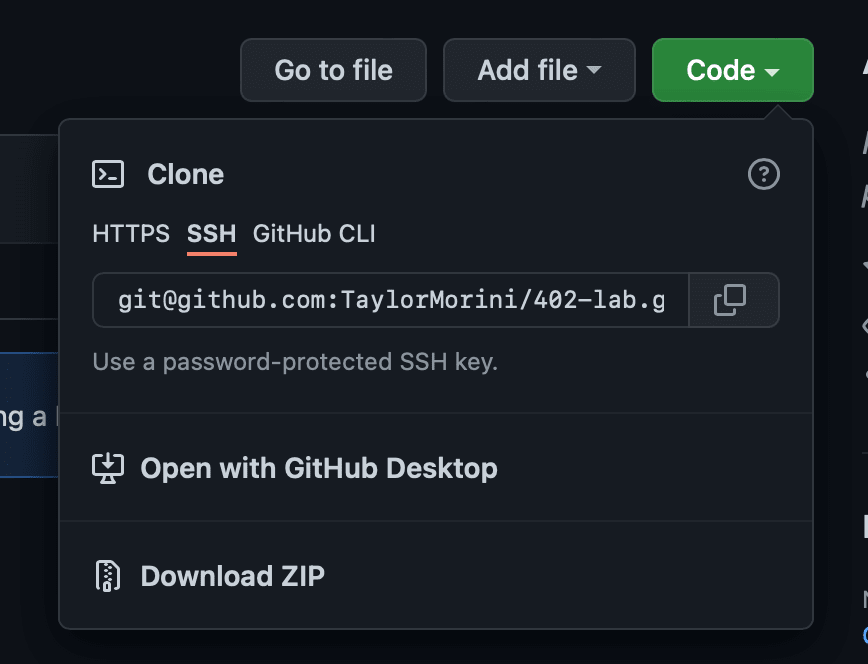
Back in your terminal, run git clone and then your specific link. It should look something like this:

Run a cd. I named my Repo "sample-" so for me, I would run cd sample-".
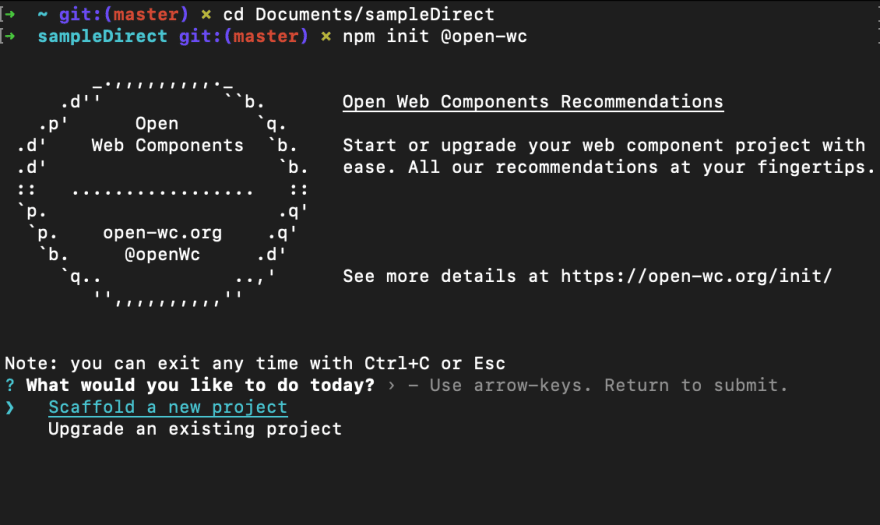
The next thing you are going to want to do is run this command:
npm init @open-wc.
From here:
-
What would you like to do today?
scaffold new project -
What would you like to scaffold?
Web component - Would you like to use a typescript? No
- What is the tag name of your component? hello--World (you can name it anything)
- Would you like to write this file structure to a disk? Yes
- Do you want to install dependencies? Yes, with npm.

Successful setup will show:

- In the terminal, run
cd hello--world - Run
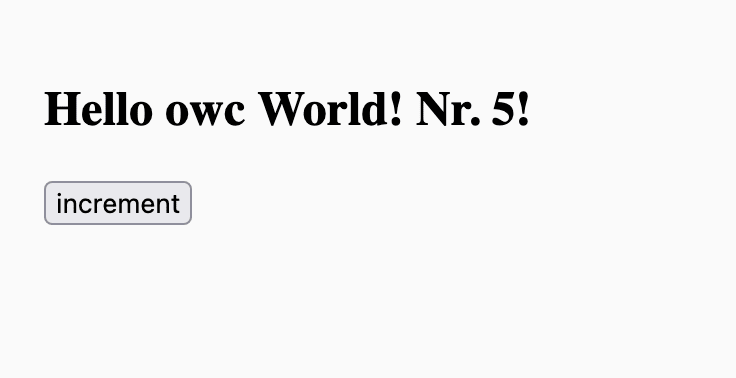
npm run start
Running npm run start in the terminal will yield:
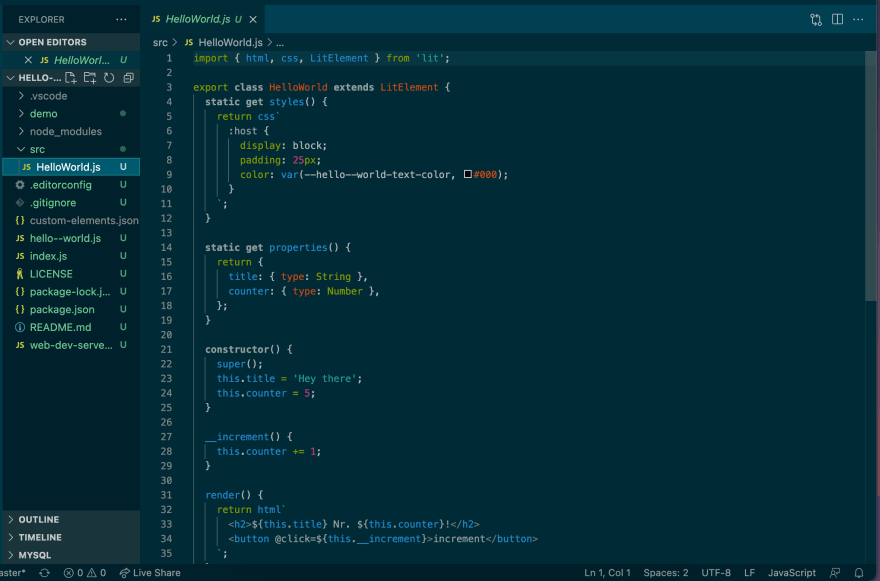
Opening with Visual Studio Code
Use the following steps to open with VS Code:
- At the 'Start' page in VS Code select the open button
- Navigate to 'Documents'
- Select your directory (mine was sampleDirect)
- Open your 'hello--world' file
More Help
Here is a helpful cheat-sheet for Git commands.
This is a helpful tool to learn more.
Here is my GitHub repo.


Top comments (0)