
I am really excited to announce a new integrated image upload feature today! You can start adding your local images the same way as public images — with zero configuration. All images you see in this article have been added that way.
Uploading Images
Here is a small demo that shows how to upload images in the editor. The new function is included in the side-menu that you can reach over the plus sign.

With this new feature, there is a small breaking change that you’ll get quickly accustomed with. The image icon (first icon in the figure below) was previously used for image links but it is now used for uploading images. The image link feature is still available under a new icon (second icon in the figure below) which better depicts the link nature.
![]()
I have been asked why image uploads was not part of the initial release and the answer is twofold. First, many people already have their images stored in the cloud and in this case it’s easier to just add a public link to the already existing image. This prevents image duplication and allows to include what people are already used to.
The second reason is that an image upload feature needs an image store and I wanted to take the time to find the best solution for Blogody. The chosen solution abstracts storage management away, so that you don’t need to think about the image store at all — everything is handled for you in the background.
Hosting images with Blogody
That’s right, when you upload an image it gets hosted on the Blogody platform. You can upload up to 500 images on the Free Plan and up to 10.000 images on the Pro Plan. Many media blog posts have one feature image and more image heavy posts typically have less than 5 images per article. That translates to more than 500 posts on the free and 2.000 posts on the pro tier.
Note that you can always include an unlimited number of image links , so that you can fully utilize the cloud storage that you booked elsewhere.
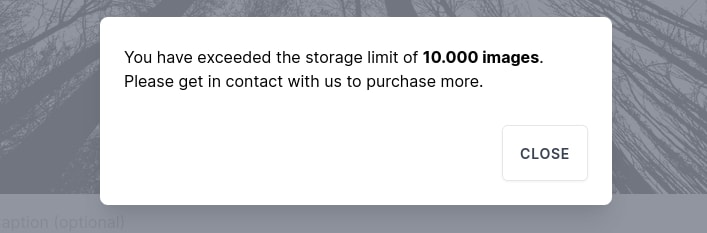
While this is plenty for many use cases, it’s probably not enough if you plan a dedicated photo blog. Once you reach one of the limits, you’ll get notified the next time you try to upload a new image:
Blogody image URLs and privacy
When you upload an image, the full image data is compressed and transferred to the platform storage. The editor immediately displays a preview image and transitions to the stored image once the upload is completed. The final image URL follows the following pattern:
https://assets.blogody.com/image/FrcZODKj5JCZM/your-image.png
The fixed part is followed by a random 13 character unique identifier. The image name is taken from the selected filename and slugified to improve search engine results. Thus, image links are designed to fulfill the following properties.
- Links live on blogody.com for excellent domain authority.
- Use a small identifier to get short URLs.
- Optimized for search engines through the asset and image keywords and further improved by the slugified name.
- Hard to discover if you don’t know the link.
The last property is important to give your image moderate privacy. Of course, once you publish your article, the link is public and everyone who can read your article can also access your image. Nonetheless, it’s hard to guess an image link _ before _ your article is published.
Search engine Optimization (SEO)
As described before, image links are automatically generated, so there is nothing for you to configure. However, you can improve search engine results by giving your images descriptive names. That no only helps search engines, it’s also a good idea when it comes to organizing images on your local computer.
Avoid giving images a generic name such as image1.jpg, image2.png, instead create the name from a short description such as: blogody-image-upload-demo.gif. This would result in the following URL:
https://assets.blogody.com/image/Az3BKFJt6EWCV/blogody-image-upload-demo.gif
You’ll get the idea: Use the image name to tell something about its content.
Image lifecycle on Blogody
As we saw earlier, images are uploaded to the platform whenever you add an image to your post or page. But what happens if you delete an image in the editor? It may surprise you that it stays on the platform and is still available. It’s been designed that way so you don’t need to upload the same image a second time if needed.
Internally, every uploaded image is connected to a post or page. That means all images associated with a post are deleted when you delete the post. The same is the case when you delete an entire project.
The described image lifecycle ensures that we don’t pile up images that are not needed anymore, but also ensures images are uploaded only when needed.
What’s next?
The new image upload feature is just the beginning of more image related functions in Blogody. It’s an important feature, because it opens the door for automatic image optimizations and cool image manipulations. Stay tuned for the next episode of working with images in Blogody.
This post was originally published at Blogody News on September 30, 2021.


Top comments (0)