
In an earlier blog post, I explained how to build a simple chat browser application that consumes messages via a direct topic subscription. In this follow-up to that tutorial, I’ll explain how to modify the sample code to get that application consuming messages from a queue.
Specifically, you will create a queue, add a subscription to the queue and create the queue consumer.
Prerequisites:
- Download Git to your computer
- Install Apache Maven
- Sign up with Solace PubSub+ Cloud
- Understand Solace topics and queues
Level: Beginner
Create a Queue
- In your code editor, check out the developer-exercise-2 branch or in your command line, enter
git checkout remotes/origin/developer-exercise-2 -f - Open the scripts directory under src > main > resources > static.

- Open the pubsubplusbroker.js file, comment out the direct topic subscription that was added in Part 1 and save the file.

-
Log in to Solace PubSub+ Cloud, open your service, and click Manage Service.

- Click the Queues tab on the left.

- Click the + Create button to create a queue.
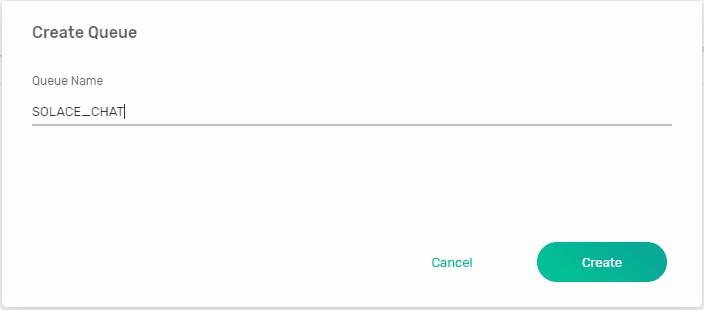
- In the Create Queue dialog box, give the queue a name and click the Create button.
- Click Apply to use the default settings.
Add a Subscription to the Queue
- Click on the queue you just created and click the Subscriptions tab.
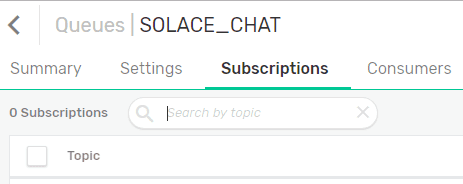
- Click the + Subscription button to open the Create Subscription dialog box.
- In the Create Subscription dialog box, add the topic subscription, press Enter , and click Create.

- In your code editor, type mvn spring-boot:run to run the application. Make sure you are in the web-app-server directory.
- In your Web browser, type localhost:8081 to open the application if it is not already open.
- Send a few messages in the application.

- In the queue you created at Step 3, click Summary to see the queued messages.

Create the Queue Consumer
Now that the messages are in the queue, you need to create the consumer that consumes the messages in the queue. To create the consumer, follow the steps below:
- Open the application-properties.js file under static > resources and add ‘SOLACE_CHAT’ to sReceiveQueue.

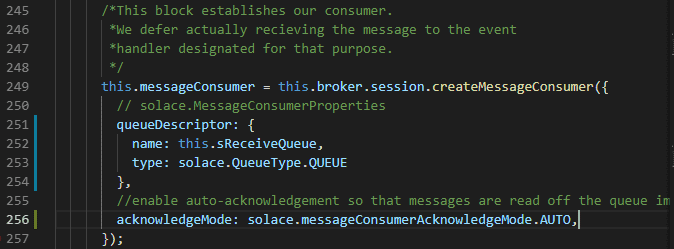
- Open the pubsubplusbroker.js file, specify the queue descriptor, including the name and type of the queue, and set the acknowledge mode.
- Add the following code to connect the message consumer.

- In your code editor, type mvn spring-boot:run to run the application.
- Refresh the chat application in your browser. You should be able to see the received messages from the broker.
- In the queue that you created earlier, click Summary and then Refresh Data in the bottom right corner. You should see that the messages are no longer in the queue because of auto acknowledgement.

Congratulations! You have just created a queue, added a subscription to the queue, and created the queue consumer. In Part 3 of the series (coming soon), you will learn how to send a REST POST request from a login page to a dummy authentication service.
Related Resources
- How to Build a Simple Chat Application with Solace (Part 1)
- Udemy Course: Fundamentals of Solace Development
The post How to Build a Simple Chat App with Solace (Part 2) appeared first on Solace.


Top comments (0)