
Welcome to part two 💥 of the tutorial series, in which we will use react's build-in context API to manage the state of our todos.
For this you will need:
- yarn (you can also use npm and npx)
- the basic project from the last part (you can just download that from Github)
The difficulty is on a scale of 0 to 5, where zero is a total beginner and 5 an extreme expert, a two [X|X| _ | _ | _ ]. You should know something more about how react works and at least know that there are some state hooks. If not you already saw one... the useState hook is a very simple one. If you want to see some other hooks I recommend this Article.
No further talking let's start 😋
Setup
In the last part, we have created our basic project layout. Since we want to use that for all our state management todo-apps we somehow want to save this and reuse it. In part one I mentioned a good tool for versioning called git. With git we can just add all our files
git add . and then commit them to our master branch git commit -m "Added basic project layout". So now we can create a new branch that will hold our context API example, but does not affect the rest of the application. Imagine this as of copying the folder. git checkout -b context does this job without copying the entire folder. But this tutorial is not about git. If you want to learn more, there are a ton of videos and articles about this. Vscode has a build-in git functionality to simplify the entire git workflow.
So we should be in our new branch now, if not in Vscode you can just click on the bottom left on the branch icon and select the right branch.
Context API
In react if you are trying to share a state like the todos between components you can achieve this by implementing the state in higher components and passing it down through props. But this can get out of hand is just not very readable. So react provides us with something called the context API. The concept is that you create a Provider and a Context. The provider is registered in a higher component and to access it, you can import the Context and get access to the shared components. I recommend the video from DevEd. He explains it well and you get to see some funny magic tricks 🐰🎩 .
Let's implement it!
Create a Context
First, let's set up a new file that will hold our TodoContext and -Provider. I will create it in the src/ directory calling it TodoContext.js.
In it, we will need to import React, useState and createContext.
import React, {createContext, useState} from 'react'
Next, we ill create a constant called TodoContext, initialize it with the createContext and export it.
export const TodoContext = createContext();
Now the only thing left here is the Provider. We want this to be a simple functional component that wraps some children with the Provider and holds a state.
Create the component,...
export const TodoProvider = (props) => {
  return (
    {props.children}
  )
}
... add our state ...
export const TodoProvider = (props) => {
  const [todos, setTodos] = useState([
    {
      "id": Date.now(),
      "value": "Buy milk",
      "done": false
    },
    {
      "id": Date.now() + 1,
      "value": "Play with doge",
      "done": false
    }
  ]);

  return (
     {props.children}
  )
}
... and wrap the children in the context component.
export const TodoProvider = (props) => {
  const [todos, setTodos] = useState([
    {
      "id": Date.now(),
      "value": "Buy milk",
      "done": false
    },
    {
      "id": Date.now() + 1,
      "value": "Play with doge",
      "done": false
    }
  ]);

  return (
    <TodoContext.Provider value={[todos, setTodos]}>
      {props.children}
    </TodoContext.Provider>
  )
}
Notice that TodoContext.Provider has a value property where we pass our useState constants.
Last thing is to implement this in a higher component. We will use the App.js since it holds the Navbar and the TodoList, which need access to the state.
import React from 'react';

import { TodoProvider } from "./TodoContext";

import Navbar from "./components/navabar";
import TodoList from "./components/todolist";

function App() {
  return (
    <TodoProvider>
      <Navbar/>
      <TodoList/>
    </TodoProvider>
  );
}

export default App;
We imported the TodoProvider and wrapped our components with it. React passes those down through the children property.
Access the Context
So the only thing left is to access the state. But how do we do that? 🤔 React provides us not only with a createContext but also a useContext hook to access it.
In our navbar.js we will add this by importing the useContext and our TodoContext
import React, { useState, useContext } from 'react'

import { TodoContext } from "../TodoContext";
and retrieve our todos and the setTodo with useContext
export default function Navbar() {
  const [todos, setTodos] = useContext(TodoContext)
  //...
}
Now let's add our addTodo functionality!
Create a function called addTodo
export default function Navbar() {
  const [todos, setTodos] = useContext(TodoContext)
  //...

  const addTodo = (e) => {
    e.preventDefault()
    setTodos([...todos, {
      "id": Date.now(),
      "value": value,
      "done": false
    }])
  }
  //...
}
in which we access the event property and prevent the default action and set our todos to the todos [...todos] and our new todo object. For the value we will create a new local state...
import React, { useState, useContext } from 'react'

import { TodoContext } from "../TodoContext";

export default function Navbar() {
  const [todos, setTodos] = useContext(TodoContext)
  const [menu, setMenu] = useState(false)
  const [value, setValue] = useState("") //<= NEW

  const addTodo = (e) => {
    e.preventDefault()
    setTodos([...todos, {
      "id": Date.now(),
      "value": value, //<= value
      "done": false
    }])
    setValue("") //<= clear value after submit
  }
we will also clear the value after it got submitted. Now just change the input a little
//...
export default function Navbar() {
  //...
  return (
    //...
      <form onSubmit={addTodo} className="field has-addons">
        <p className="control is-expanded">
          <input value={value} type="text" onChange={(e) => setValue(e.target.value)} className="input" />
        </p>
        <p className="control">
          <button className="button is-info has-text-weight-bold">
            Add Todo
          </button>
        </p>
      </form>
    //...
  )
We add a value property where we put our value and handle the onChange event with an anonymous function. Last thing we convert one div to a form which lets us submit the todo via the ENTER key.
Boom 💥, we can add todos now, but they won't show up yet.
So let's modify todolist.js
We want to import the context again and use it to retrieve our todos and our setTodos. We remove the hardcoded todos and add two functions. toggleDone and deleteTodo. Both take in a Todo.
-
toggleDone, looks for our todo and changes just the todo which matches -
deleteTodo, filters the todos and returns everything just now the todo we provided
We pass both functions through the props down to our Todo component.
Code for TodoList:
import React, {useContext} from 'react'

import { TodoContext } from "../TodoContext";

import Todo from "./todo";

export default function TodoList() {
  const [todos, setTodos] = useContext(TodoContext);

  // toggleDone
  const toggleDone = (todo) => {
    todos.map(_todo => _todo === todo ? _todo.done = !todo.done : todo)
    setTodos([...todos])
  }
  // delete
  const deleteTodo = (todo) => {
    const _todos = todos.filter(_todo => _todo !== todo)
    setTodos(_todos)
  }

  return (
    <div>
      <div className="hero is-info">
        <div className="hero-body has-text-centered">
          <p className="title is-1">{todos.length} Todos</p>
        </div>
      </div>

      <section className="section">
        <div className="container">
          {todos.map(todo => (
            <Todo key={todo.id} todo={todo} toggleDone={toggleDone} deleteTodo={deleteTodo}/>
          ))}
        </div>
      </section>
    </div>
  )
}
In todo.js we bind our onClick events to the passed down functions and bind those with the todo the component currently renders.
Code for Todo:
import React from 'react'

export default function Todo(props) {
  return (
    <div className="card">
      <div className="card-content">
        <div className="level">
          <div className="level-left">
            <div className="level-item">
              <p className={`title ${props.todo.done ? "has-text-grey-light" : ""}`}>{props.todo.value}</p>
            </div>
          </div>
          <div className="level-right">
            <div className="level-item buttons">
              <button onClick={props.toggleDone.bind(this, props.todo)} className={`button has-text-weight-bold ${props.todo.done ? "is-warning" : "is-primary"}`}>{props.todo.done ? "Undo" : "Done"}</button>
              <button onClick={props.deleteTodo.bind(this, props.todo)} className="button is-danger has-text-weight-bold">Delete</button>
            </div>
          </div>
        </div>
      </div>
    </div>
  )
}
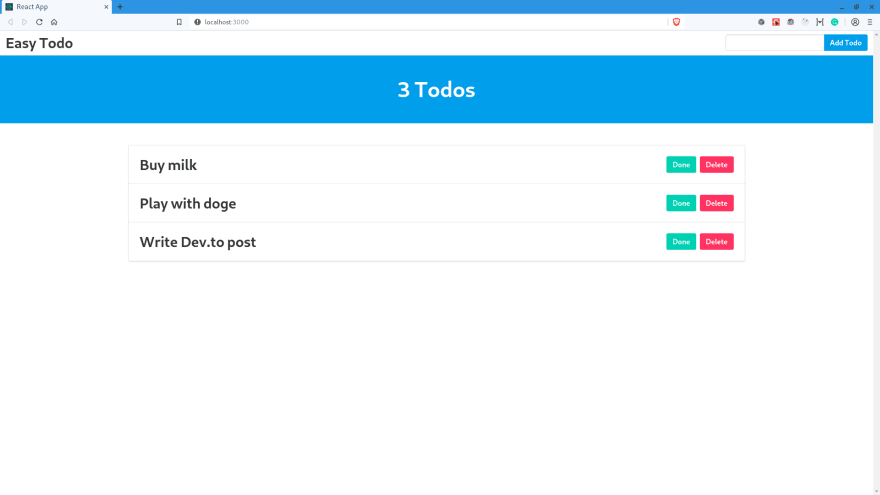
Result
And done ✔️, you should be able to add and delete todos. Also, you can check a Todo or undo that.

Even though this works, you notice that this way isn't perfect. We need to code the actions in our components and the scaleability is pretty bad. But for simple data, which needs to be shared between components this is a good solution.
Thank you for reading this article, react and share. If I forgot anything or some code is just unacceptable, feel free to tell me!
See you soon 😎 in part 3 where we try the same with MobX


Top comments (0)