Continuing the series of posts that I am planning to write as I explore framer motion (check out the previous post here), this one explains my understanding of useMotionValue & useTransform using a few simple examples.
useMotionValue
In framer motion, to animate any element we use motion components, the motion component for a
Internally framer motion uses motion values to track the state and velocity of all motion components. State is basically the value which is being a animated or in other words the value which changes to cause the animation.
Example 1
In example 1 above, you can drag the div horizontally(along x axis), the drag constraints and 0 and 400px, so it cannot be dragged left, but can be dragged right till it reaches 400px.

Above picture shows the css styles applied to the the example 1 div, so framer motion internally uses translateX property to slide it along the X direction.
so this translateX value is being tracked in a motion value created automatically.
useMotionValue allows us to create a motion value manually and inject it into a motion component into the style attribute.
const x = useMotionValue(0);
This creates a motionvalue stored in x(could be named anything) and injected into the style attribute of the motion.div.
so now the motionvalue x is in sync with the translateX value.
We can listen to the changes in x and perform some actions.
useEffect(() => {
x.onChange(() => {
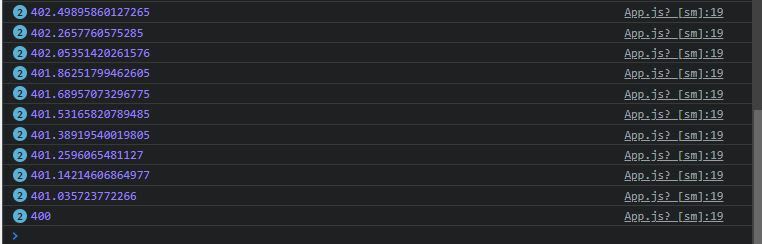
console.log(x.get());
});
}, []);
We have attached a listener to x using onChange **method and are printing the value (accessed using **x.get()) to the console. so as you drag the div, you will values in the range of 0 to 400 being printed.
Example 2
The second example in above codesandbox shows how we can manually set the motion value and see changes in the UI. We are using a state variable which increases by 10 every time you click the button, causing a useEffect to run where we assign the state value to motion value using set method. useSpring can also be used in place on useMotionValue(remove the comment and try), the transition will be a more smoother spring animation.
Example 3
In the codesandbox above, as you drag the div to right, it’s opacity starts reducing and once the div reaches the constraint of 400px, it’s 0.
useMotionValue along with useTransform. useTransform transforms one or more motion values to give new motion values.
const x1 = useMotionValue(0);

const opacity = useTransform(x1, [0, 400], [1, 0]);

// useTransform(motion value, range of motion values, range of output values);

x1 = 0 -> opacity = 1

x1 = 400 -> opacity = 0
We have both x1 and opacity are then injected into the style attribute.
So we are able to update visual properties (opacity in this case) without triggering react re-renders.
Example 4
Here we are using motion value to synchronize motion across 2 divs. As you drag the 1st div to right, the progress bar is updated.
We are using useTransform to map the x value to the width of the progress bar.
If you have any made any interactions using framer motion, do share them in the comments, would love to learn from those. Also you can DM me on twitter
PS — the embedded codesandbox has all 4 examples.


Top comments (0)