
Hello developers, I am making this multi-part tutorial series focused on learning Django. This tutorial series is beginner-friendly and will help the beginners learn Django by doing some practical project.
To make it simple, we won’t be using any Frontend Framework in this project. We will use HTML, CSS (Bootstrap and some custom CSS) and JQuery in the project.
The main focus of this tutorial series is to learn Django so we would mostly focus on Django.
So, let’s talk about the project we will be making. It would be a simple Social Media Website where users can do the following things:
- Post images along with description and tags. You can update or delete them anytime.
- View other’s profile and send them a friend request or cancel if you have sent one by mistake.
- Accept or decline friend requests received from other users.
- Unfriend existing friends.
- Search posts on basis of tags.
- Search users based on their username.
- Discover new people section to recommend new people to add as friends based on mutual connections.
- These all will be the features of the website we will be building. So, let’s do it part by part.
So, in this first tutorial, we will be setting up our Django Project.
Setting Up a New Django Project
So, setting up a new Django Project is quite simple. First, you need to install Django, if you have not done before.
To install Django, we will need to run the following command:
pip install Django
This command will install Django in our system. Now, we are ready to use Django. So, now let’s start our Django Project. We will use the following command to create a new Django Project.
django-admin startproject photoshare
Here, photoshare denotes the name we want to give to our Django Project.
It will create and set up the Django Project for us. If you will have a look in the created folder, there will be many files in it.
It would have a manage.py file and also a photoshare folder. You should not rename that folder. You can rename the outer folder though.
Going inside the photoshare folder, you can see various files such as urls.py, settings.py and other files. You can see that all these files have code written in it. We will add our code to them later on as we progress through the project.
We can run the website on our local server to check if everything is running fine.
To do so, we will run the following command on the CLI in the same folder where manage.py file is present:
python manage.py runserver
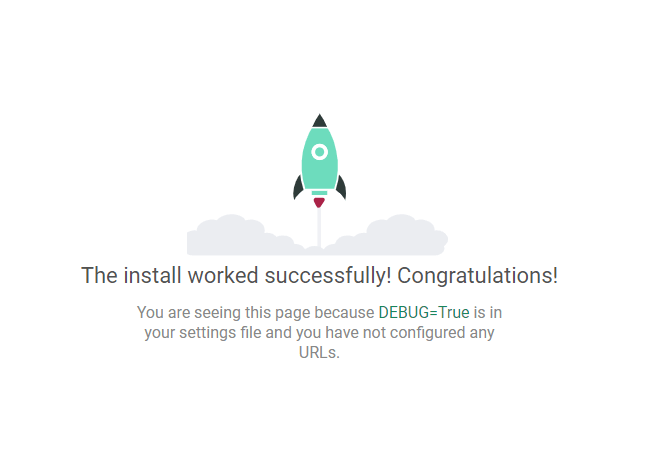
This will render the Django default page which will look like this:
Now, run the following command to make database migrations and then migrate to sync the database.
It has an SQLite3 database built-in which we will be using for development and testing. You can switch to a more capable database such as Postgre SQL later on when going to production.
So, you can run the following two commands to do the migrations:
python manage.py makemigrations
python manage.py migrate
Now, I would like to tell you one of the powerful parts of Django. It comes with a built-in admin panel. So, we do not need to build an admin panel on our own. We can surely create a better designed and custom admin panel later if we desire to but the default one will be fine for us.
So, to access the admin panel, we would have to create a superuser. superuser will have access to the admin panel and can edit the database elements.
To create a superuser, we can run the following command:
python manage.py createsuperuser
After running this command, you will be asked with username, email, password in the CLI itself. Then it will create the superuser for you.
Now, you have the access to the admin panel which you can access by running the server once again. After the server is up and running you can visit the admin panel at the /admin page. Access it by adding /admin to the default URL which looks like localhost:8000/admin or 127.0.0.1:800/admin.

After putting in your credentials, you will be taken to the Django Admin Dashboard which looks like this:
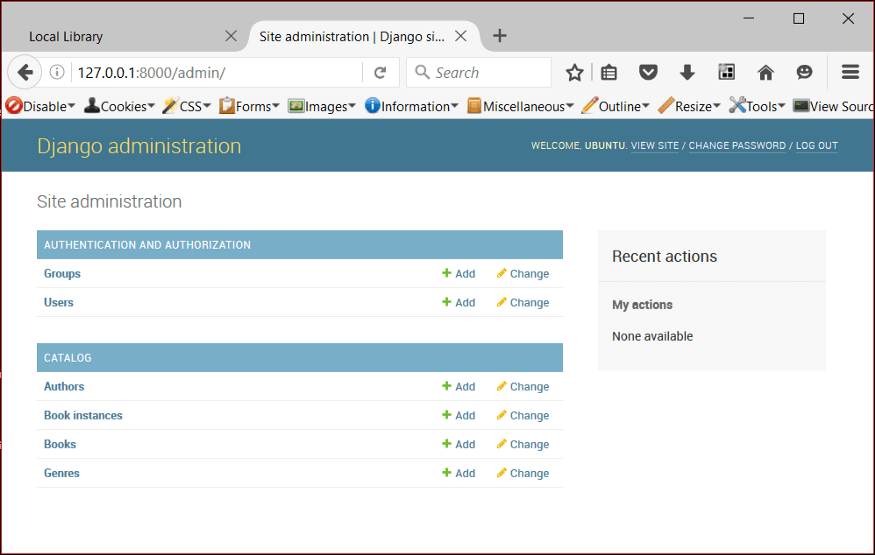
Your admin home will only have the Groups and Users field for now. As you create new models and add them to your Admin panel, they will appear here.
For now, as you will see, there will be one user, you, and you can see that you have superuser access as you will see a green tick besides superuser access in your user profile in the admin dashboard.
Now, we would love to create the required apps (small parts of projects in Django are called Apps). We will have two separate apps — Users and Feed.
Users app will handle all the models, forms and views regarding authentication, user profiles, friends and sending, receiving requests, searching for users and making new friends i.e. everything relevant to the user.
The Feed app will handle all the models, views and forms regarding the posts i.e. the post, likes and comments on the posts, searching posts, displaying posts of a particular user and so on.
To create these two Apps in our Django Project, we will take help of the CLI and type the following commands:
python manage.py startapp feed
python manage.py startapp users
Running the above two commands will create the two apps — feed and users respectively. Both will have some python files in them. We will add content later on to those files.
For now, let’s register our apps in the settings.py file of inner photoshare folder. Open the settings.py file in your favourite text/code editor and add the following lines of code to installed apps list in the file.
So, add these two elements to that Installed Apps list:-
‘users.apps.UsersConfig’,
'feed.apps.FeedConfig’,
It will look like this now:-
INSTALLED_APPS = [
    'users.apps.UsersConfig',
    'feed.apps.FeedConfig',
    'django.contrib.admin',
    'django.contrib.auth',
    'django.contrib.contenttypes',
    'django.contrib.sessions',
    'django.contrib.messages',
    'django.contrib.staticfiles',
]
Do not delete anything that is already present in the Installed apps list.
Also, we will be using crispy forms to stylize our Django forms which we will create later on, so let’s install it too.
pip install django-crispy-forms
Also, since its also an app, we would have to add it in the Installed Apps list in settings.py file too. After adding it, our INSTALLED_APPS list would look like:
INSTALLED_APPS = [
    'users.apps.UsersConfig',
    'feed.apps.FeedConfig',
    'crispy_forms',
    'django.contrib.admin',
    'django.contrib.auth',
    'django.contrib.contenttypes',
    'django.contrib.sessions',
    'django.contrib.messages',
    'django.contrib.staticfiles',
]
Also, since crispy_forms uses Bootstrap 3 by default, we would love to set it to use Bootstrap 4. To do so, add this line at end of settings.py file.
CRISPY_TEMPLATE_PACK = ‘bootstrap4’
Also, we need to specify static and media paths. We will add the following lines to our settings.py file to do so (skip any line if already present):
STATIC_ROOT = os.path.join(BASE_DIR, 'staticfiles')
STATIC_URL = '/static/'
MEDIA_ROOT = os.path.join(BASE_DIR, 'media')
MEDIA_URL = '/media/'
Now, let’s also add some more settings to help us tell Django what to do in those particular situations.
LOGIN_REDIRECT_URL = 'home'
LOGIN_URL = 'login'
The first line directs Django to go to the ‘home’ page after login is successful. We will be keeping our ‘home’ page the first page of our website. You can choose whichever page you would like to redirect users to.
The second line directs Django to use the path specified in the ‘login’ URL name when searching for the URL needed for display of login page. You will understand it later.
Now, let’s set up the password recovery system. We will send an email when the user requests for a password reset. We will use Gmail for this purpose.
Get the Gmail host user (your Gmail id) and password (generate your password from visiting this link). This tutorial will be helpful in doing this task.
EMAIL_BACKEND = 'django.core.mail.backends.smtp.EmailBackend'
EMAIL_HOST = 'smtp.gmail.com'
EMAIL_PORT = 587
EMAIL_USE_TLS = True
EMAIL_HOST_USER = os.environ.get('EMAIL_HOST_USER')
EMAIL_HOST_PASSWORD = os.environ.get('EMAIL_HOST_PASSWORD')
These setups will ensure you are ready for building your app without any issues. The authentication system will be good with password recovery.
So, now you have set up your project and now in the next tutorial, we will make the users app.
I hope you liked the first part of this tutorial, it was all about setup. Next part will take you to the actual building of the website.
And if you would like to see the complete code, view the project’s Github Repo. Also, you can try out this app by visiting this link. It is hosted on Heroku and the media and static files on Google Cloud Storage.


Top comments (0)