
This is part1 of creating a component library using vue 3 and rollup.
We will be using vuejs3, postcss and rollup to build our project.
vue3 project can be created using vue-cli:
vue create projectName
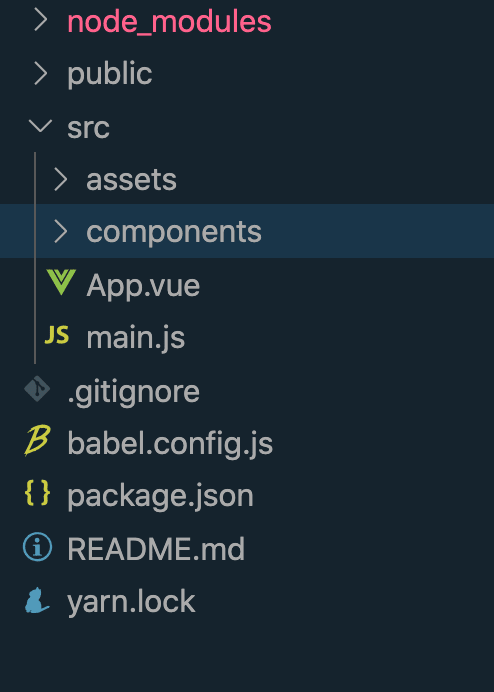
Once we complete all the steps to create our project. our project directory will look something like this
After this we have to wire up install function which will be used by other projects to rope up our components in them.so lets add index.js which will have install function init.we can read more about install function here writing a plugin
# src/index.ts
import * as components from "./components/index"

const install = (instance) => {
    for (let componentKey in components) {
        instance.use((components)[componentKey])
    }
}

export default install

export * from './components'
In the above code we are importing all components from components folder and registering them here with install function.Also all the components are exported so that we can register them with Vue.component().
Within components folder we will create index.js which will export all our components that are used to register via install function.
# components/index.js
import HelloWorld from "./helloworld";
import TestWorld from "./testworld";

export { HelloWorld, TestWorld };
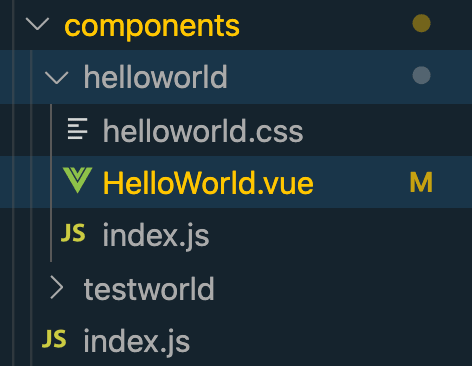
Lets see our components folder we will be having folder for each components with a .vue file, .css file and an index.js file.Our components folder will look something like this
Content of index.js will be as follows:
import HelloWorld from "./HelloWorld.vue";

import { registerComponent } from "./../../utils/plugins/index";

const Plugin = {
  install(vue) {
    registerComponent(vue, HelloWorld);
  }
};

export default Plugin;

export { HelloWorld };
This is just to use each component as plugin in our UMD/IIFE build separately, each index.js will act as entry point in our rollup config.
We will create a util folder which will have plugin/index.js code inside this will help as set global properties and register our component
# utils/plugins/index.js
export const registerComponent = (instance, component) => {
    instance.component(component.name, component)
}

export const registerComponentProgrammatic = (instance, property, component) => {
    if (!instance.config.globalProperties.$test) instance.config.globalProperties.$test = {}
    instance.config.globalProperties.$test[property] = component
}
With this much setup we can get started with our dev server using yarn serve and start coding our plugin.
Now we will add postcss to our project so that we can use its plugins. lets install few postcss plugins
yarn add -D postcss@8.0.0 postcss-import@12.0.1 postcss-inline-svg@4.1.0 postcss-loader@4.0.4 postcss-nested@4.2.1 postcss-simple-vars@5.0.2 postcss-url@8.0.0 autoprefixer@9.7.8
with this done we can setup our postcss.config.js
const path = require('path');
module.exports = {
    plugins: {
      "postcss-import": {
        resolve(id, basedir){
           // resolve alias @css, @import '@css/style.css'
            // because @css/ has 5 chars
            if (id.startsWith('@css')) {
              return path.resolve('./src/assets/styles/css', id.slice(5));
            }

            // resolve node_modules, @import '~normalize.css/normalize.css'
            // similar to how css-loader's handling of node_modules
            if (id.startsWith('~')) {
              return path.resolve('./node_modules', id.slice(1));
            }

            // resolve relative path, @import './components/style.css'
            return path.resolve(basedir, id);
        }
      },
      "postcss-simple-vars": {},
      "postcss-nested": {},
      "postcss-url": {},
      autoprefixer: {
        overrideBrowserslist: "> 1%, IE 6, Explorer >= 10, Safari >= 7"
      }
    }
}
Now we can write css in our .css files and import them in .vue files on our component. We will be adding main.css file in our assets folder which will have css variables.
# assets/styles/css/main.css
$red: red;
$yellow: yellow;
$blue: blue;
$green: green;
# components/HelloWorld.vue
<style lang="css" scoped>
@import "./helloworld.css";
</style>
# components/helloworld.css
@import "@css/main.css";

.highlight1 {
    color: $red;
}

.imgtest {
  background-image: url("../../assets/img/icons/star-half.svg");
  background-size: 100%;
  width: 100px;
  height: 100px;
}
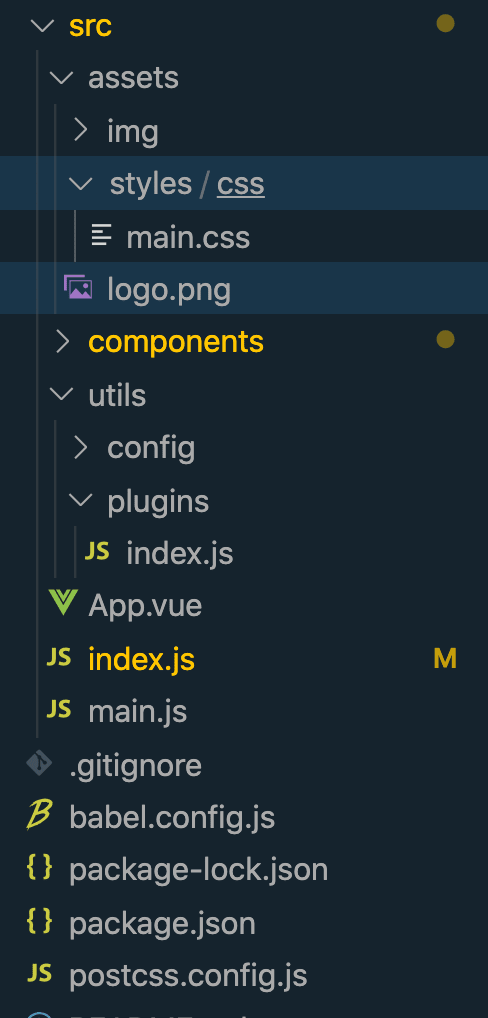
Now we can use postcss import, vars and nesting features.We can get started to develop our components with css compiled by postcss.With this setup our project will look like this
All updated code for this article is available at github
In next part we will add rollup to build this project so that we can have treeshaking features.


Latest comments (0)