Hey readers 👋🏻,
I hope you all are doing fine, in this blog we are going to discuss about hosting and how to host our own discord bot, which we made in my previous blog .
We are going to use Heroku to host our bot.
What do I mean when I say 'HOST' a discord bot?
So basically you cant run the program which you made for 24x7 and 365 days, so we need a server to do that.
The hosting platform has a lot of servers which will serve our discord bot for 24x7 and 365 days, so you and your friends can anytime use it anytime!!
Let's host it now 🤖 :
-
Sign-up or Log-in to Heroku :
-
Create a new app :
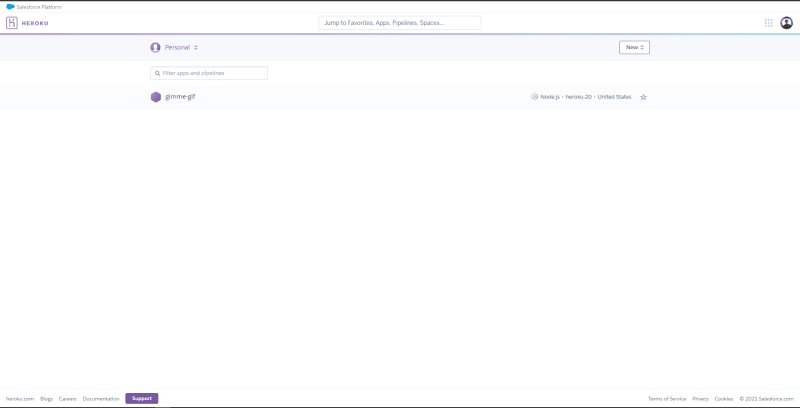
- Click on the new button on the
top-right corner. - Click on Create New App
-
Name your project and select a region:
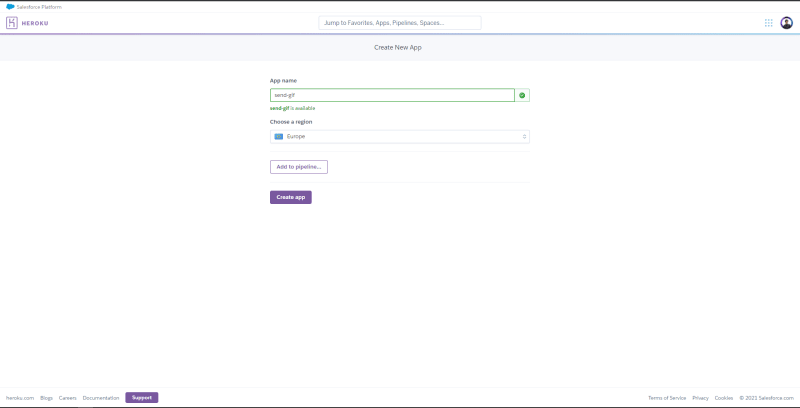
- Click on Create App
- Now you have to push the source code on GitHub repo.
- Make sure source code does not contain your discord bot TOKEN or any other API key.
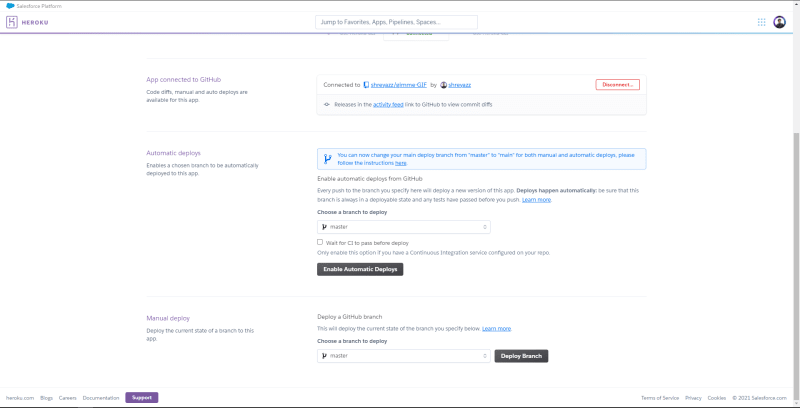
- Now you will have this screen:

- Click on the
Connect to GitHubbutton. - Then select the repository which you created.
- Once the repo is connected, just press on
Enable Automatic Deploys, which will help us to deploy the new version of our bot automatically whenever the repo is updated. - Refer to this image 👇🏻
-
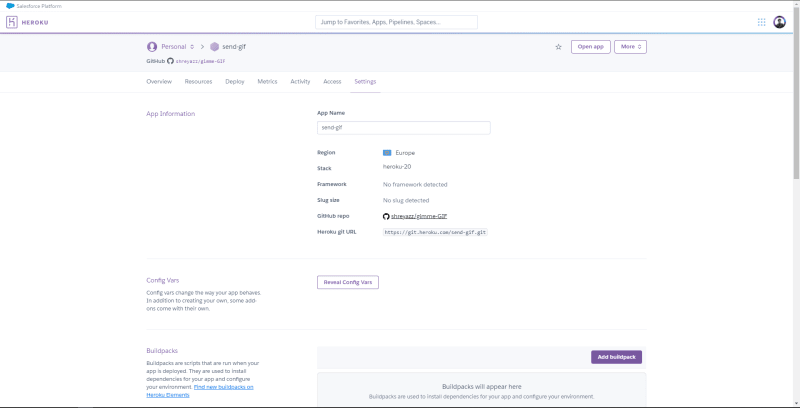
Then go the settings tab:
- Click on
Reveal Config Vars - 👇🏻
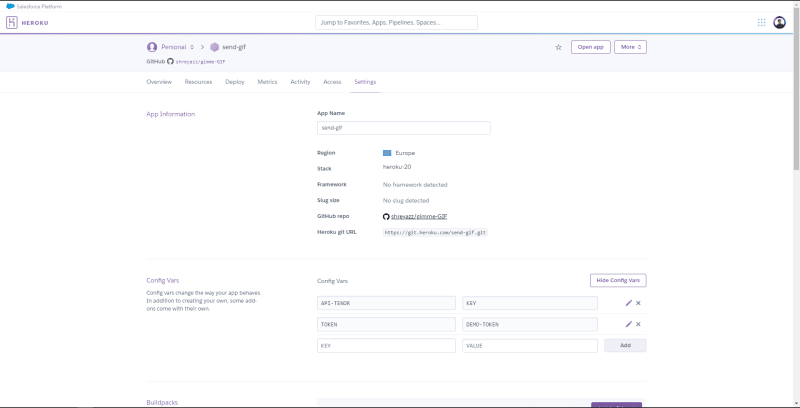
- Inside the config vars enter your key and value pair of your API KEY and Discord Bot's Token. 👇🏻
- Click on
-
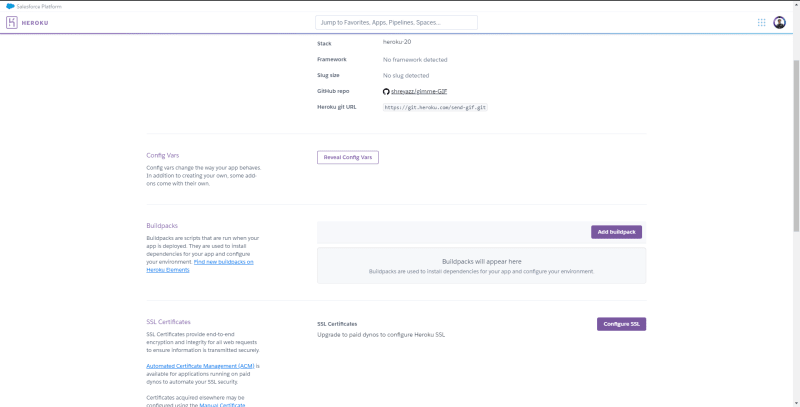
Add a BuildPack:
- BuildPack are scripts that are run when your bot will be deployed. They are used to install dependencies for your bot and configure your environment.
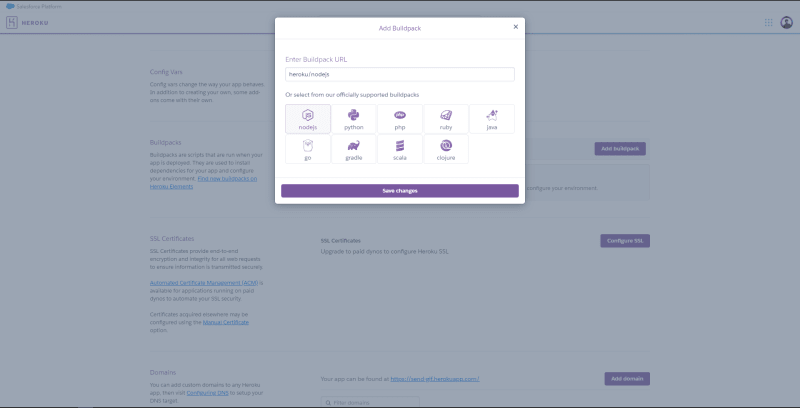
- Click on add BuildPack 👇🏻
- Then click on Node.JS 👇🏻 as our bot is made using JS and Node Modules.
-
After these steps, go to the home directory of your project and make a new File with the name of
Procfile- The
Procfileshould containworker node <Source-folder-Name>/<file-which-has-bot's-code>in this case, it will beworker node src/bot.js. -
Procfilewill help the Heroku's server to run our bot.
- The
Now push the new change to the repository.
-
Go to the deploy tab:
- Now click on the
Deploy Branchbutton. - You will see a green check mark which will ensure you that there are no errors while deploying 👇🏻.

- Now click on the
-
Go to the resource tab:
- Refresh the page once.
- You can see 2 Dynos 👇🏻
-
 Click on the pen icon and switch off the
 Weband Switch on theWorker.
Click on more and then click on view logs.
That's it you have successfully hosted your discord bot, and now you and your friends can use the bot anytime you want 🎉!!
Thank you so much for reading the whole blog and if you liked it, do share it with your developer friends 💻!!
In case you want to learn how to make a discord bot(my previous bog's topic)and how to host it on Heroku, do check out my talk 🎉!
Make a Discord Bot using Discord.js and host it online on Heroku


Latest comments (5)
Is it really available now
Maybe they closed the free hosting feature
Heroku is really easy to register, setup and get the results. It is extremely easy that I don't even need a user manual. It can automatically deploy my server when commits are pushed to my Git repo.
Yup Heroku makes deployment so easy!!
Very Informative 👍👍
Thanks bro