The Document Object Model (DOM) is a programming interface for web documents. Browser creates a DOM of every web page when the page is loaded. DOM comprises of nodes and objects. We can access these nodes in our JavaScript code with the help of various selectors and modify the HTML elements using the reference.
So, in this blog, we are going to see some methods of accessing and creating HTML elements using JavaScript. We will have two buttons, one to create a form which will take two numbers, multiply them and show the output and the other to delete the entire form from the DOM.
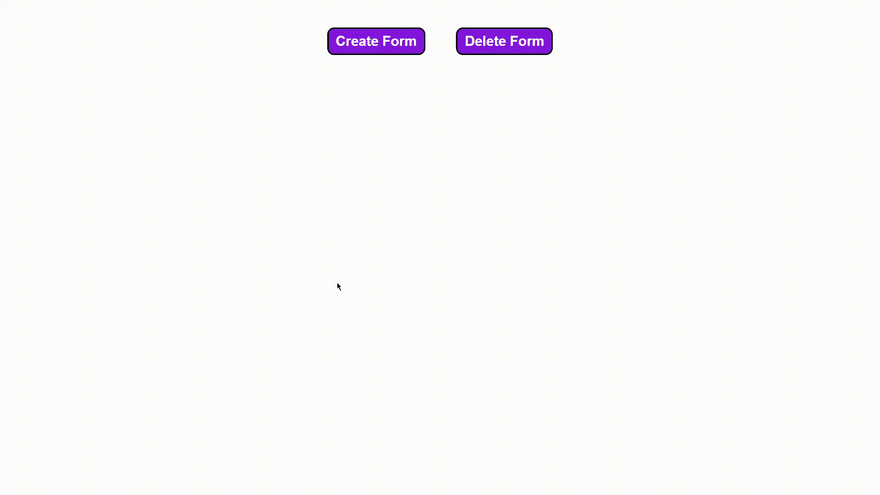
This is how our end product would look like -
Now, sit straight, get your IDE ready and let's dive into it.
Create an HTML file index.html having two buttons for creating and deleting a form, and a section where our form will be displayed.
<!DOCTYPE html>
<html lang="en">

<head>
  <meta charset="UTF-8">
  <meta name="viewport" content="width=device-width, initial-scale=1.0">
  <title>Form</title>
</head>

<body>
  <button id="create_form" class="button">Create Form</button>
  <button id="delete_form" class="button">Delete Form</button>
  <section id="form_area"></section>
</body>

</html>
Now, since we will be manipulating the DOM, create a main.js file for JavaScript code and include it in the html file. Add the script tag inside the head tag.
<script defer src="./main.js"></script>
Steps to create form:
1. Create a form element and assign attributes
let form = document.createElement("form");
form.setAttribute("id", "form");
form.setAttribute("class", "multiplication-form");
- What is
document? Document is an object created by the browser when html page is loaded, so basically all of our html code inside html tag is included in the document. -
createElement()As the name suggests this method creates an html element which is provided as the parameter -
setAttribute()This method is used to add the attribute to the html element created, it takes the attribute name as the first parameter and its value as the second parameter
2. Create input elements and submit button
Just like we created the form element and added attributes, try to create two input elements with the attributes
For first input tag
- type - number
- id - first_number
- class - input
- required - true
- placeholder - enter number 1
For second input tag
- type - number
- id - second_number
- class - input
- required - true
- placeholder - enter number 2
And for one button with the attributes
- type - submit
- id - submit_button
- class - button
- To add text inside button you can write button.innerText = "submit"
View Code
let input1 = document.createElement("input");
input1.setAttribute("type", "number");
input1.setAttribute("id", "first_number");
input1.setAttribute("class", "input");
input1.setAttribute("required", "true");
input1.setAttribute("placeholder", "enter number 1");

let input2 = document.createElement("input");
input2.setAttribute("type", "number");
input2.setAttribute("id", "second_number");
input2.setAttribute("class", "input");
input2.setAttribute("required", "true");
input2.setAttribute("placeholder", "enter number 2");

let button = document.createElement("button");
button.setAttribute("type", "submit");
button.setAttribute("id", "submit_button");
button.setAttribute("class", "button");
button.innerText = "Submit";
3. Add them inside form element
To add elements inside another element we can use two methods, one append() and second appendChild().
append() lets us add multiple elements at once and doesnt return any refrence whereas by using appendChild() we can add only one element and it will return a reference of the updated element
We will use append to add all the elements
form.append(
  input1,
  input2,
  button,
);
4. Add the form element into our HTML DOM
Now, to add the form element we need to have access of the section tag so that we can append the form into it.
We will use the querySelector() method for that.
const section = document.querySelector("#form_area");
section.append(form);
The querySelector() method selects and return the tag from the DOM with the help of different selectors. Here we are using id as the selector.
5. Create div to display output and append
To display our output we need to add one more element in the section tag, i.e. a div tag, it can be a paragraph too.
let div = document.createElement("div");
div.setAttribute("id", "output");
div.setAttribute("class", "output-div");
section.append(div);
Now putting all the code together in a function it would look like
const section = document.querySelector("#form_area");
function createForm() {
  let form = document.createElement("form");
  form.setAttribute("id", "form");
  form.setAttribute("class", "multiplication-form");

  let input1 = document.createElement("input");
  input1.setAttribute("type", "number");
  input1.setAttribute("id", "first_number");
  input1.setAttribute("class", "input");
  input1.setAttribute("required", "true");

  let input2 = document.createElement("input");
  input2.setAttribute("type", "number");
  input2.setAttribute("id", "second_number");
  input2.setAttribute("class", "input");
  input2.setAttribute("required", "true");

  let button = document.createElement("button");
  button.setAttribute("type", "submit");
  button.setAttribute("id", "submit_button");
  button.setAttribute("class", "button");

  let div = document.createElement("div");
  div.setAttribute("id", "output");
  div.setAttribute("class", "output-div");

  form.append(
    input1,
    input2,
    button,
  );

  section.append(form);
  section.append(div);
}
6. Adding event listener to create button
With this our form is ready with all the elements. But now we need to display the form when we click on the create form button. For that we need to access the button and put a listener to it.
const createFormButton = document.querySelector("#create_form");
createFormButton.addEventListener("click", createForm);
-
addEventListener()is a method which listens to events occuring with the specific tag. It takes the type of event as first parameter and a call back function as second parameter. - Call backs are are functions which are invoked after a certain task is completed. In this case after the button is clicked, createForm function will be called to create the form.
Steps to delete form:
1. Creating delete form function
To remove all the elements inside the section tag we will access the section and loop through all the elements and remove them one by one
function deleteForm() {
  while (section.firstChild) {
    section.removeChild(section.firstChild);
  }
}
This function will first remove the form tag and then the div tag from the section. You can write console.log(section.firstChild) in the while loop to check what is happening.
2. Adding event listener to delete button
Now to trigger the deletion of form after clicking on the delete button, we need to add an event listener to the button same as we did for create button.
const deleteFormButton = document.querySelector("#delete_form");
deleteFormButton.addEventListener("click", deleteForm);
At this point if you run your code and click on the create button you will see the form elements getting displayed, but if you keep on clicking the create button the form elements keep pilling up and we do not want that.
To prevent adding up form elements, we will run the delete function before creating and adding any elements inside section tag.
So our createForm() function would look like this -
function createForm() {
  deleteForm();
  let form = document.createElement("form");
  form.setAttribute("id", "form");
  form.setAttribute("class", "multiplication-form");
// ...rest of the code
}
Creating Multiplication function
Now, we have our buttons working. Create button is creating the form and delete button is deleting it. But now we want to get our form working. It should multiply the numbers we entered and display us the result. For that we need to create a function which will get the input values multiply it and show it in the output div we created after we submit the form.
function multiplyNumbers(event) {
  const number1 = document.querySelector("#first_number");
  const number2 = document.querySelector("#second_number");
  const output = document.querySelector("#output");
  output.innerText = parseInt(number1.value) * parseInt(number2.value);
  event.preventDefault();
}
Adding event listener to form tag
To listen to the submit event we will have to add a submit event listener on the form, but since our form is not created when our html page is loaded, we can't access the form element globally. We need to put it inside createForm() so that the element will be created before we add event listener to it.
document.querySelector("#form").addEventListener("submit", multiplyNumbers);
With this our whole app is completed. Add the below styles in style.css file and import it using link tag to make it look pretty or you can add your own styles.
<link rel="stylesheet" href="style.css></link>
body{
  margin: 0;
  text-align: center;
}

.button{
  margin: 2rem 1rem;
  padding: 0.2rem 0.5rem;
  max-width: 10rem;
  height: 2rem;
  font-size: 1rem;
  font-weight: bold;
  border: 2px solid black;
  border-radius: 0.5rem;
  color: white;
  background-color: blueviolet;
  cursor: pointer;
  transition: scale 0.2s;
}

.button:active{
  transform: scale(0.95);
  transition: scale 0.2s;
}

.multiplication-form{
  display: flex;
  flex-direction: column;
  align-items: center;
  max-width: fit-content;
  padding: 2rem 1rem 0 1rem;
  margin: 1rem auto;
  border: 2px solid black;
  border-radius: 0.5rem;
}

.input{
  margin: 0.5rem 1rem;
  padding: 0 0.5rem;
  height: 2rem;
  max-width: 15rem;
  font-size: 1rem;
  font-weight: bold;
  border: 2px solid black;
  border-radius: 0.5rem;
  font-weight: bold;
  color: blueviolet;
  outline: none;
}

.output-div{
  max-width: 32rem;
  margin: 2rem auto;
  font-size: 1.5rem;
  font-weight: bold;
  text-decoration: underline;
}
You can click the GitHub link for the whole code and check code at every step via commits. I hope you learned something new. Happy Coding!


Top comments (0)