
In this article we are going to setup a micro frontend application with well known CLI tool "create-mf-app" which is a bootstrap tool to setup Module Federation.
What is Micro Frontend?🤨
Micro-frontend designs break down a front-end application into little, semi-independent "microapps" that work together loosely. This can aid in the management of complex projects.
Setting up project
Now we are going to setup a project which contains two micro frontends and one container app which will hold the all micro frontend apps.
In this article we are focusing on only setting up project in React js only but we can have multiple framework.
Open a cmd/terminal where you are going to setup project and enter below command.
npx create-mf-app
If create-mf-app is already installed then it will directly prompt for application name and if not then it will ask to install it just simply enter 'y' and it will install it for you.
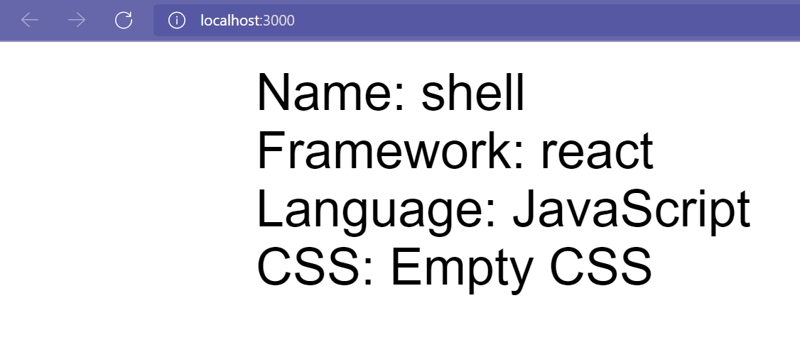
Once create-mf-app is installed, it will ask for the following info.
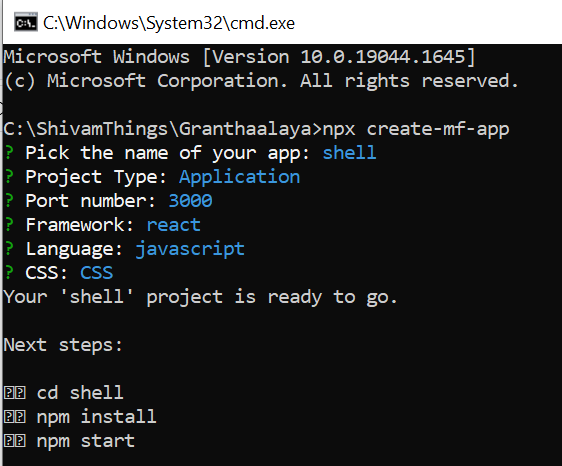
I created a Shell app and given port 3000 to run the application.
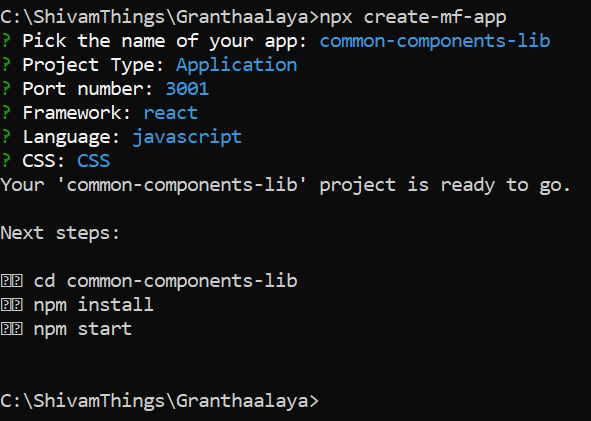
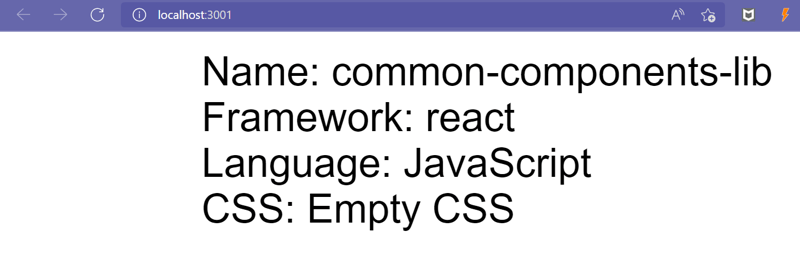
Lets create another micro app with name 'common-components-lib'
We will follow same step as above but just different port and name.
I created a Shell app and given port 3000 to run the application.
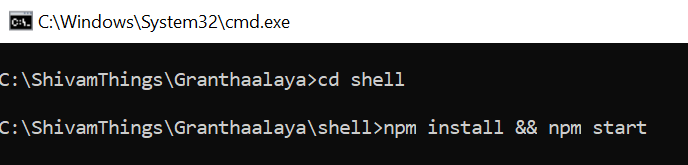
Now you need to move inside of each app and enter below command to build and run the app.
npm install && npm start
I recommend to open these 2 apps in two different cmd/terminal.
I created a common-components-lib app and given port 3001 to run the application.
Our basic idea behind creating these 2 app is that Shell will be our container for all the micro apps and common-components-lib will contains common components like Header, Footer, etc.
We will now open Folder in a Code editor. Mine Favorite editor is Visual Studio Code❤ but you can use code editor of your choice.
After opening it, your folder structure will look like this.
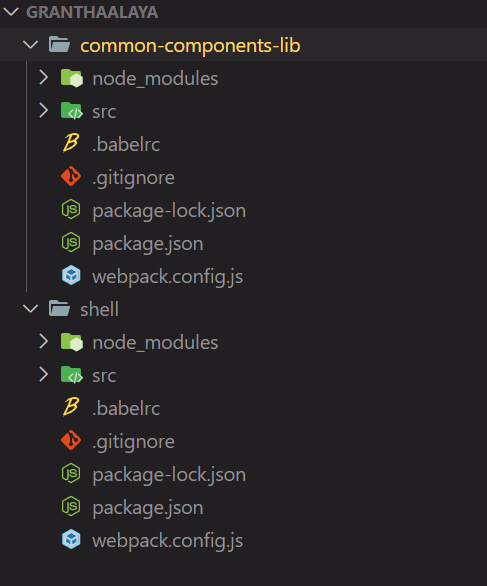
Note: make sure both apps are up and running on different ports.
Creating Components inside micro app
Now lets add one Header and Footer Component inside the common-components-lib app.
Create a Header Component and paste below code.
import React from 'react';
import './header.css';

function Header() {
  return (
    <div class="header">
      <a href="#default" class="logo">
        Header Component
      </a>
      <div class="header-right">
        <a class="active" href="#home">
          Home
        </a>
        <a href="#contact">Contact</a>
        <a href="#about">About</a>
      </div>
    </div>
  );
}

export default Header;
Also add one header.css file for styling the component.
.header {
    overflow: hidden;
    background-color: #f1f1f1;
    padding: 20px 10px;
}

.header a {
    float: left;
    color: black;
    text-align: center;
    padding: 12px;
    text-decoration: none;
    font-size: 18px;
    line-height: 25px;
    border-radius: 4px;
}

.header a.logo {
    font-size: 25px;
    font-weight: bold;
}

.header a:hover {
    background-color: #ddd;
    color: black;
}

.header a.active {
    background-color: dodgerblue;
    color: white;
}

.header-right {
    float: right;
}

@media screen and (max-width: 500px) {
    .header a {
        float: none;
        display: block;
        text-align: left;
    }

    .header-right {
        float: none;
    }
}
Add Footer Component and header.css
import React from 'react';
import './footer.css';

function Footer() {
  return (
    <div class="footer">
      <p>Footer Component</p>
    </div>
  );
}

export default Footer;
add footer.css
.footer {
    position: fixed;
    left: 0;
    bottom: 0;
    width: 100%;
    background-color: #f1f1f1;
    color: black;
    text-align: center;
}
Import Header and Footer Component in App Component.
import React from 'react';
import ReactDOM from 'react-dom';
import Footer from './Footer';
import Header from './Header';

import './index.css';

const App = () => (
  <>
    <Header />
    <Footer />
  </>
);
ReactDOM.render(<App />, document.getElementById('app'));
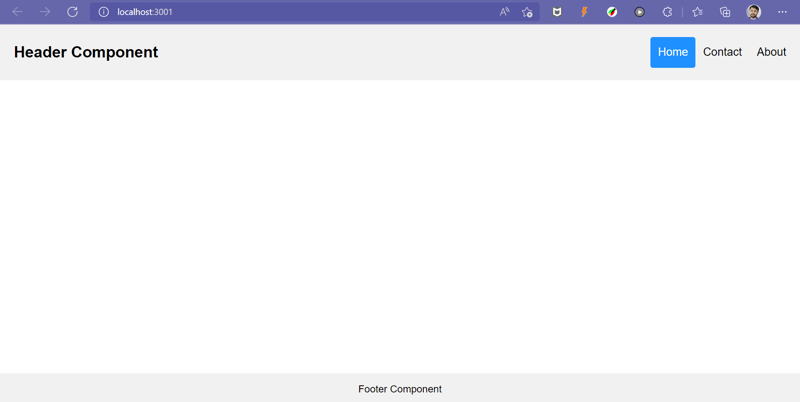
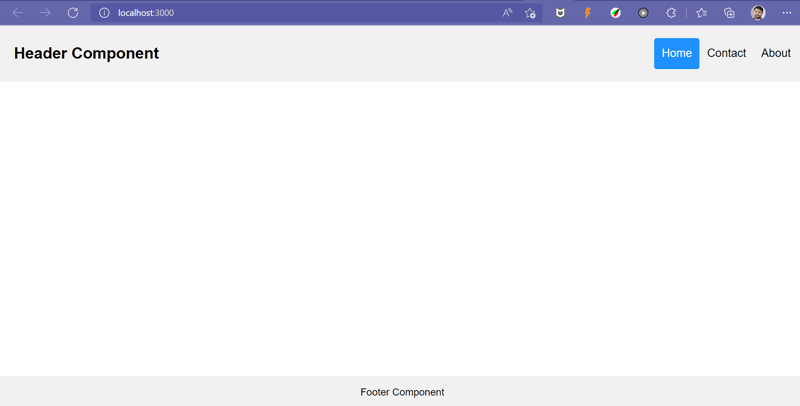
Our app will look like this after adding Header and Footer.
Exposing Components to remotes
Now lets expose these two components so that we can use it in Shell app.
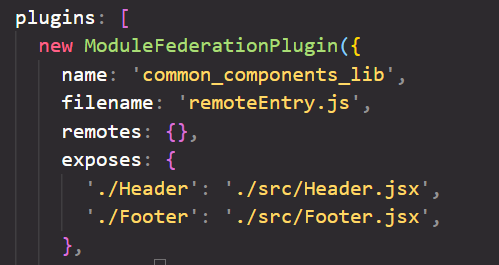
Open webpack.config.js of common-components-lib and update code inside plugin like this:
new ModuleFederationPlugin({
      name: 'common_components_lib',
      filename: 'remoteEntry.js',
      remotes: {},
      exposes: {
        './Header': './src/Header.jsx',
        './Footer': './src/Footer.jsx',
      },
      shared: {
        ...deps,
        react: {
          singleton: true,
          requiredVersion: deps.react,
        },
        'react-dom': {
          singleton: true,
          requiredVersion: deps['react-dom'],
        },
      },
    }),
Note: We updated only "exposes".
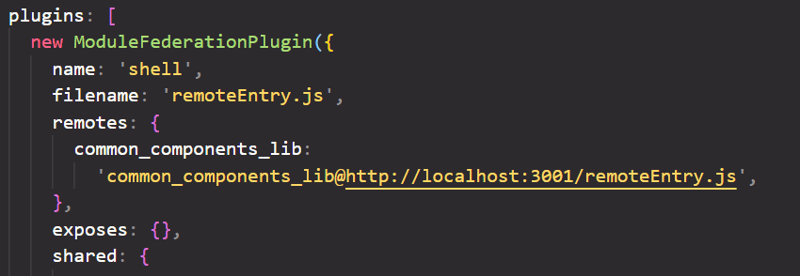
Consume components in Shell app.
Now open webpack.config.js of Shell app and update code inside plugin.
const HtmlWebPackPlugin = require('html-webpack-plugin');
const ModuleFederationPlugin = require('webpack/lib/container/ModuleFederationPlugin');

const deps = require('./package.json').dependencies;
module.exports = {
  output: {
    publicPath: 'http://localhost:3000/',
  },

  resolve: {
    extensions: ['.tsx', '.ts', '.jsx', '.js', '.json'],
  },

  devServer: {
    port: 3000,
    historyApiFallback: true,
  },

  module: {
    rules: [
      {
        test: /\.m?js/,
        type: 'javascript/auto',
        resolve: {
          fullySpecified: false,
        },
      },
      {
        test: /\.(css|s[ac]ss)$/i,
        use: ['style-loader', 'css-loader', 'postcss-loader'],
      },
      {
        test: /\.(ts|tsx|js|jsx)$/,
        exclude: /node_modules/,
        use: {
          loader: 'babel-loader',
        },
      },
    ],
  },

  plugins: [
    new ModuleFederationPlugin({
      name: 'shell',
      filename: 'remoteEntry.js',
      remotes: {
        common_components_lib:
          'common_components_lib@http://localhost:3001/remoteEntry.js',
      },
      exposes: {},
      shared: {
        ...deps,
        react: {
          singleton: true,
          requiredVersion: deps.react,
        },
        'react-dom': {
          singleton: true,
          requiredVersion: deps['react-dom'],
        },
      },
    }),
    new HtmlWebPackPlugin({
      template: './src/index.html',
    }),
  ],
};
Note: We updated only remote.
Make sure you use same name as the app name inside the plugin.
In our case app name is "common_components_lib" and "shell"
Render remote(Components from micro apps) in Shell App
Now its time to test our application by actually importing remote components in Shell application.
Inside App.jsx, import our Header and Footer components from common-components-lib app.
import React, { Suspense } from 'react';
import ReactDOM from 'react-dom';

const Header = React.lazy(() => import('common_components_lib/Header'));
const Footer = React.lazy(() => import('common_components_lib/Footer'));

import './index.css';

const App = () => (
  <>
    <Suspense fallback={<>Loading...</>}>
      <Header />
      <Footer />
    </Suspense>
  </>
);
ReactDOM.render(<App />, document.getElementById('app'));
Note: We used Lazy Loading to import the remote components. To know more about the lazy loading read the official documentation from here.
Time to run the Shell App.
Restart both the application, as we made changes in webpack.config.js.
Once both apps restarted check if Header and Footer is visible on Shell app.
Yeah!!😍
Conclusion
This article is focused on the setup of the micro frontend application and we successfully configured it.
Please do share your feedback and experiences with Micro Frontend in the comments section below. I’d love to see what you come up with!
If you found this article useful, please share it with your friends and colleagues!❤️
Read more articles on Dev.To ➡️ Shivam Pawar


Latest comments (1)
Isn't it bad practice to create an MFE shell with a framework at all? For example: if you create a React MFE with react-router-dom v6 and integrate it into a shell app that was created with react-router-dom v5 as a shared library and contains all v5 syntax, the MFE will be incompatible with the shell itself, as Module Federation will always choose v5 from the shell as a shared dependency and throw errors due to v5 lacking the new RRD hooks syntax. Also, a React shell would make it much harder to integrate MFE's that were created in another framework... Would it make more sense to limit the shell itself to strictly a vanilla JS? Creating Micro Frontends with these types of dependencies creates an architecture with all of the drawbacks of microservices and none of the benefits....
Some comments have been hidden by the post's author - find out more