Being a Python developer for the past few years I’ve gathered a list of my favourite packages/tools that I use in almost every project. Developing is a team effort and at some point, someone is going to have to read and/or alter the code you have written. If the code is poorly implemented and the developer has a new feature or bug fix to implement it will likely lead to additional technical debt. Therefore, I like to enforce developers (*including myself *😉) to produce code that is tested, maintainable, readable and most importantly consistent, otherwise, it's rejected. This results in the software development process going more smoothly since they will be working on the same dependable code.
This blog post demonstrates how I set up and configure my Python development environment using pyenv and Poetry, on both Unix and Windows systems to produce the same consistent code, helping prevent technical debt.
Installing pyenv 🐍
Downloading and installing Python from the official binary limits you to one specific Python version, which isn’t great if you’re working on multiple projects with different Python versions. Therefore, it's better to use pyenv, a tool that lets you easily switch between multiple versions of Python.
Windows Installation
For Windows users, I recommend you install WSL2, a Windows Subsystem that lets developers run a Linux environment without the overhead of a traditional virtual machine or dual-boot setup. You can install WSL2 by executing the following command in either PowerShell or Command Prompt:

If you don’t want to use WSL2 you can install pyenv-win, a less modern approach *and skip to the **Set Python Version with pyenv* section.
After installation search for Ubuntu on Windows (WSL terminal) and open it. It will present you with a bash shell and request you provide a username and password. Once they have been set your terminal is ready for tinkering 🔨 !
Before installing pyenv you’re going to need to update your environment and install a few build dependencies *(if you don't already have them). *Open your terminal and execute the following commands:
> sudo apt update && sudo apt upgrade
> sudo apt install -y build-essential git curl libexpat1-dev libssl-dev zlib1g-dev libncurses5-dev libbz2-dev liblzma-dev libsqlite3-dev libffi-dev tcl-dev linux-headers-generic libgdbm-dev libreadline-dev tk tk-dev
pyenv is now ready to be installed and configured (tell your terminal where pyenv is):
> curl https://pyenv.run | bash

> echo '\nexport PATH="$HOME/.pyenv/bin:$PATH"' >> ~/.bashrc
> echo '\neval "$(pyenv init -)"' >> ~/.bashrc
> echo '\neval "$(pyenv init --path)"' >> ~/.bashrc

> source ~/.bashrc

# Confirm successful installation:
> pyenv --version
pyenv 2.2.5 # Your version will likely be newer.
Set Python Version with pyenv
Once pyenv is installed successfully, set your global Python version using the following commands:
# Install the required Python version:
> pyenv install 3.9.0

# Refresh pyenv since you installed a new Python version:
> pyenv rehash

# Set your global Python version:
> pyenv global 3.9.0

# You can also set the local Python version, i.e. for a project:
# > pyenv local 3.9.0

# Confirm Python version:
> pyenv version
3.9.0 (set by /home/wsl/.pyenv/version)
If you require another version of Python you can simply execute the same commands with a different version number 🤗.
Installing Poetry 📜
Packaging systems and dependency management in Python are rather convoluted and hard to understand for newcomers. Even for seasoned developers, it might be cumbersome at times to create all files needed in a Python project. Poetry helps you declare, manage and install dependencies of Python projects, ensuring you have the right stack everywhere. It automatically creates isolated environments for each project, preventing modifications to dependencies in another project.
> pyenv shell 3.9.0

> curl -sSL https://raw.githubusercontent.com/python-poetry/poetry/master/get-poetry.py | python -

> source ~/.bashrc

# Confirm installation was successful:
> poetry --version
Poetry version 1.1.13 # Your version will likely be newer.
EditorConfig
EditorConfig helps maintain consistent coding styles for multiple developers working on the same project across various editors and integrated development environments (IDE). It works by reading the .editorconfig configuration file provided at the top level of a project. Most IDEs have built-in support but this is a list of IDEs/editors that require a plugin.
This is the standard .editorconfig file that I use in all my Python projects:
Your environment is now ready to create a modern Python project 🥳.
Creating and Configuring a Python Project ⚙️
The following instructs how to *manually *create and configure a Python project using pyenv and Poetry.
To create a new Python project you need to specify the Python version using pyenv and then use Poetry to create the project.
> pyenv shell 3.9.11
> poetry new PROJECT_NAME # Example testproject
> cd testproject
> git init # Initialise the repository
Next, create the .editorconfig configuration provided above. Your project tree structure should look like this:
> tree

.
├── .editorconfig
├── .git
│   ├── ...
├── README.rst
├── pyproject.toml
├── testproject
│   └── __init__.py
└── tests
    ├── __init__.py
    └── test_testproject.py

12 directories, 22 files
Personally, I prefer Markdown instead of reStructuredText so I rename README.rst to README.md . All application logic goes into the folder named after your project and tests go into the tests folder.

My Essential Python Packages 📦
This section details the majority of development packages (packages that are only required during the development phase) I use in Python projects.
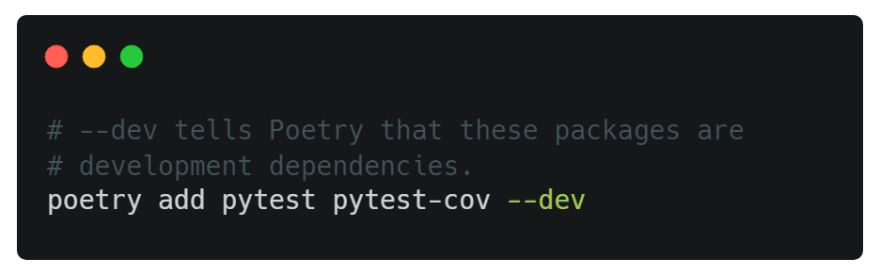
pytest with pytest-cov
The pytest framework makes it easy to write small tests, yet scales to support complex functional testing for applications and libraries. I prefer pytest over the inbuilt unittest library because it allows for plugins such as pytest-xdist, which enables the execution of multiple tests at once, expediting test runtimes and requires fewer lines of code to produce the same output as unittest. Additionally, pytest-cov is a plugin that automatically produces a test coverage report.
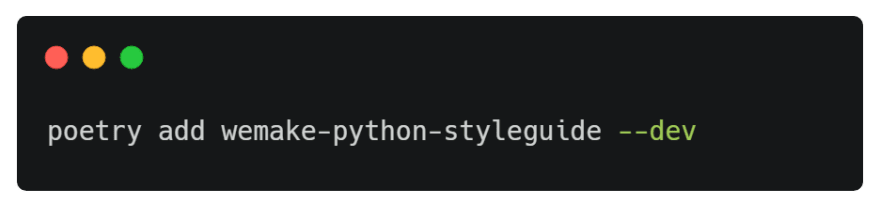
wemake-python-styleguide
The wemake.services team describe wemake-python-styleguide as *the strictest and most opinionated Python linter ever*. It's essentially the flake8 package, a linting tool that analyses code for defects, with plugins. Its primary objectives are:
Enforcing Python 3.6+ usage.
Significantly reducing the complexity of code and making it more maintainable.
Enforcing “There should be one — and preferably only one — obvious way to do it” rule to coding and naming styles
Protect developers from possible errors and enforce best practices.
I’d also recommend the flake8-pytest-style plugin if you’re using pytest.
For existing projects, you can use the package flakehell with the baseline feature to report new violations since integrating a new linter will likely result in hundreds or even thousands of violations. This guide explains how to integrate flakehell and resolve violations over time.
Mypy
Mypy is an optional static type checker that aims to combine the benefits of dynamic (or “duck”) typing and static typing. The benefits of statically typed code are increased readability and maintainability. For an existing code base here's a guide on how to implement Mypy.

Safety
A 2021 security report by Snyk, states 47% of Python projects contain known vulnerabilities. On the bright hand side, almost 87% of known vulnerabilities can be resolved by upgrading the vulnerable package. Safety checks your installed dependencies for known security vulnerabilities.


pre-commit
pre-commit is a framework for managing and maintaining multi-language pre-commit hooks. For example, a hook that runs pytest must succeed before code can be committed to the repository, preventing code defects. The following pre-commit configuration file is what I use in my Python projects. It ensures that tests, coverage, stating type checking and vulnerability scanning all pass before code is committed.

This is the .pre-commit-config.yaml file used in the above example:

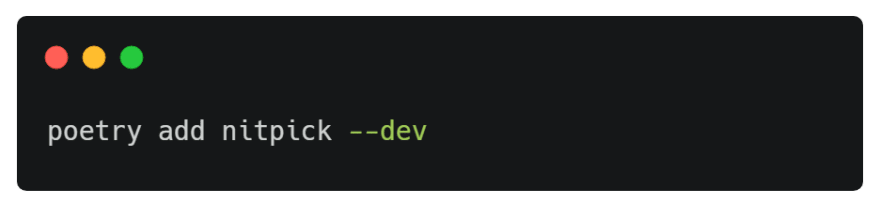
Nitpick
It can become tedious maintaining configurations across projects, especially since EditorConfig, pytest-cov, flake8, Mypy and pre-commit all require configuration files. Nitpick is a tool and flake8 plugin that enforces the same configurations across multiple language-independent projects, automating this tedious configuration.
Once installed, add the following line to your pyproject.toml file:
**[tool.nitpick]**
style = "https://raw.githubusercontent.com/wemake-services/wemake-python-styleguide/master/styles/nitpick-style-wemake.toml"
You’ll need to create a .gitignore and CHANGELOG.md file to successfully pass Nitpick validation.

It will automatically create a setup.cfg file that will contain all the required configurations.

Congratulations, you’ve successfully created a modern Python development environment 🎉. If you would like to connect with me you can find me on Linkedin or Github. Thanks for reading 😊!
Extra: VSCode WSL2 Integration
If your editor is VSCode then you’re in luck because you can integrate the Linux subsystem easily with its remote WSL plugin. Once installed open your WSL terminal and execute code . . This will automatically open the VSCode editor within the Linux subsystem. You can read more about it here.
Extra: Automated Project Setup and Configuration
If you’re any way like me, then you must automate a task when you find yourself doing it more than once. I’ve automated the creation and configuration of a modern Python project using cookiecutter. You will need to set up your environment first. Also, nitpick uses my own take on the wemake-services configuration, you can view the repository here.
> pyenv shell 3.9.11

---------------------------------------------
# Unix: Specify the name of the project.
> export PROJECT_NAME="MY_PROJECT_NAME"
=============================================
# Windows: Specifcy the name of the project.
> set PROJECT_NAME="MY_PROJECT_NAME"
---------------------------------------------

> python -m pip install cookiecutter &&
python -m cookiecutter --no-input gh:ShaneNolan/python-project-template \
project_name=$PROJECT_NAME &&
(cd $PROJECT_NAME && git init &&
poetry init --no-interaction --name $PROJECT_NAME &&
poetry add mypy pytest pytest-cov flake8-pytest-style wemake-python-styleguide safety pre-commit nitpick --dev &&
poetry run nitpick fix &&
poetry run pre-commit install) && python -m uninstall cookiecutter


Top comments (2)
This will not work on Windows according to pyenv documentation.
Thanks, would love to get this working but it seems to be outdated.