In this article, you will be learning how to set up a CI/CD pipeline for your springboot application using Jenkins and Github webhooks.
Prerequisites
- A working knowledge of Springboot
- Jenkins installed on your machine
Introduction
Continous integration and delivery make up the devops lifecycle. There are 8 phases in the devops lifecyle.
Continous delivery make up the first four phases which include: plan, code, build and test. Continous integration make up the last four phases which include: integrate, deploy, operate and monitor.
Jenkins is a tool for integrating automatically into the existing codebase after testing is complete. It spans both continous delivery (build and test phase) and continous integration (integration).
Step 1: Create a repository and branches
If your project is already hosted on Github, you can skip this step. Otherwise, create a repository on Github, map the remote url to your project and create two branches: prod and dev.
The dev branch is what Jenkins will be interfacing with, once there is a successful build in this branch then we can integrate the changes into our prod branch, this would interface with your deployment platform.
Using this method, we will catch errors during development and avoid them at production.
Step 2: Setup Jenkins server
To start up Jenkins for Ubuntu users, locate the jenkins.war file in the /usr/share/jenkins path. Once found, run the command below to start Jenkins manually.
java -jar jenkins.war --httpPort=8080
For Windows and MacOs users, view the official Jenkins documentation for how to setup the server.
You should have Jenkins running now. Jenkins default port is 8080. Head over to your browser and run localhost:8080.
An aside, Springboot runs on port 8080 as well, you will have to change your port using server.port=9090 in your application.properties file.
If you're using Jenkins for the first time, you will be presented with a page that has path to a file. The file contains your Jenkins administrator password. Copy the path. To view the contents, run this command
cat <file path>
Once that is done, you should be able to see the password. Copy and paste into the input field provided and click the button. Next up, you will be required to install Jenkins plugins. You can choose to install all plugins or install selected plugins. Go for the former and wait for the installation to be done. If it fails, retry.
After the installation is complete. You will be required to create a new user admin. You can choose to skip this step and continue with the initial administrator credentials provided by Jenkins. I strongly advise you create a new user. Once that is done, you will be redirected to your Jenkins dashboard.
Step 3: Set up Jenkins credentials
This step is vital in the build automation. On the dashboard menu items, click Manage Jenkins and then, Manage Credentials. There is an already existing Jenkins credential. Click on it and then the Global credentials.
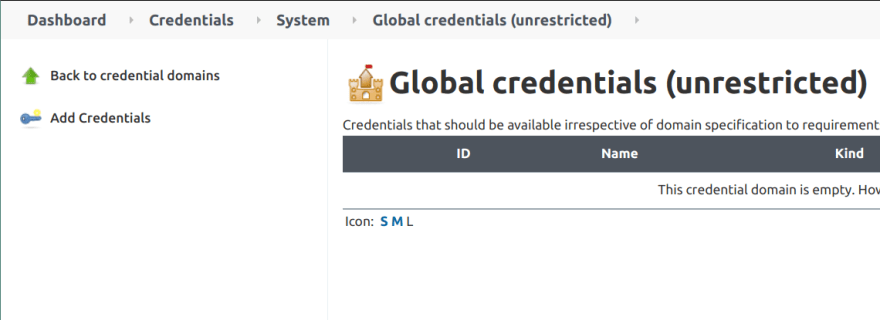
Click Add Credentials and you will be presented with where to fill your details.
Github no longer has support for username and password. In selecting a credential kind, pick SSH Username with private key. This means you should already have your SSH keys (private and public).
If you do not have one, follow this link to generate yours and link to Github here.
Enter your username and select Enter directly in the private key option and make sure it is your generated private SSH key you are entering not the public SSH key. Click OK to continue.
Step 4: Set up Jenkins pipeline
Go back to your dashboard. Create a job. Enter a name for your job, select Freestyle project and save to continue.
Enter a description for your Jenkins job in the General tab. In the source code management tab, select Git, enter the repository url for your project. Under credentials, select the credential your created. In branches to build, edit the prepopulated branch and set to dev.
In the Build Triggers tab, check GitHub hook trigger for GITScm polling. You can choose to run this trigger with the Poll SCM option. This setup would require you input a time schedule for when the hook trigger would happen. Currently, I didn't select the Poll SCM option.
Scroll to the Build tab and select Execute shell. This is where we specify the build command for our Spring application.
./mvnw install test
Input this maven build command, it runs both test and build our app into an artifact. Once done, click save.
Step 5: Setup Github WebHook
The webhook automates the build process as opposed to manually running the build from Jenkins.
Navigate to the settings tab of your spring app github repository, click on Webhooks. You will be required to provide a Payload URL and secret. The secret key is a token you generate in Jenkins and it is used to make API calls. For our payload URL, we will generate one using ngrok.
Ngrok is a tool for generating a live URL for your locally hosted project. We need to expose Jenkins to our webhook, hence the need for ngrok.
Download ngrok zip file from here and unzip. Open your terminal and cd into the directory you unzipped ngrok.
For Ubuntu users, run this command to generate a url:
./ngrok http 8080
Make sure to append /github-webhook/ to your payload url, this is required by the webhook. Set content type to application/json.
Let's get our secret token. In your Jenkins dashboard, click on the dropdown arrow beside your name located at the top left corner. Select configure.
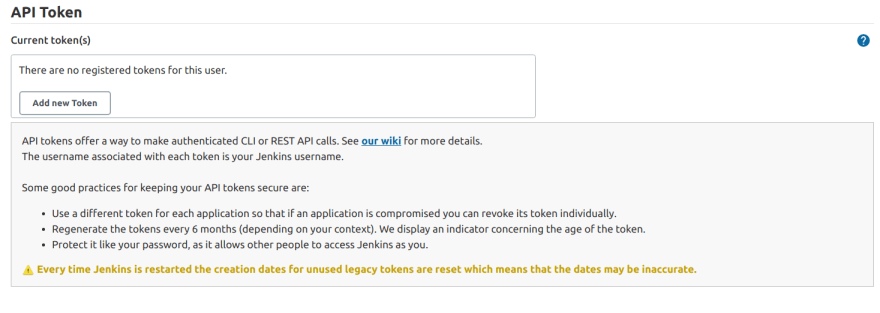
Scroll down to locate the API token tab, click on Add new token and generate one. Once it is generated, copy the token, save and paste it in the secret field in github.
In github, still in webhooks, the question Which events would you like to trigger this webhook?, for this article we will select Just the push event option and click Add webhook. You can explore other options to see what they offer.
Step 6: Test CI/CD pipeline
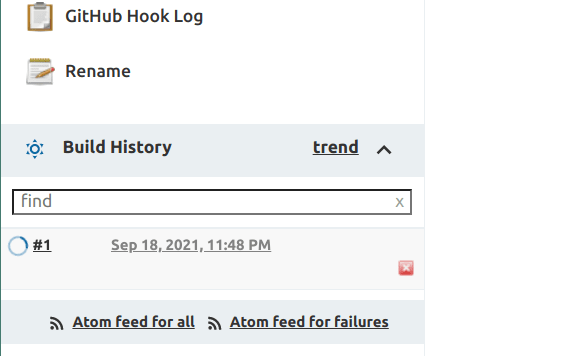
You should be in your dev branch. Make changes to your code and push. The build started automatically.
Once the build is successful, next, make a merge request to the prod branch and deploy.
Conclusion
In this article, we successfully setup a CI/CD pipeline using Jenkins and with Github webhooks, automated our build process as opposed to manually triggering the build from Jenkins.


Latest comments (0)