![Cover image for Intercept android app traffic in Burp Suite: From root to hack [ULTIMATE GUIDE for bug hunters]](https://media.dev.to/cdn-cgi/image/width=1000,height=420,fit=cover,gravity=auto,format=auto/https%3A%2F%2Fdev-to-uploads.s3.amazonaws.com%2Fuploads%2Farticles%2Frljoimbdo3nfoz0rtizf.png)
In this article, You’ll learn how to root an android device, configure burp proxy, install ca certificate to intercept https traffic, bypass SSL pinning and root detection. You can also use android emulators like genimotion.
Why bother learning this stuff? Simple reason is to compete with less number of hackers than webapps. Also, there no easy guide for all devices.
Disclaimer:- This whole process could take 15 minutes to whole day depending upon the device (android sdk) and the app. So, please be patient and read everything carefully. Also, this whole thing is for educational purposes only.
The dumb part which is similar as webapps
Let’s start with easiest and basic part to capture http, https traffic of web browser and the apps which don’t have SSL Pinning enabled.
Follow these steps
- Connect your PC (with Burp Suite installed) and Android to the same network. > Note — Here my PC’s IP is 192.168.43.20 and Android’s IP is 192.168.43.180
- Start Burp Suite and set proxy to listen on all interfaces.
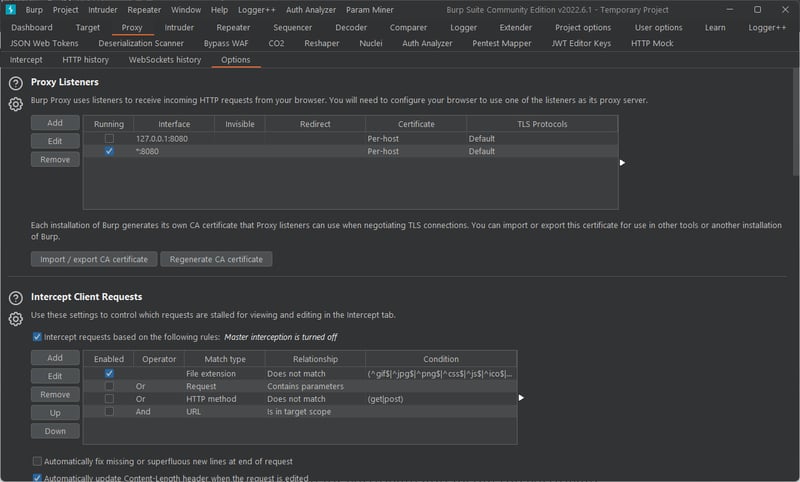
- Set manual proxy in Android’s WIFI settings.
- In web browser, go to http://burp/ and download the ca certificate. Rename the der extension to cer.
- Go to settings and search for certificate and install the certificate.
Now you’ll be able to intercept HTTP/HTTPS traffic from web browsers and a very few apps which do not have SSL Pinning enabled.
Advanced — bypassing SSL pinning
If the app has SSL Pinning enabled we have to root the android device to bypass it (root detection also). Follow these steps-
Root Android Device
It is basically unlocking the bootloader. You need to search specifically for your device to do that because it is different for every Android phone companies. Use google, youtube, xda forums (king) to get navigation.
Install custom recovery
There are two main Android recovery projects — TWRP and OrangeFox. It would be great if they provide official recovery for your device. Otherwise you can use XDA forums to get unofficial but working recoveru image. Now, follow these steps-
- Boot your Android device into fastboot/download/flash mode.
- Connect your android device with a USB cable to your PC. (also install required drivers)
- Install fastboot in your PC
- Use android platform tools in Windows. Extract the zip file. and place recovery .img files downloaded earlier in same folder.
- For Linux run these commands —
apt install adb fastboot -y - open powershell/terminal and go to that same folder used above. and run this command.
fastboot boot recovery.img
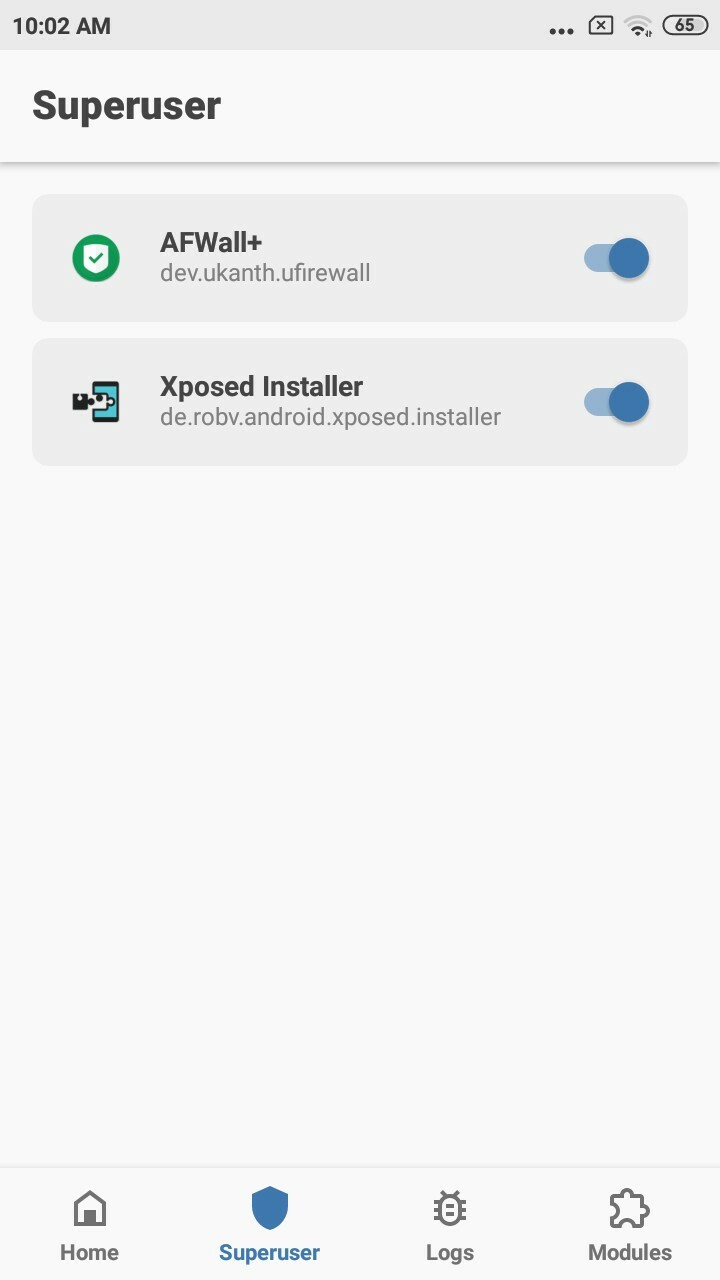
Install Magisk Manager
It is an open source tool to manager root access for apps, install modules, flash images, etc. Follow these steps-
- Get the official apk file of magisk manager from Github.
- Change the extension from .apk to .zip.
- Got to custom recovery by following above steps.
- Tap install and go to magisk file location and flash it. Reboot device.
- Change magisk extension back to .apk. Install the app.

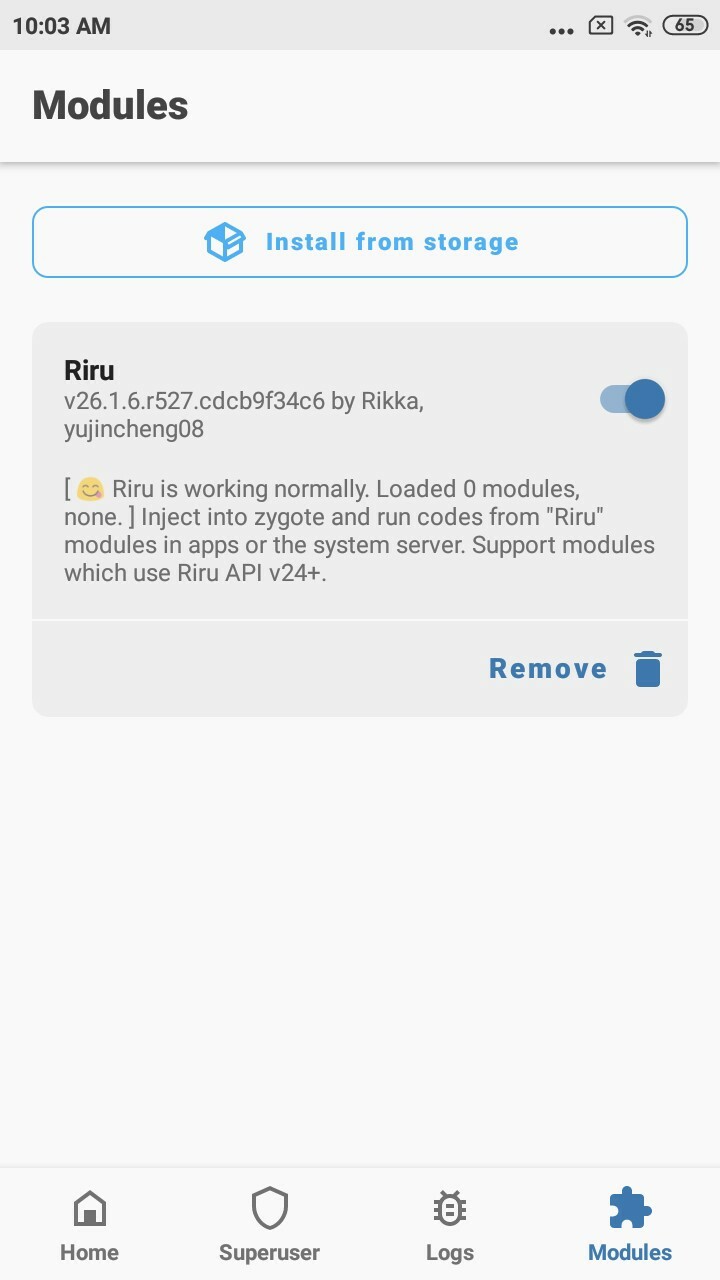
Install Xposed installer (and edXposed manager)
At last our main goal to bypass SSL Pinning is to install Xposed installer.
method 1 — Simple installation
Follow these steps-
- Download Xposed installer from official website for your android version.
- Click install and wait for download to complete, then install it.
- If you see the green banner, then you can skip next methods.
method 2 — using Magisk module (Android oreo & newer 8.0+)
Follow these steps-
- Download two magisk modules from here1 and here2. One extra module if you like here3.
- Install module from storage and reboot the device. > Note: If failed download Xposed Get the zip files for your sdk from the redirected website.
method 3 — flash using custom recovery (TWRP/OrangeFox)
Follow these steps-
- Download the zip files from the redirected links for your android SDK version. also download this extra zip file from here.
- Boot to recovery with steps mentioned above.
- Click install and reboot to the system.
- Check Xposed installer status again. Click activate slide if not already.
Now you should have Xposed installed on your system.
Install Xposed modules.
- Go to downloads with menu button on top left corner.
- Download and install three modules. — RootCloak, SSL Pinning Bypass and Trust Me.
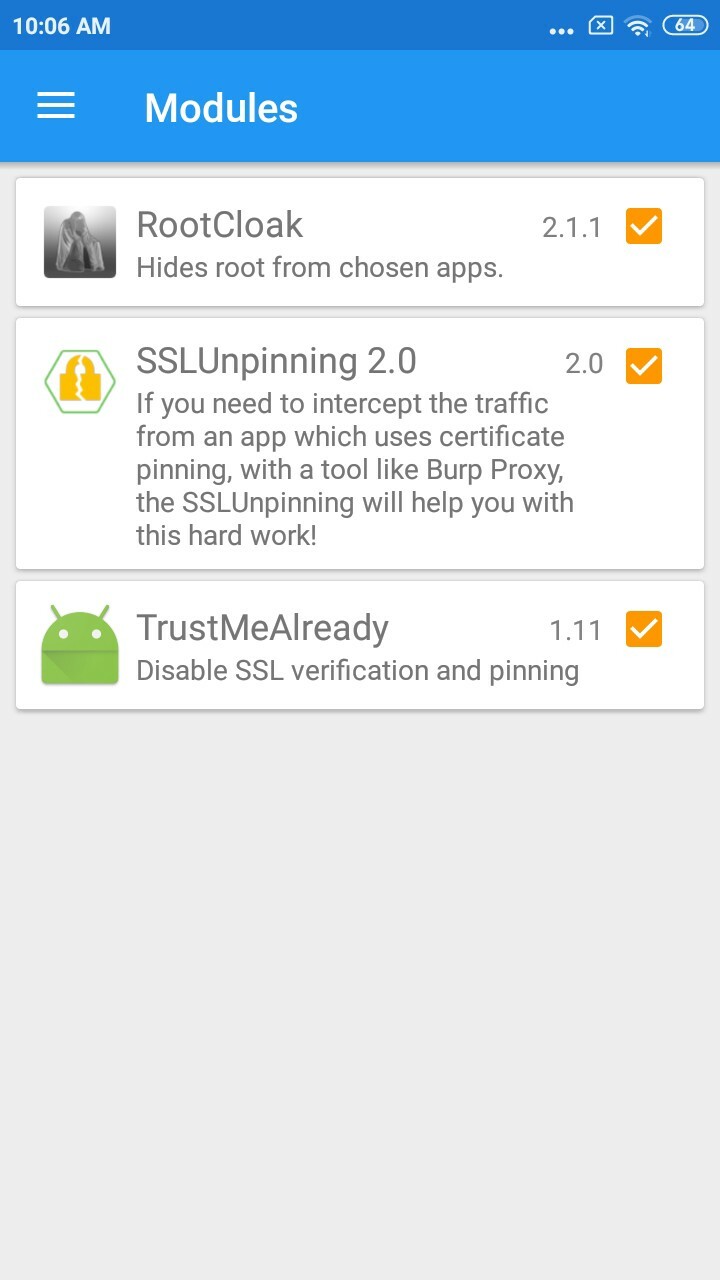
- Activate these modules and Soft reboot the device.
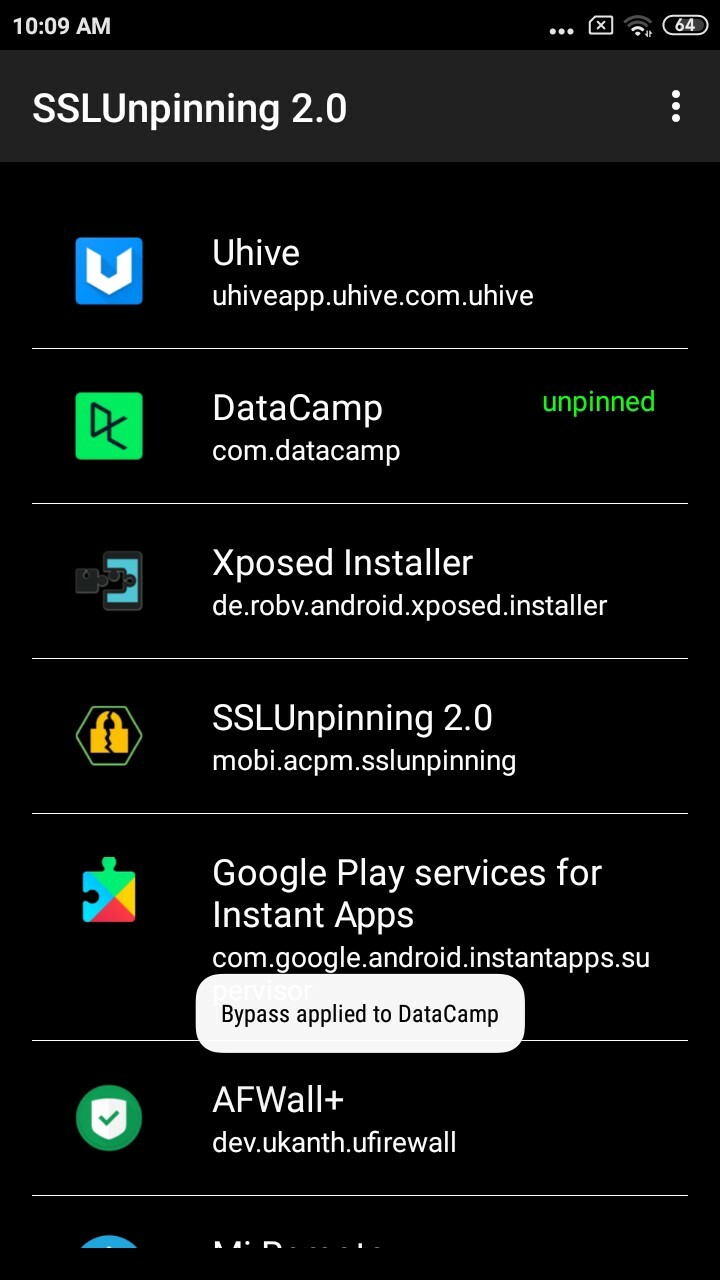
- go to SSL Pinning Bypass app. Click on the app to bypass SSL pinning on it.
Wrapping Up
I hope you find a bug after successfully bypassing SSL pinning. If you found this article useful, don’t forget to clap (≤50). For more hacking related articles follow me here.
You can also follow me on twitter to get useful resources to learn ethical hacking. that’s all i have got for today. I will see you in the next one.
Thank you for reading, Have a creative day!


Top comments (0)