This article assumes that you want to have separate AWS console accounts such as Staging, UAT and Production at one place.
The best way to achieve this kind of separation is by using AWS Organizations and AWS Single Sign-On (SSO)
AWS Organizations provides all the necessary options to achieve this goal.
Okay enough talk, Lets do this !
Create Organization
Search AWS Organization in the service tab and then create your organization
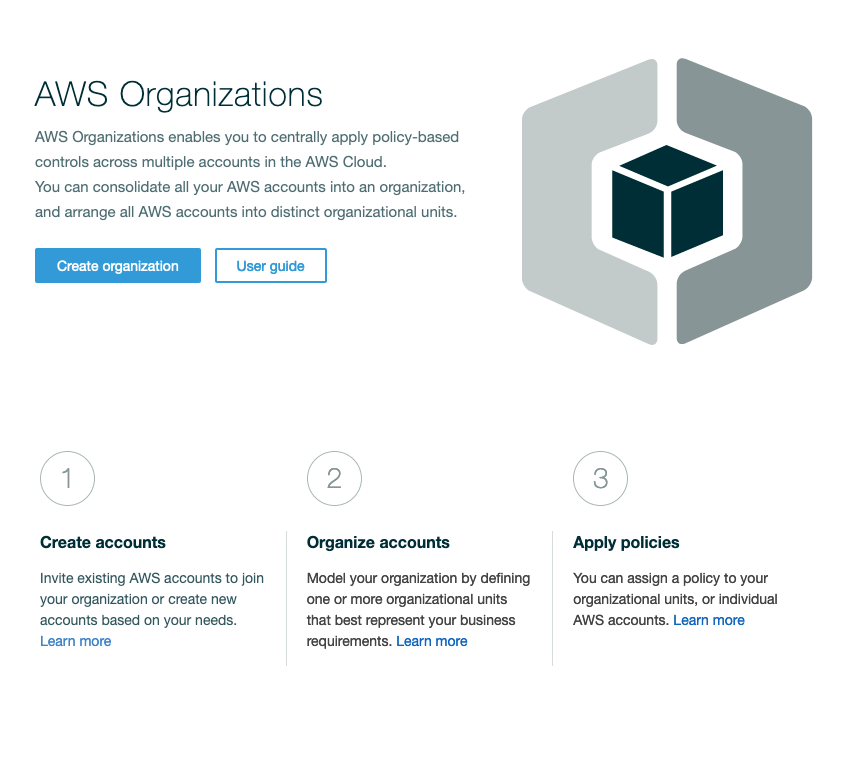
You will receive a confirmation email soon. Once you verify your master account, You’re good to go !
Add/Invite AWS accounts
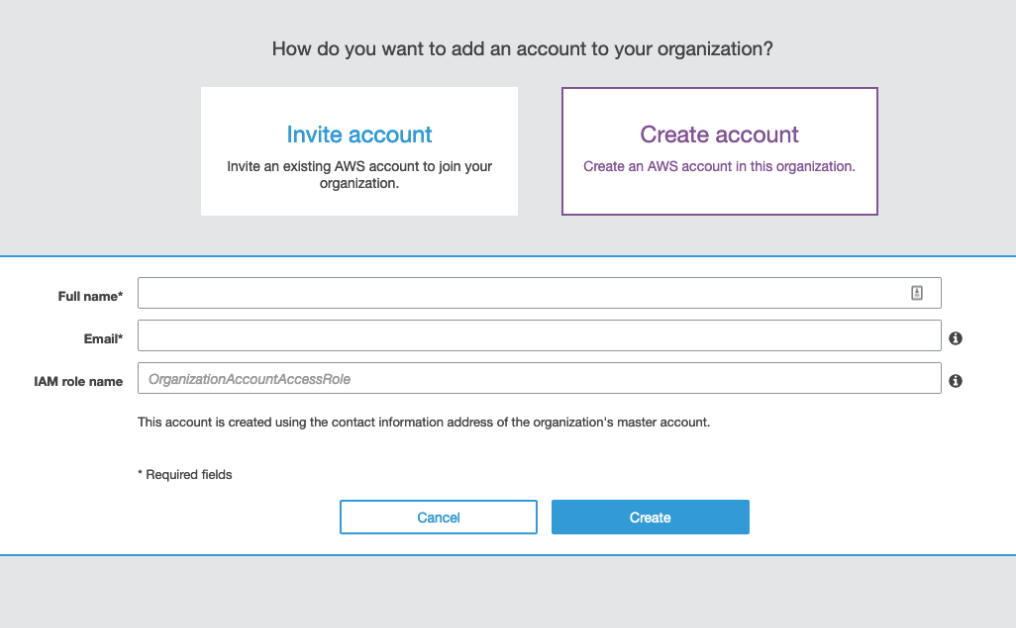
You can associate an existing AWS account to your organization or you can create a new one.
In our example we will create a new one by clicking on Add Account
You can also use Organizational Units (OUs) for more hierarchical structure. We will use a simpler approach in our example which can be easily transformed into OUs in the future.
This is our structure for now

Now lets start by adding these accounts into your organization

Choose Create account and fill Full Name (Staging, dev and production etc) and Email, leave the IAM role name for now ( we will add roles and policies on the AWS Accounr level later )
Repeat the same for each account you want to create such as Staging, UAT and Production
AWS Single Sign-On (SSO)
From services tab select AWS Single Sign-On (SSO) and click on Enable AWS SSO. Once its enabled, you should be able to see the following options
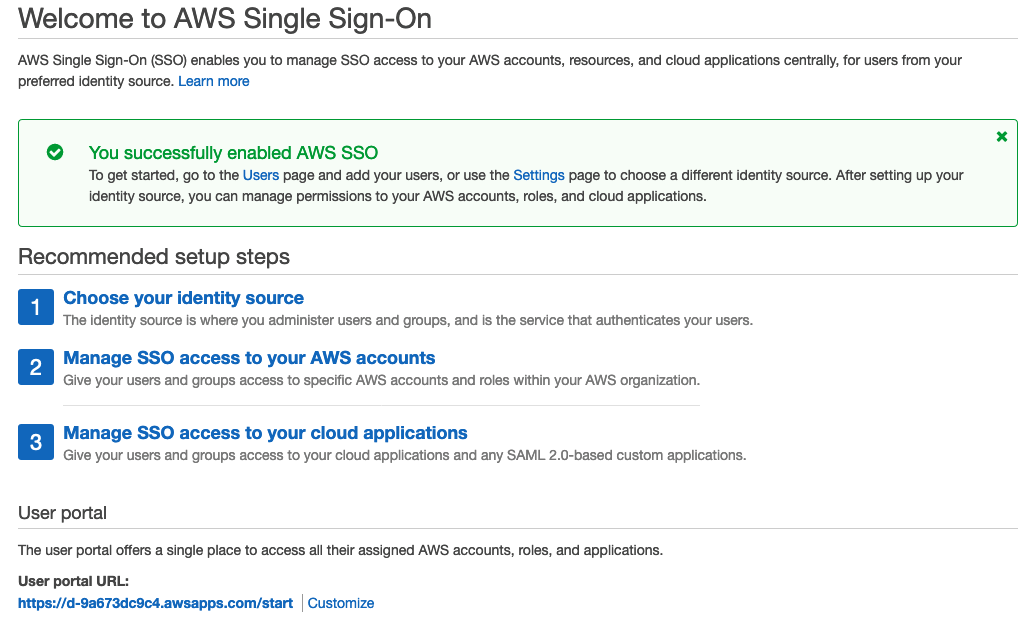
Lets start with the first step Choose your identity source. You can click on that option and change the User portal URL. This will be a portal page for your team to login and select the AWS account they are associated with.
Users and Groups
Now lets create Users and Groups that we can associate with AWS accounts later on.
Click on the Users on the left and select Add User

Fill in all the details and leave Groups as it is for now.

Add as many users you want to add by repeating the same steps.
Lets create our Groups now. In my case I have created Development and Production groups

Time to assign the Users to the Groups. Click on the Users tab and select the user you want to associate with a group. Once you select the user, you’ll be able to see Groups tabs

Click on Add to group and assign the user to one or multiple groups
AWS Accounts
This is the final step I PROMISE. Its time to associate the users with the AWS accounts ( You have created in the organization ). For that you need to click on AWS account tab on the left.
Click on the on the desired AWS account and select Assign Users


Select the Groups tab and choose the User’s group you want to associate with this Account. Click on Next: Permission set

Click on Create new permission set. You have have two options to choose from on the next page. In our example, we are selecting Use an existing job function policy and the AdministratorAccess policy.

You can create a custom permission set as per your policies if you want
On the final page, tick on the permission set you just have created and hit Finish YEAYYYYYYYY !!!!!!!
When you go to the portal ( created earlier in the post ). You will see login screen.
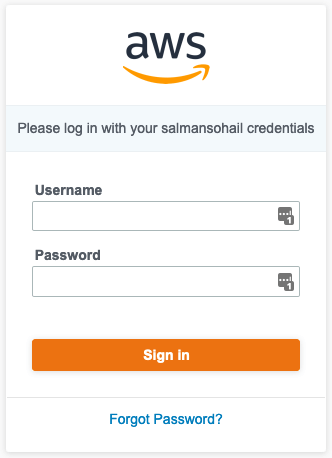
Login with any of the user from the associated group and you be able to see the following.

You can click on the Management console of any AWS account and Bingo. you’re in that environment’s AWS account !


Top comments (0)