
AWS is one of the big cloud providers. Whichever service you can imagine AWS surely has it.
S3 stands for Storage Service, it can store large amount of data(such as files) for diverse uses.
In this post we will see how to host a website in S3. ☁️
In AWS
After successfully login to AWS, we could find S3 service under Storage section:

It will redirect you to the S3 management console, which in my case, it indicates me that I don't have any S3 bucket yet.

The following window will be prompted:
Notice that bucket name has to be unique.

Once it's done we will see our recently created bucket in S3 panel.

Uploading website files
Our bucket is ready to us by clicking on its name. At first, we will start uploading our website's files dependencies.
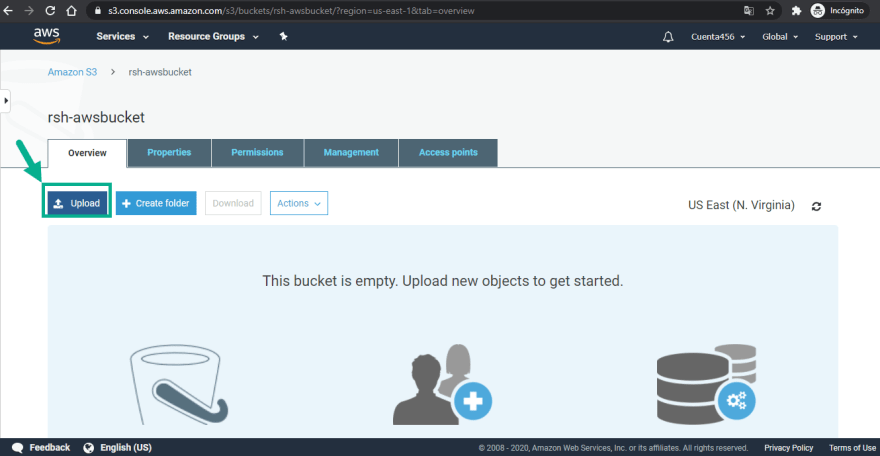

My files are displayed.

Configuring S3 Bucket
At this moment our files are just stored, we need to configure our bucket and indicate it that it will be used for static website hosting.
Click on Properties tab.
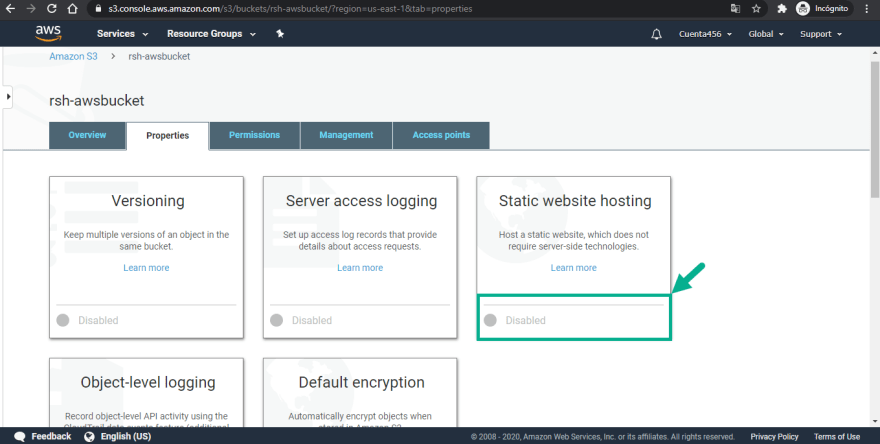
See it is disabled.
Click on Static web hosting option.

Note here that AWS is telling us the endpoint for our bucket.
Select the 'Use this bucket to host a website' radio button.
Enter the index file name.
Save
The service is now running.

Configuring Policies
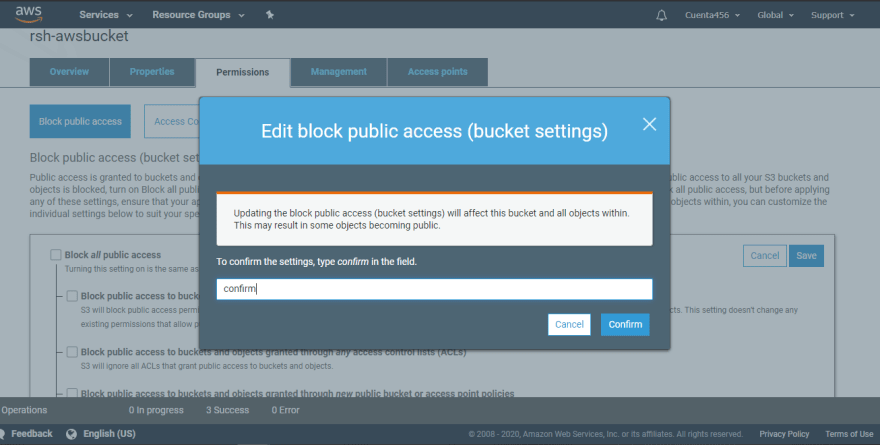
By default buckets block public access, we will change it choosing Permissions tab.
Click on edit.

Uncheck block all public access.
Save

Confirm the changes.
That is not all! - S3 Bucket Policies
Apparently that is all, but when trying to access throught the endpoint.

Because, additional configuration for our bucket is required. S3 bucket policies will control actions and access to our files.

We will use AWS Policy generator tool.

The following page will be displayed.
Select S3 Bucket Policy.

Select Get Object.

In order to fill ARN field we need to check the previous “Bucket Policy” page.

Finally, our policy details should be as follow:

Click on Generate Policy
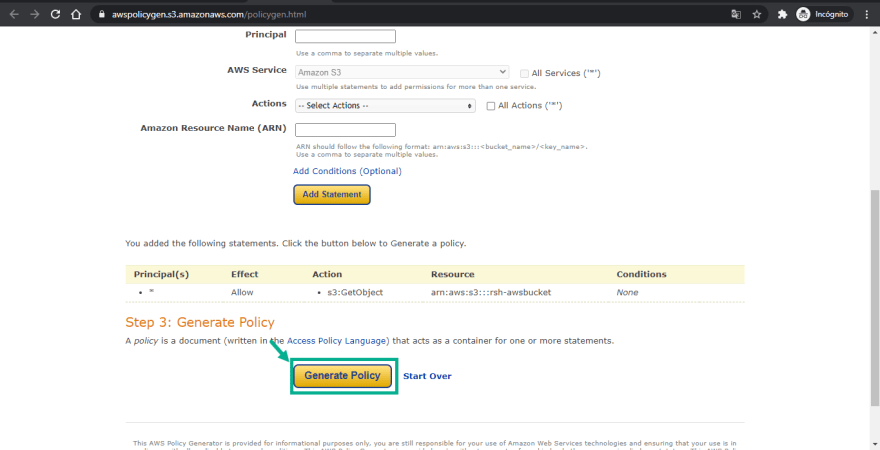
The Policy JSON document will be prompted.

{
  "Id": "Policy1598507824707",
  "Version": "2012-10-17",
  "Statement": [
    {
      "Sid": "Stmt1598507726767",
      "Action": [
        "s3:GetObject"
      ],
      "Effect": "Allow",
      "Resource": "arn:aws:s3:::rsh-awsbucket",
      "Principal": "*"
    }
  ]
}
Copy all the text and paste it on the Bucket policy editor.
Very Important Here we need to add '*' character at the end of the resource value.

Now, it is ready to take off!! 🚀
Our website is ready and published. We can access to it by writing the endpoint in our browser.


Thanks for reading!! 😺


Top comments (0)