So Recently I had gotten my AWS Cloud Practitioner Certification and decided to look around and find some projects to enhance my skills and add to my portfolio. After looking I saw some nice projects but the one that caught my attention was the cloud resume challenge from Forrest Brazeal, which can be found here: https://cloudresumechallenge.dev/
This challenge is great as not only am I applying what I've learned but I am also learning new skills and concepts such as JavaScript, CI/CD, etc. Its also making me use AWS tools and get familiar with how they work as well as the errors and problems that can occur while using them. I gonna walk through the journey of this challenge from beginning to end in order defined by the steps given on the challenge website.
Step 1: Certification
Although not necessary to have the certification to start the project it seems having it would be required to finish, so this step was already finished for me as I found this challenge after getting my certification.
Step 2: HTML and CSS
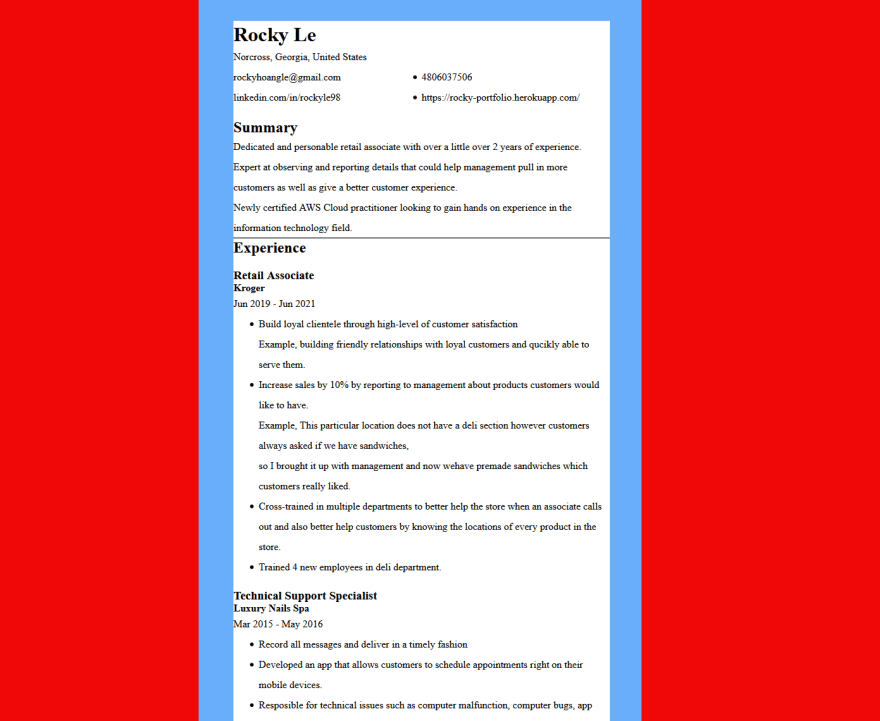
In this step I was required to create a resume website using HTML as well as style it with CSS. Now I haven't used HTML since High School (we were still using HTML 4 at the time too) and I rarely even used CSS. It was quite fun relearning HTML as well as getting a better understanding of it as well as how to use CSS. After all was done I got done with my first ever resume webpage!
Step 3: Static S3 Website, HTTPS, and DNS
This portion of the challenge wasn't to difficult but did take a lot of steps to complete. First I had to too create an S3 bucket on my AWS account in which my webpage files would be stored. After I did that I made sure the S3 had proper bucket policy so my webpage can be read and continued on to the HTTPS part.
In order for my webpage to be redirected to HTTPS I had to create a CloudFront Distribution. Creating this wasn't to hard but I had some troubles setting it up at first as When I first created it wouldn't call up my webpage but rather my bucket. That's when I realized that I had to set a default root object within my origin settings and boom my CloudFront page now redirects to my HTML file using HTTPS. Next up is the DNS.
The DNS part required me to use Route53 to create and register my own domain name and was pretty straight forward. Just follow a wizard through the steps and choose and name and domain extension (such as .com or .net). After that part was done I just had to route to it using my CloudFront distribution. This part is where I had a little bit of trouble, and that's because at the time I didn't set enough permissions for my created IAM user to change the distribution and create the SSL certificates to use my new domain name. Once all of that was sorted out every worked! Now onto the next steps.
Step 4: JavaScript, Database, API, Python, Tests.
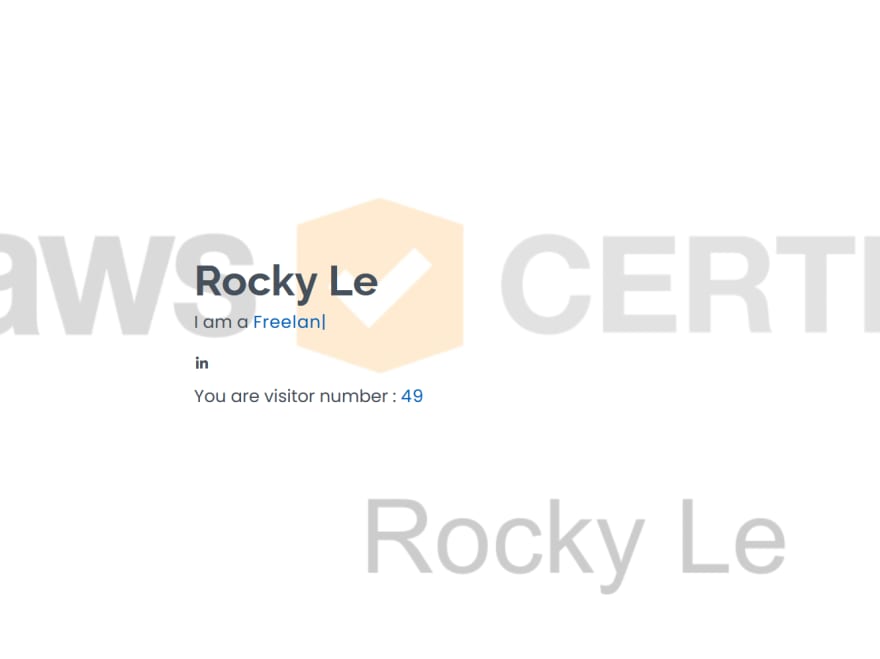
This portion of steps took me a long time because I had so many errors but I also learned a lot from them as well. All these steps work together to add a visitor count to the webpage.
So First thing I made was the Database and this was done using DynamoDB. This was pretty easy as all I had to do was create a table, define my primary key and the table is created. After the table is created I had to define my primary key value and another attribute which would hold the number of visitors that visited my webpage.
Next was the API. Now at this point my knowledge of APIs in general was pretty weak and to be honest it still is so I had to read a bunch of documentations as well as YouTube videos on how it worked and how to set it up correctly. After I learned enough I went ahead and used the API gateway to make my API that would be used as a trigger for my lambda. At this point in time I decided to use the REST API template to make my API but that will change as I will explain later.
Next is the Python version and Tests. I am already familiar with how to use python but I never really used tests (or usually I just manually ran the script to see if it worked). After giving the suggested article a read I found I can just setup some if else statements to make sure the program ran successfully.
For the lambda function I decided that when it is triggered by the API it will first get the database table and update the visitor count value and then it will return that value. During this time I learned about boto3 and how it can be used to connect to AWS services.
Next is JavaScript. Now I had seen JavaScript before but never used it so I followed the code academy link provided by the challenge and learned up to the object oriented portion of JavaScript (I didn't think I needed to know that much for the context of this project). After words I was ready to apply my JavaScript skills. At this point I decided the original webpage I made was ugly so I decided to find a web template I can use and found a beautiful one from BootstrapMade.com
This is where all my problems started to really happen. After setting up the JavaScript code to call the API and get the value returned from the lambda I kept getting either the value undefined or Object promise. This was really frustrating as I didn't really understand why this was happening as running the lambda on its own returned the result I wanted and triggering the API on its own gave me the result that I wanted so the problem was from the JavaScript calling the API. After a lot of googling about what could be the cause I decided to use my web browser console to see what was wrong and saw I was getting a CORS cross origin header missing error.
I had to do a lot of reading and adjusting some things but no matter what I did I'd still get cross origin header missing or preflight response error. I did figure out that the problem was my web browser (Firefox) can cause this error because I am calling the API from my local host so I had to install a plugin to fix that. However that didn't fully fix my issues so after a little more reading I found that the CORS preflight response is handled automatically if I used an HttpApi. So I deleted the RestApi and decided to use the HttpApi instead to see if it fixed my issues. I also made sure to setup the CORS attributes within this API. After adjusting my code to make use of the HttpApi I finally got the visitor count to show a number instead of undefined or Object Promise!
Now that I finally got all of those services working together it was time to move onto the next steps.
Step 5: Infrastructure as code, Source Control, CI/CD
In this portion of steps I had to learn how to use AWS Serverless Application Model (SAM) template so I wouldn't manually have to fix and deploy my resources.
Before I could begin I had to setup a couple things such as AWS CLI and SAM CLI. After I installed everything I needed to I decided to start with the introductory hello world template to see how this worked and It was pretty cool, SAM created all the resources and setup everything all in one go and can update multiple things at once as well which made everything go a lot faster. After getting a feel for how this worked I decided it was time for me to go ahead and try this myself.
I downloaded the hello world template again but this time with my own edits. So I did have to learn a bit of yaml but it wasn't all that different from a JSON structure it was really the same just without the brackets. I did have to read a lot of documentation as to how to deploy each resource and the required properties and attributes to use them with. For this part I decided only to make new API, new DynamoDB, new Lambda, and new s3 as I didn't see the need to make a new cloud front nor route53 at this time.
Now that my SAM model was deployed I had to integrate it with my GitHub and use GitHub actions to automatically update my resources whenever I push updates to GitHub.
After reading about how GitHub actions worked I looked around for some setups that would do what I need such as deploy SAM stack and push new files to s3 actions. After all of that was setup and done I tested it a few times by removing some files and editing some code and pushing the changes to see if it would work. I did have a couple of errors but they were syntax errors or I did use the required properties. All in all everything worked and now I can automatically update everything just by updating my git repositories!
Summary
This challenge was quite engaging and honestly got me really frustrated at times because some of the errors didn't make sense and some of the errors didn't even have good documentation on how I could fix it. But I'm glad I finally got through it and finished. I now have a lot more understanding of how each of the services I used works, some of the errors that can occur as well as how to solve them, as well as created my very own resume website! This challenge has made me excited for all the other projects I am going to partake as well as confidence for when I do enter the IT world.
If you read this far thank you for giving this a read! If you're interested here is the resume webpage I created https://rockystaticresume.link/
If anyone has any other projects I could take on or just general advice I'd be glad to hear them. Hope you have a nice day!


Oldest comments (0)