Introduction
In this article, I will be integrating Huawei Push Kit in an Application.
Push Kit
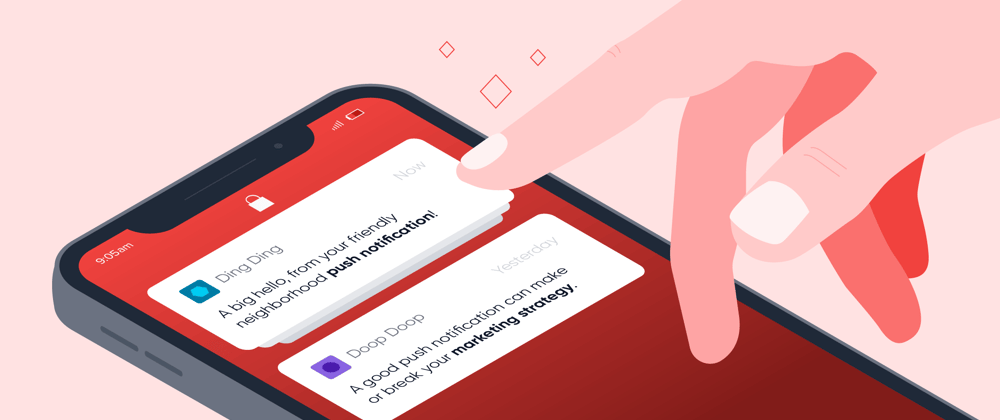
Push notifications offers a great way to increase your application’s user engagement and boost your retention rates by sending meaningful messages or by informing users about your application. Push Kit supports two types of messages: notification messages and data messages. You can send notifications and data messages to your users from your server using the Push Kit APIs or directly from the AppGallery Push Kit Console.
Requirements
- Any operating system (MacOS, Linux and Windows).
- Must have a Huawei phone with HMS 4.0.2.300 or later.
- Must have a laptop or desktop with Android Studio, Jdk 1.8, SDK platform 26 and Gradle 4.6 installed.
- Minimum API Level 21 is required.
- Required EMUI 9.0.0 and later version devices.
Integrate HMS Dependencies
- First register as Huawei developer and complete identity verification in Huawei developers website, refer to register a Huawei ID.
- Create a project in android studio, refer Creating an Android Studio Project.
- Generate a SHA-256 certificate fingerprint.
- To generate SHA-256 certificate fingerprint. Choose View > Tool Windows > Gradle > Signingreport > SHA256 code. Or use cmd as explained in SHA256 CODE
- Create an App in AppGallery Connect.
- Download the agconnect-services.json file from App information, copy and paste in android Project under app directory.
- Enter SHA-256 certificate fingerprint and click Save.
- Click Manage APIs tab and enable Push Kit.
- Add the below maven URL in build.gradle(Project) file under the repositories of buildscript, dependencies and allprojects, refer Add Configuration.
maven { url 'http://developer.huawei.com/repo/' }
classpath 'com.huawei.agconnect:agcp:1.6.0.300'
- Add the below plugin and dependencies in build.gradle(Module) file.
apply plugin: id 'com.huawei.agconnect'
//Huawei AGC
implementation 'com.huawei.agconnect:agconnect-core:1.6.0.300'
// Huawei Push Kit
implementation 'com.huawei.hms:push:6.3.0.302'
- Now Sync the gradle.
- Add the required permission to the Manifestfile.xml file.
// Push Kit
<uses-permission android:name="android.permission.INTERNET" />
<service
    android:name=".PushService"
    android:exported="false">
    <intent-filter>
        <action android:name="com.huawei.push.action.MESSAGING_EVENT" />
    </intent-filter>
</service>
Sometimes adding everything manually can be burden. Let’s use Configuration Wizard for the setup.
Configuration Wizard
Now, we will help how to use configuration wizard of HMS Toolkit to automatically complete necessary configuration for development preparations.
- Understand how to use the configuration Wizard.
- Once all the items are passed, you are good to go.

Integrating Push Kit Through Coding Assistant
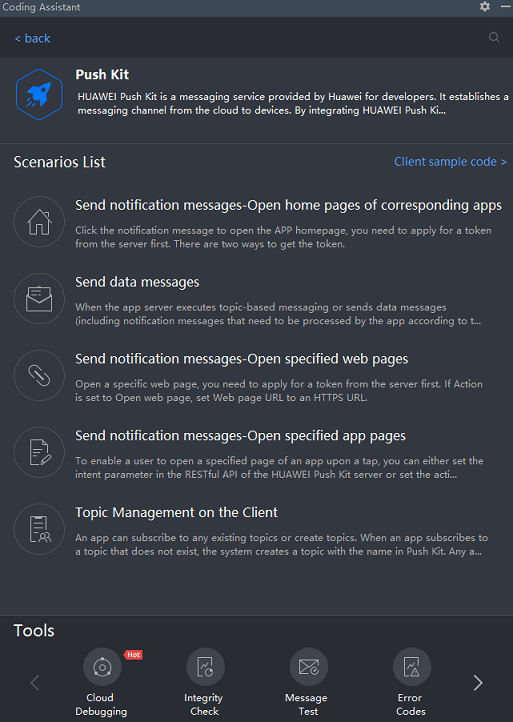
Navigate to HMS > Coding Assistant, and select Push Kit in the kit list. The following figure shows all the scenarios of Push Kit.
Completing the Code by Dragging and Dropping Scenario Cards.
Select a scenario card for development, for example, Send notification message-Open home pages of corresponding apps, and drag and drop the card to the code area to generate the code for obtaining a push token.
Cloud Debugging
Use Cloud Debugging in HMS Toolkit to debug the app on a real device.
To use Cloud Debugging, you need to sign in using a HUAWEI ID, complete identity verification, and then authorize the sign-in.
Choose HMS > CloudDebugging.
You can use Available Devices. Select a device and click RUN.

Using a Tool to Send Messages
- On the toolbar of the Push Kit card, select Message Test to test whether the server can push messages to the device.

- Click Get APP ID and APP SECRET. The tool automatically reads the app ID and app secret from AppGallery Connect. Click Next.

- On the page that is displayed, set parameters as prompted or based on the following table.
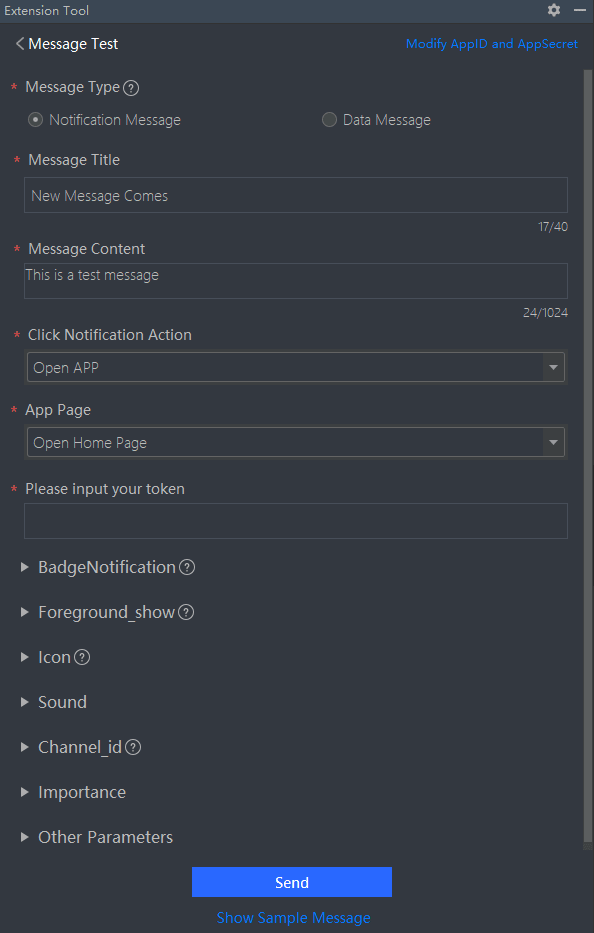
After the setting, click Send.
Result
After successful message sending, you will receive a notification message on your device.

Tips and Tricks
- Set minSDK version to 24 or later, otherwise you will get AndriodManifest merge issue.
- Make sure you have added the agconnect-services.json file to app folder.
- Make sure you have added SHA-256 fingerprint without fail.
- Make sure all the dependencies are added properly.
Conclusion
In this article, we have learnt integration of Push Kit in application. It will guide you to increase your application’s user engagement and boost your retention rates by sending meaningful messages or by informing users about your application.
Reference
Push Kit: Documentation
Push Kit: Training Video


Latest comments (0)