How to Create a React Application
What is Create-react-app?
Though the name explains what it does, you might start to wonder what create-react-app really means.
Creating a React app manually is complicated and time-consuming, but create-react-app makes it much easier by automating all the configuration and package installation.
create-react-app is the best way to start building a new single-page application in React.
The first step is to start your terminal/command prompt, navigate to the folder where you want to save your React application, and then execute this command:
npx create-react-app my-app
After it is done, you should see a folder that appears in your workspace with the name you gave your app. You are done! Congrats!
How to Run Your React Application
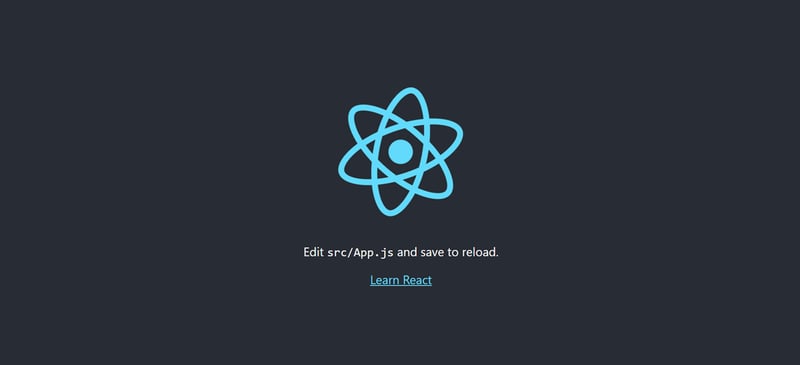
Now, head back to the terminal, and the first thing you need to do is navigate to the directory where the app was installed using cd my-app. Then finally run npm start to see your app live on localhost:3000.
From there you will see an image with a React Logo.
You are almost there, let’s go.
Folder Structure
We’ve just finished the first part of this article. Now let’s figure out what each file and folder in our React application means and does. This is critical for either a beginner or an experienced React developer.
The folder structure of your newly created React app looks like this when you open it:
The node_modules folder contains all of our dependencies, and this folder is ignored when we set up source control. But it is important to note that the package.json file works in tandem with the node_modules folder because it contains information about all of the dependencies as well as some script commands.
If you delete the node_modules folder, the application will break because you'll no longer have your dependencies.
To re-install these dependencies, you can use npm install – this will check the pakage.json file for a list of the dependencies and then install all of them. This will make it easy for you to push your code online or share your code with others without having to share the heavy node_modules folder.
Note: This is not just for create-react-app.
- public folder
Although the majority of the work will be done in the src folder, the public folder contains some static files, such as the HTML file. You could, for example, change the title of your web app, add CDNs such as Google Fonts, and so on.
Note: Don’t be afraid of this file because it’s just a regular HTML file. The only code to remember is the div with the id root where the entire React application will be placed.
.gitignore file
Just as the name suggests, it’s a file that specifies which files and folders will be ignored by our source control.
When you open the file, you will see a list of files that are being ignored, including the node_modules and build folder. You can decide to add some particular files or folders.
- build folder The build folder is another folder you can’t see right now, but you’ll see when you build your project. This will create a production-ready folder of static assets that can be hosted or deployed using a drag-and-drop option on a platform like Netlify. src folder So far, we’ve covered some fundamental folders, but our main concern is the src folder, which is where development takes place. Here's what the src folder looks like: Let’s dive into creating a simple react component, it’s easy trust me. You are now supposed to open the App.js file under the src folder, then just copy the code below.
function App ()
{
return (
‹div className="App">
Hello World
);
};
export default App
In place of the React Logo, you will see the browser reading “Hello World. ”
You are done! Now we are moving on to creating components. One can create a component inside another component. You can create as many components as you want. l am happy to take you to the next steps!


Oldest comments (0)