This quick start guide will walk you through the process of installing and using the ReductStore JavaScript client SDK to interact with a ReductStore instance.
Installing the SDK
To install the ReductStore SDK, you will need to have Node.js 16 or higher installed on your machine. Once Node.js is installed, you can use the npm package manager to install the reduct-js package:
npm install reduct-js
Running ReductStore as a Docker Container
If you don't already have a ReductStore instance running, you can easily spin one up as a Docker container. To do so, run the following command:
docker run -p 8383:8383 reductstore/reductstore
This will start a ReductStore instance listening on port 8383 of your local machine.
Using the SDK
Now that you have the reduct-js SDK installed and a ReductStore instance running, you can start using the SDK to interact with the ReductStore instance.
Here is an example of using the JavaScript SDK to perform a few different operations on a bucket:
const {Client, QuotaType} = require("reduct-js");
const fs = require("fs");
const main = async () => {
// Create a client
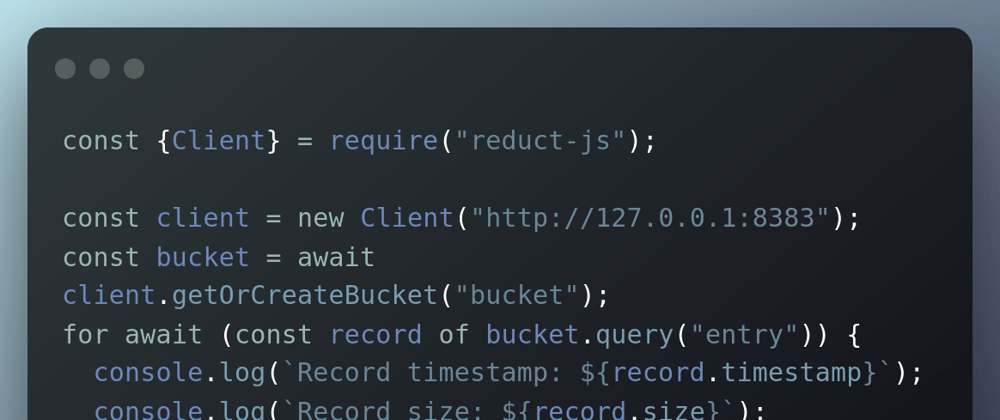
const client = new Client("http://127.0.0.1:8383");
// Get or create a bucket with 1Gb quota
const bucket = await client.getOrCreateBucket("my-bucket",
{quotaType: QuotaType.FIFO, quotaSize: BigInt(1e9)}
);
// The simplest case. Write some data with the current timestamp
let record = await bucket.beginWrite("entry");
await record.write("Hello, world!");
// More complex case. Upload a file as a stream with a custom timestamp unix timestamp in microseconds
const timestamp = Date.now() * 1000;
record = await bucket.beginWrite("entry", timestamp);
const fileStream = await fs.createReadStream(__filename); // let's upload this file
await record.write(fileStream, fs.statSync(__filename).size);
// The simplest case. Read the data by a certain timestamp
record = await bucket.beginRead("entry", timestamp);
console.log(await record.readAsString());
// More complex case. Iterate over all records in the entry and read them as steams
function streamToString (stream) {
const chunks = [];
return new Promise((resolve, reject) => {
stream.on("data", (chunk) => chunks.push(Buffer.from(chunk)));
stream.on("error", (err) => reject(err));
stream.on("end", () => resolve(Buffer.concat(chunks).toString("utf8")));
});
}
for await (const record of bucket.query("entry")) {
console.log(`Record timestamp: ${record.timestamp}`);
console.log(`Record size: ${record.size}`);
// Read the record as a stream
await streamToString(record.stream);
}
};
main().catch(e => console.error(e));
Let's break down what this example is doing.
Creating a Client
To start interacting with the database, we need to create a client. You can use the Client class from the reduct module. Pass the URL of the ReductStore instance you want to connect to as an argument to the Client constructor:
// Create a client
const client = new Client("http://127.0.0.1:8383");
Creating a Bucket
All data in ReductStore is stored in buckets. To get a bucket, you can use the getOrCreateBucket method on aClient.This method creates a bucket if it does not already exist. Pass the name of the bucket you want to create along with the bucket settings. In this example, we are creating a bucket with a quota of 1Gb. It means that the database will
start removing old data once the bucket reaches 1Gb:
// Get or create a bucket with 1Gb quota
const bucket = await client.getOrCreateBucket("my-bucket",
    {quotaType: QuotaType.FIFO, quotaSize: BigInt(1e9)}
);
Writing data to a Bucket
To write data to a bucket, you can use the beginWritemethod on a Bucket instance. Pass the name of the entry you
want to write. The beginWrite method returns a WritableRecord object that you can use to write data to the bucket.The beginWrite method will use current time as the timestamp for the entry if it is not specified:
// The simplest case. Write some data with the current timestamp
let record = await bucket.beginWrite("entry");
await record.write("Hello, world!");
The WritableRecord.write method accepts a ReadbleStream object as an argument, so you can use it to write data from a file or any other source:
const timestamp = Date.now() * 1000;
record = await bucket.beginWrite("entry", timestamp);
const fileStream = await fs.createReadStream(__filename);   // let's upload this file
await record.write(fileStream, fs.statSync(__filename).size);
Pay attention that the write method has to know the size of the written data in advance.
Reading data from a Bucket
To read data from a bucket, you can use the beginRead method on a Bucket instance. Pass the name and timestamp of the entry you want to read. The beginRead method returns a ReadableRecord object with information about the record and method read to read the content:
// The simplest case. Read the data by a certain timestamp
record = await bucket.beginRead("entry", timestamp);
console.log(await record.readAsString());
To iterate over all entry in a bucket, you can use the query method on a Bucket instance:
// More complex case. Iterate over all records in the entry and read them as steams
function streamToString (stream) {
    const chunks = [];
    return new Promise((resolve, reject) => {
        stream.on("data", (chunk) => chunks.push(Buffer.from(chunk)));
        stream.on("error", (err) => reject(err));
        stream.on("end", () => resolve(Buffer.concat(chunks).toString("utf8")));
    });
}

for await (const record of bucket.query("entry")) {
    console.log(`Record timestamp: ${record.timestamp}`);
    console.log(`Record size: ${record.size}`);

    // Read the record as a stream
    await streamToString(record.stream);
}
In this example, we iterate over all entries in the bucket and read them as streams. However, you can use the start
and stop arguments to specify a time interval for the records you want to retrieve. The start argument specifies the beginning of the time interval, and the stop argument specifies the end of the time interval. Both arguments are timestamps in UNIX microseconds:
const startTs = 1609459200000000  // January 1, 2021 at 00:00:00
const stopTs = 1609827200000000   // January 31, 2021 at 23:59:59
for await (const record of bucket.query("entry", startTs, stopTs)) {
    console.log(`Record timestamp: ${record.timestamp}`);
    console.log(`Record size: ${record.size}`);
    console.log(`Record content: ${await record.read()}`);
    //...
}
Next Steps
Now that you have a basic understanding of how ReductStore works, you can start using it in your projects. You can find
more information about the ReductStore JavaScript SDK here.
if you have any questions or feedback, don't hesitate to reach out in Discord
or by opening a discussion on GitHub.


Top comments (0)