Preface:
About two years ago I created WordExpress, which was my first attempt at developing WordPress sites using only JavaScript. It got a decent amount of buzz and currently has around over 1400 stars on GitHub. The number of stars isn’t at all important, but it does highlight one thing: developers want to develop WordPress using JavaScript on the front-end.
One of the most difficult things to overcome at the time was server-side rendering with GraphQL. WordPress sites require search engine optimization, and you can’t begin to do SEO without server-side rendering. A lot has changed in two years, and server-side-rendering with GraphQL is now much easier thanks to Apollo.
In the past month, I’ve revisited WordExpress and I’ve come up with a solution using Vue instead of React. This is totally doable using React (in fact a big piece of the puzzle is the WordExpressSchema which is front-end agnostic) but I’ve been using Vue a lot and they have great documentation on server-side rendering, so I decided to give it a go.
I’ve called this new solution VuePress because I’m very clever with words.
The VuePress Architecture
On the back-end, VuePress consists of a node server (using express) that has a GraphQL endpoint. The GraphQL endpoint uses GraphQLExpress from Apollo, which accepts a schema. This is where WordExpressSchema comes in. You can (and should!) read the documentation on the schema. In short, the schema has queries which are resolved by connecting to a WordPress database and getting data directly from it.
On the front-end, VuePress consists of Vue components. Some of these components contain GraphQL queries. When the server gets a request, it determines which components to render, prefetches the required data from GraphQL, pipes that data through a template, and finally renders the HTML.
Making A Blog
Getting Started
The code in the VuePress repo contains pretty much every thing you need to get started. First, clone the repo and follow the instructions in the readme to get started.
$ git clone https://github.com/ramsaylanier/VuePress.git
A note about custom fields: I personally use the advanced-custom-fields plugin for WordPress, and I use the pro version. You absolutely don’t need to use this plugin, but it makes life much easier, and all the VuePress documentation assumes you are using it.
After following the directions, you can start the development server.
$ npm run dev
You should get something like this:

Lets change the layout of the homepage to include a page header.

Now it should look a little nicer:

Creating A Post List
First, lets create a page that will show all of our posts.

Notice the value for the Layout Component is PostList, which generates some extra custom fields (this is why ACF is nice!). The PostType drop down will tell the PostList component which post type in WordPress to render. Right now, we only have posts which is the default. VuePress also allows you to render different Post Item Components for each post list. Imagine you had two pages — a list of Articles and a list of Photographs. The list items in each page would probably be designed differently (articles would have text, photographs would have images), so you’d probably want to use a different component to render that item. You could create a whole new Layout Component with a different list, but that is more work.
Now, lets add the new Posts page to our primary-navigation menu.

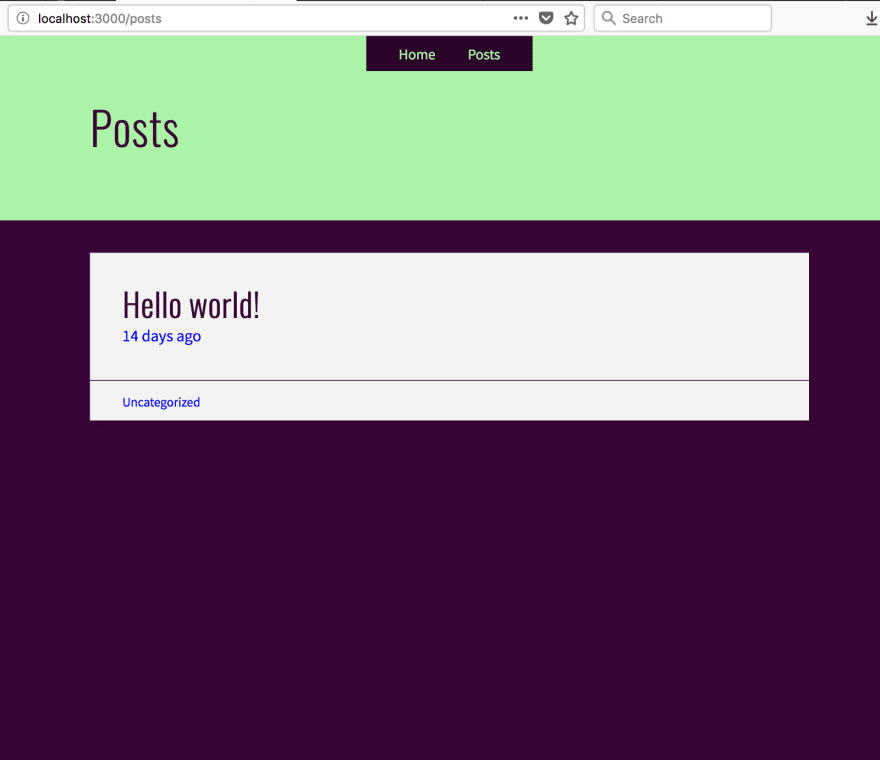
Save the menu and refresh your application browser. You should see that the posts page is now in the header menu. That page looks like this:
Voila, we have a very simple blog in just a few steps.
Creating a Custom Layout Component
Lets say we want to create a page that has a sidebar that has its own menu of external links. So far, we haven’t had to touch any application code, but that’s about to change. First, we need to make some updates to our custom fields.
In the WordPress back-end, go to Custom Fields -> FieldGroups -> PageFields. Select page fields and add a new value to the LayoutComponent field.

Save the changes by clicking the Update button on that far right. Now, lets create a new page field called SidebarMenu that will let use render a custom menu by name. We only want this field to show up on pages that have the PageWithSidebar layout. Click the AddField button.

And further below, we want to add some conditional logic on when to display this field.

Save the changes.
Now, lets create a new menu for the sidebar. My menu will be a collection of links to Vue resources that I like. Yours can be whatever! Here’s what my menu looks like:

Now lets create a new page that will use the sidebar and the custom menu. You can name the page whatever you want — I’ve named it Resources.

Lastly, you’ll need to remember to add the new page to your primary-navigation menu.
Great! That’s all we need to do in the WordPress back-end. Now, we’ll need to create the custom layout file.
The layout components are located in /src/components/page/layouts. In that directory, you’ll see the existing layout components. Create a new file called PageWithSidebar.vue. Its going to look like this:
<template>
  <div class="wrapper">
    <menu-container class="sidebar" :menuName="getSidebarMenuName()">
      <ul class="menu" slot-scope="menu">
        <li class="item" v-for="item in menu.items" :key="item.id">
          <menu-link :link="item.navitem"/>
        </li>
      </ul>
    </menu-container>
    <div class="body">
      <post-content :content="page.post_content"/>
    </div>
  </div>
</template>

<script>
import MenuContainer from '@/components/menu/menuContainer'
import MenuLink from '@/components/menu/menuLink'
import PostContent from '@/components/post/PostContent'
export default {
  name: 'page-with-sidebar',
  props: ['page'],
  components: {
    MenuContainer, MenuLink, PostContent
  },
  methods: {
    getSidebarMenuName () {
      return this.page.post_meta.filter(item => {
        return item.meta_key === 'sidebarmenu'
      })[0].meta_value
    }
  }
}
</script>
There are several things to note. First, notice the custom menu-container component. This component contains a GraphQL query. It accepts a prop called menuName and uses that to query GraphQL and get the items in the menu. But first, we have to get the name of the menu from the custom field of the page we are currently on. For that, we have to do some filtering of the page’s post meta.
This is a good time to mention that VuePress comes equipped with GraphiQL — an in-browser IDE for exploring GraphQL. You can go to localhost:3000/graphiql and see it. Click here and it will open up GraphiQL with the page query for a page with a name “resources”, which looks like this.

Notice the meta_key for sidebarmenu and the meta_value is resources-menu. Going back to the PageWithSidebar component, you can see that the getSidebarMenuName is simply filtering the post meta for the sidebarmenu key and getting its meta_value.
Now, lets look at what a menu query looks like. Click here for that link.

Now, menus are arguably one of the craziest things in WordPress because of how they are saved in the database. Each menu item has a navitem that is either a link to another post, or a custom link with its own post meta. In the case of this sidebar menu, all the links are custom. Luckily for you, though, I’ve created a MenuLink component that will determine if the link is internal or external, so you just need to pass the navitem to it.
Here’s the final result of the PageWithSidebar component.

Wrapping Up
While VuePress is still in heavy development (I haven’t even written any tests for it which makes me a bad person), I think its a step in the right direction. It feels good to be able to write Vue components instead of using PHP templates. Its nice to have scoped CSS or CSS modules built in. Its nice to finally have server-side rendering.
Over the course of the next couple of weeks I plan on really tightening up some documentation as well as developing a comprehensive testing suite. If you’d like to contribute, please hit me up on twitter. Happy developing!


Top comments (2)
great name 😂
Hi Ramsay, great work easy to understand a lot of things thanks for sharing informative stuff. keep rocking & check our site zuantechnologies.com/wordpress-dev...