
This post has orginally appeared in my blog.
Last week GitHub has released GitHub CLI which will improve the productivity among developers, product owners to interact with the repos and other administrator tasks. In this blog post, we will see about getting started with GitHub CLI, important commands etc.
How to download GitHub CLI for Windows OS?
I primarily work on Windows platform; this blog post will feature only the Windows installation. For other operating systems, the process is pretty straight forward. I will add the relevant links for your reference.
Pay a visit to https://cli.github.com/ to download the GitHub CLI.
For Windows, it would be an .msi file. But it is available via scoop and Chocolatey.
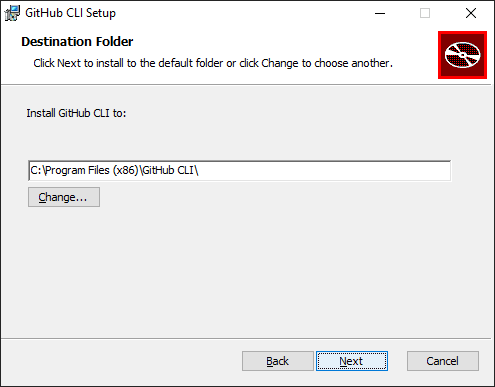
Download the msi file and launch it. Follow the onscreen instructions, by default it will get installed in as shown below.
How to validate the installation?
Launch a fresh command prompt or Windows terminal and type gh --version. You should get below prompt.

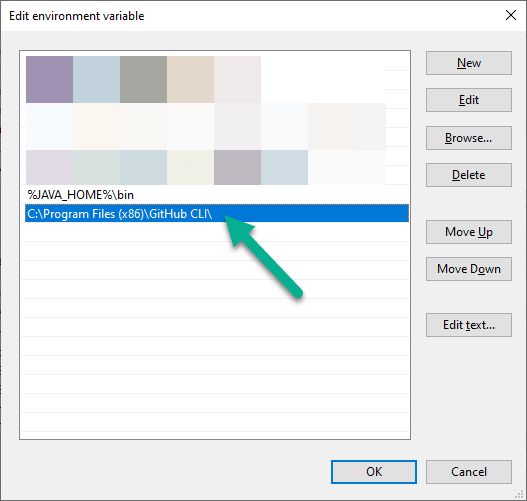
If you go to the Environment Variables, you could see an entry for GitHub CLI in Path.
Logging in GitHub CLI
After successful installation, you need to log in into your GitHub account.
To login
gh auth login

Select the respective account and hit enter.
You can login using web browser or token. Let us use a web browser.

It will prompt you to copy the code as shown below and hit enter and then go to the browser.

Follow the onscreen instructions, you will be good to go.
Basic interactions in GitHub CLI
Once you back to the terminal, you need to set the default git protocol.

To view a repo
gh repo view QAInsights/PerfAction
To view a repo in the browser
gh repo view QAInsights/PerfAction --web
To create a repo
gh repo create
Change editor
For Windows the default editor will be notepad. For macOS and Linux, you can set the editor gh config set editor <editor>
Create a gist

View gists
![]()
Create issue

View issues

Close issue
gh issue close <issue-id>

Create PR
gh pr create --title <> --body<>
View PRs
gh pr list
Merge PR
gh pr merge [ <number>| <url> | <branch> ]
Close PR
gh pr close [ <number>| <url> | <branch> ]
Create a release

Delete a release

More commands at https://cli.github.com/manual/
Conclusion
Have you tried the new GitHub CLI? If not, you should try :)


Top comments (0)