
Working through coding challenges is part of the interview process. Especially if you don’t have a lot of professional experience as a React dev yet.
But just for these developers coding assignments pose the biggest problem: there are so few job opportunities for entry-level devs that bombing a coding test really hurts. It’s demotivating. Even humiliating.
So if you’re lucky enough to get a code challenge it’s good to be prepared. And this article is here to help you with that. On this page you can find:
- 4 realistic React coding challenges that test skills like CSS, simple state management, working with API data, and debugging an existing codebase.
- Information about the goal of a coding challenge from an employer’s perspective.
- Tips on how to approach a coding challenge during the interview process.
Table Of Contents
- React Code Challenges
- The (Lesser Known) Purpose Of Coding Challenges In The Interview Process
- 6 Tips For Coding Challenges In Job Interviews
React Code Challenges
I recommend you read the whole article before you begin working on the challenges. Nevertheless, let’s start with the most interesting part. Here are a few coding challenges that you could find in a job interview process in your day-to-day work as a developer.
The challenges are based on the codebase and the designs of the React Job Simulator. You can find the source code here on GitHub. They differ in difficulty and test a variety of skills.
Let’s start with a simple task.
1. Style A Header Based On Designs
This challenge is a simple UI task: You build the header component for the application's landing page based on Figma designs.
Here is the current state of the website and below is the design.
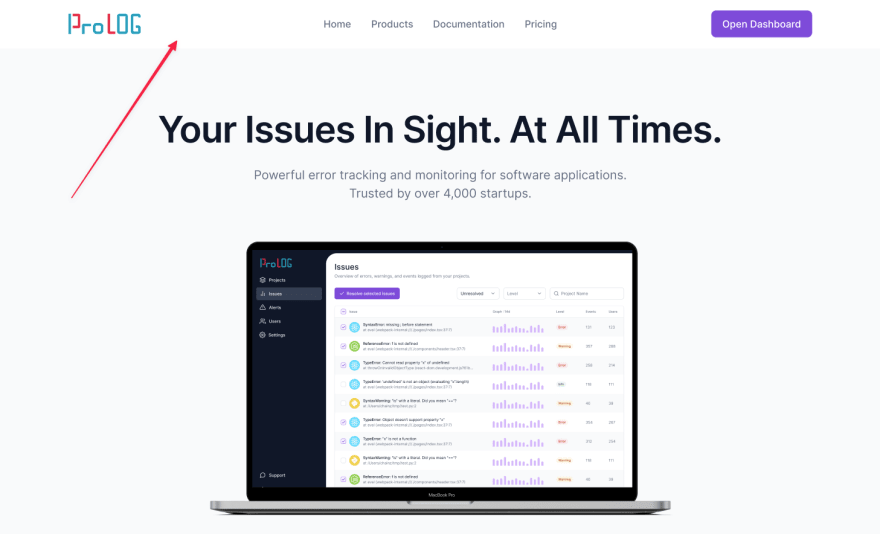
Skills tested: CSS
Difficulty: Easy
Tasks:
- Implement the header based on the designs.
- The navigation links should point to
/,/products,/documentation, and/pricing. - The "Open Dashboard" link already exists but needs to be adjusted to match the designs.
Hints:
- The file you need to edit is pages/index.jsx inside the repository.
- Currently, styled-components is used for the CSS. I’d recommend using it as well for your code, but alternatively, you can use CSS modules or inline styles. The library doesn’t matter much here.
- The project itself is written in TypeScript but the file for this challenge is plain JSX. Feel free to change the file type to
.tsxif you’re comfortable with that. - If you need help because you’ve never worked with designs or you want to make them pixel-perfect, you can get additional resources when you drop your email below.
Here is the solution to this first task. It's not the cleanest code. I didn't separate the header in a new component file. I didn't use TypeScript or write any tests. But for this challenge it's sufficient.

2. Toggle A Modal
The first challenge was a simple static styling exercise. This one will be a bit more dynamic.
When a user clicks the contact button in the bottom right corner a modal should open to display some contact information. Again, here is the current state of the website.
And here are the designs:
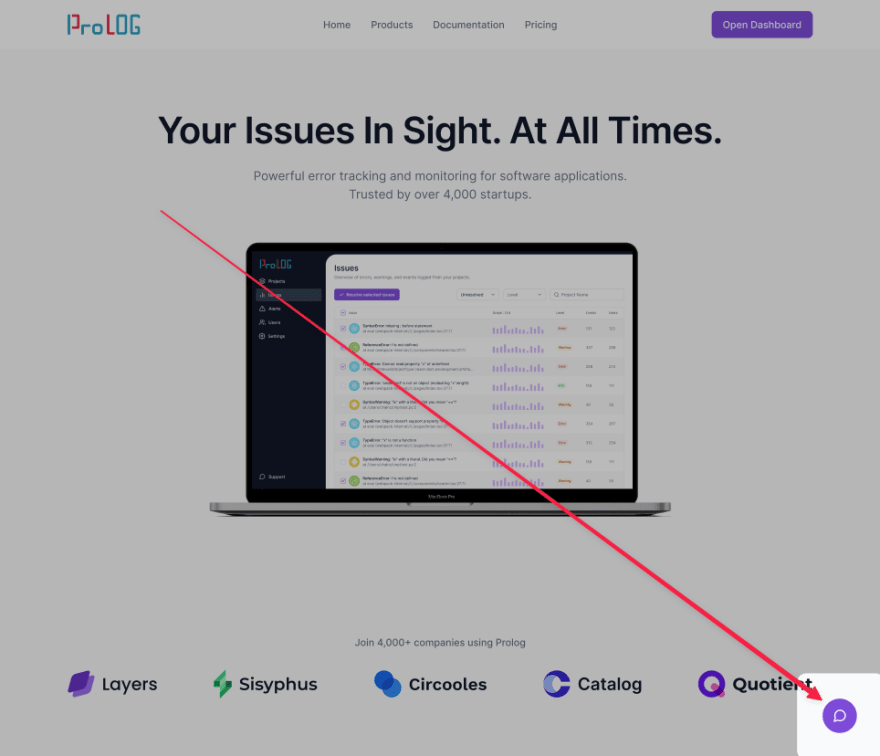

Skills tested: CSS, simple state management, overall React APIs
Difficulty: Easy - Medium
Tasks:
- Implement the modal UI.
- The "Cancel" button should close the modal and the "Open Email App" should open the user's email client.
- The modal should open when the user clicks the contact button.
- Don’t use a modal library.
Hints:
- The file you need to edit is again pages/index.jsx inside the repository.
- It's OK to add all the code to the file mentioned above.
- There are two ways of implementing the modal: a simple and a more advanced one that not many Juniors know about. Hence one of the skills tested is “overall React APIs”. If you want to see both solutions drop your email in the form below.
If you want a tougher challenge you can try to:
- Integrate your code into the existing codebase.
- Add a Cypress test for this challenge to the existing test suite.
- Add a Storybook story for the modal component.
Unfortunately, that’s beyond the scope of this blog post. If you're interested in this check out the React Job Simulator.
3. Render Elements Based On API Data From A CMS
This challenge is a bit more advanced. The goal is to connect our website to a Content Management System (CMS). A CMS is like a database & editor for website content. Good examples are Contentful or Strapi.
A CMS is often used by marketing departments to easily create content like landing pages or blog posts. The editor enters text, images, and whatever they need. The CMS stores this data and the application (e.g. our website) can access it via an API.
This way a marketer can easily adjust the text on the website or create completely new pages without asking the developers for help.
In this challenge, you’ll create the following content element that is controlled by data from an API.

Skills tested: Working with API data, CSS
Difficulty: Medium
Tasks:
- Load data from the endpoint
[https://prolog-api.profy.dev/content-page/home](https://prolog-api.profy.dev/content-page/home)where the last parameter in the URL (home) is called a "slug" that identifies the page. - Render the hero section (the part highlighted in the design) based on that data.
- The hero section should match the design.
Hints:
- You can fetch the data however you like.
- It's OK to add all the code to the file
pages/index.jsx. - You can find the Swagger documentation for our API here. (Drop your email below to get more information on that)
If you want a tougher challenge you can try to:
- Integrate your code into the existing codebase.
- Add a Cypress test for this challenge to the existing test suite.
- Add a Storybook story for the modal component.
Unfortunately, that’s beyond the scope of this blog post. If you're interested in this check out the React Job Simulator.
4. Find The Bug
The previous challenges were all about writing code. This one is a bit different. After all, one of the most important skills of a developer besides building features with code is debugging. So I took a little bug from the React Job Simulator and made it freely available for this challenge.
When you open the application's issue page you can see that either the "Events" or the "Users" column doesn't show the right data.
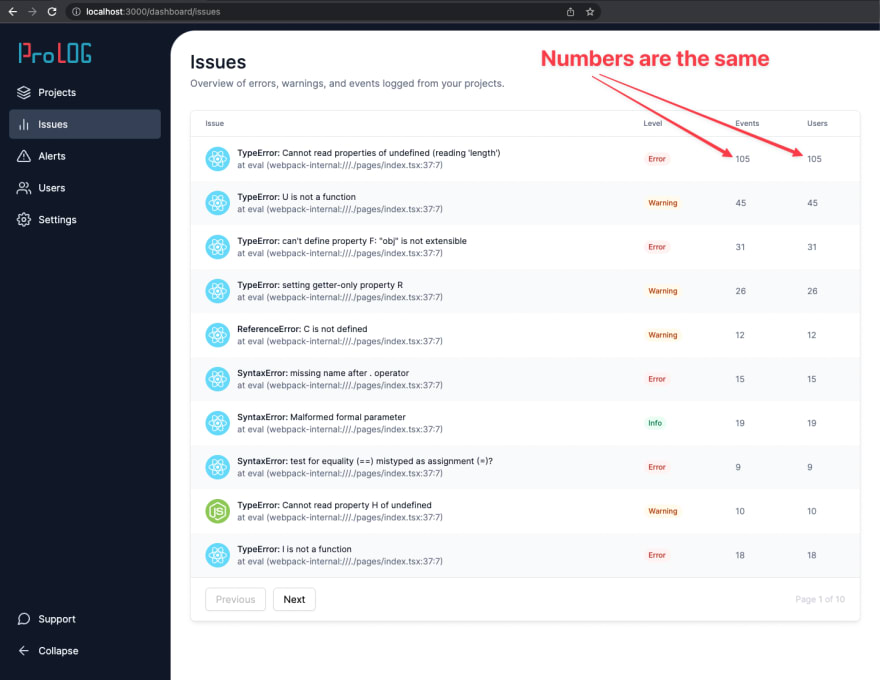
Skills tested: Debugging an existing codebase
Difficulty: Medium
Tasks:
- Find out what causes the bug.
- Fix it.
Hints:
- Think of a structured approach instead of diving into the codebase heads-first. Rather use your browser’s debugging tools than randomly poking around in the code.
The (Lesser Known) Purpose Of Coding Challenges In The Interview Process
Sure, it's a great idea to practice your skills with as many code challenges as you can. But if you want to pass the interview process it's equally important to understand what an interviewer is looking for.
No employer wants to buy a pig in a poke. Hiring someone without any proof of their skills is a big risk. Wasted time and money spent on hiring and training. And the emotional burden of having to let someone go.
One way to test a candidate’s skills is by sending them a coding challenge. This brings its own problems for both sides. But hey, it’s what you often have to deal with if you want the job.
Obviously, coding challenges test your technical skills (e.g. if you know HTML, CSS, JS, or React).
But many Junior devs focus too much on these technical skills. Keep in mind that your soft skills are a very important factor as well. And coding challenges can be a great way to prove that you can communicate or solve problems. An interviewer can ideally follow your thought process and see your attitude towards critique.
This is especially true for live coding challenges or if the interviewers discuss your take-home assignment in a follow-up interview. So be prepared for questions.
6 Tips For Coding Challenges In Job Interviews
Coding challenges can be stressful. Especially if it’s a live assignment where you have to code together with or next to the interviewer.
Here are a few tips on how to approach them.
Ask For Clarification
One of the biggest mistakes (especially made by Juniors) is to jump right into the task. Time is limited and you want to spend it coding, right?
Wrong. The first step of any coding task is to gather all requirements. Re-read the assignment and if you don’t understand something ask for clarification.
This is not a weakness. Imagine you’re on the job and start building a solution without clearly defining the problem first. You may walk in the wrong direction and possibly waste tons of time. Actually, that happens quite a lot.
So for an employer it can be a very important signal if you ask clarifying questions. It shows that you have a clear mind and a structured approach.
Talk While You’re Coding (For Live Challenges)
Live coding challenges can be nerve-wracking. But they are also an opportunity that you don’t have with take-home assignments:
You have a chance to show the interviewer your thought process by talking out loud while you write the code. And being able to explain what you’re doing is a great sign for communication skills.
Unfortunately, that’s easier said than done. Thinking and talking at the same time isn’t for everyone. So practice this upfront. Like rubber duck debugging. Simply explain what you’re planning to do while you work on a small task. The code challenges earlier on this page are a great opportunity to practice.
Clean Code Format
For many inexperienced developers, a clean code format doesn’t seem to be a big concern. Inconsistencies in indentation, use of semicolons, or variable naming are very common.
As a Senior developer (aka a potential interviewer) on the other hand, your eyes have practiced seeing these inconsistencies for years. You can spot them right away and they hurt your eyes.
There’s a simple solution though: Use a code formatter like Prettier for your (take-home) coding assignments.
Use TypeScript And Write Tests If You Can
Experienced developers appreciate the safety they get from using TypeScript or writing automated tests. So if you’re somewhat comfortable with it use types for your code and add tests. The tool doesn’t matter. You can use Jest, React Testing Library, or Cypress. It doesn’t have to be a lot either. One or two tests should be enough to show your professionalism.
Add A README With Clear Instructions
Your interviewers probably won’t run your code on their local machine. But if they do you don’t want to leave them confused.
Add clear instructions on how to install and run your code. And by the way, double-check that your code is working.
If you have some time left you can also add some additional information to the README. Like
- How and why you solved the assignment as you did.
- What assumptions you made.
- What you would improve if you had more time.
Be Prepared For Questions
Adding the information described above to your README will also prepare you for the next step: A discussion with your interviewer about your code.
If you have the chance (e.g. with a take-home test) let the code rest for a bit after you submitted your solution. If you’re invited to a follow-up interview have a close look at your code again.
- What seems strange from hindsight?
- Are there parts that are particularly hard to understand?
- How could you improve or refactor your code?
- Anything you would have differently now?
Rethinking your code can help you prepare for the next stage of the interview process. After all, it’s very likely that you’ll get questions about your code assignment.


Oldest comments (0)