Updated (10th May)
Part 2 Link - https://dev.to/pixelperfectpage/part-2-how-to-create-pixel-perfect-web-pages-4ocn
Tools required: https://pixelperfect.page/app
(No installation/ No registration required)
Theory
Before we get on to how to design pixel perfect pages, it is important to understand two key parameters (Anchors & Dimensions)
Anchor is a definition of how a specific element is anchored on a page. Few examples are
- 20 pixels from top and 20 pixels from left.
- 20 pixels from top and 10% from left

The same way we are anchoring an element to the Top and Left we can do the same with Right and Bottom as well.
Dimensions
Now lets take a look at the second parameter Dimensions. Dimension is the measure of how big (width & height) the specific component is. The dimension could be in either absolute units (pixels, points) or relative units (em, vh/ vw, %). Ref: https://www.w3schools.com/cssref/css_units.asp

Objective
Enough of the theory. Now let us create a simple design as given below.

It might be a very simple example, however we will try to cover every aspects involved in building a pixel perfect page.
Hands On
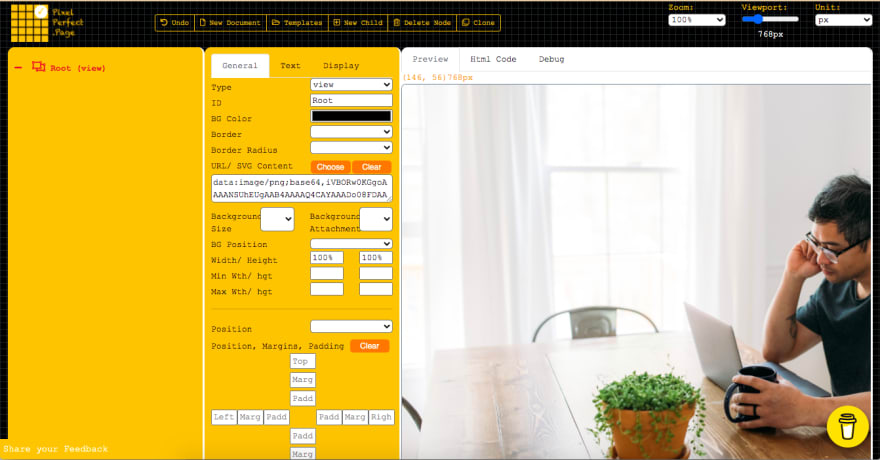
For this we are going to use the https://Pixelperfect.page tool. Lets create a new document by clicking the ’New Document’
Step 1: Prepare the root component with the background image. Select the ’Root’ on the layout explorer on the left. Lets set the properties of this component.
Set the background image by clicking the choose button.
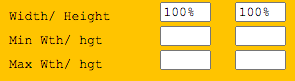
Set the Dimensions of this root canvas. This is to fill 100% in both width and height.
Now your page should look like below.
Step2: Insert a text field on the canvas
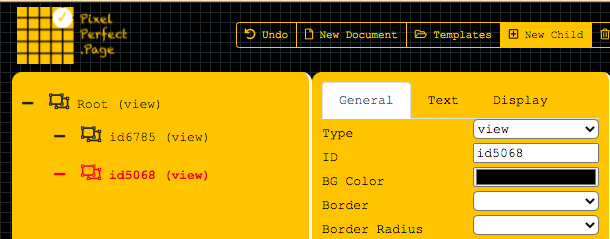
Click the ’New Child’ button. This will insert a text on the canvas.

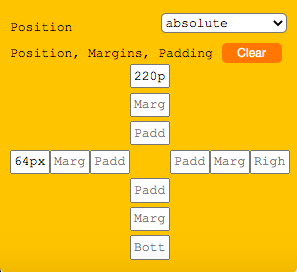
Step 3: Set the Anchor for the new component added
Click the new component created from the component explorer.

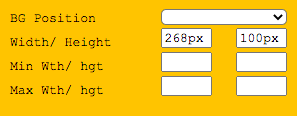
Step 4: Set the Dimension for the new component added
Set the width and height of the newly added component respectively.

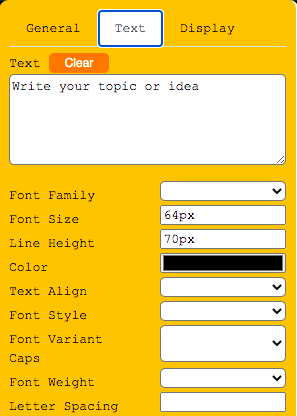
Step 5: Set the text and text size property
Go to the text tab and set the text and the text size property as given below.
Repeat Step 2-5 and add a new field with the below properties
Please make sure you select Root on the layout explorer before you click the ’New Child’ button.
Anchor
Dimension
Text Properties

Now the screen design would look like something below.

Conclusion
We are mostly done. Though this is a very simple example, we have covered the fundamentals required to build pixel perfect designs.
https://pixelperfect.page/app also allows exporting the design created as standalone html page or as web components from the ’Html Code’ Tab.


Top comments (0)