Databases have been around for decades and have evolved in many ways. Databases are an integral part of any application or program. Every application has some kind of database that stores information. There are two broad options: SQL vs NoSQL, and finding a suitable database for your application is very important. The type of database, however, varies considerably; each has its strengths and weaknesses and is better suited to different situations. This article will discuss the differences between SQL and NoSQL databases and why you might want to use one over the other in your next project.
What is SQL?
SQL (or Structured Query Language) is an industry-standard language used to store and manage data in a relational database. SQL is a declarative language where the user describes what data they want and how to extract it. SQL databases are queried using a structured syntax, which means you need to write the logic for your queries before you can see the data. SQL’s structured syntax makes it easy to scale and perform complex queries. SQL databases are commonly used for online transaction processing (OLTP) systems where the data is consistent and predictable. SQL databases are optimized for transactional and analytical workloads, which makes them ideal for mission-critical deployments where consistency and uptime are critical.
What is NoSQL?
NoSQL databases are a class of data stores that don’t rely on the structure of relational databases. NoSQL databases typically store unstructured data, and the user must specify how to store the data instead of how to extract it. NoSQL databases are queried using a query language designed for the type of data being stored. NoSQL databases are designed for non-transactional, unstructured data and usually require schema changes to accommodate changing data. NoSQL databases are typically used for analytics, machine learning, and other unstructured data workloads.
When to use SQL?
When you need to query data that is highly consistent, mission-critical, or requires transactional integrity, SQL databases are the right choice. SQL databases are designed to handle high-volume, structured data critical for online transactions. This is the ideal data store for industries like e-commerce, financial services, supply chain, and healthcare that require data consistency and uptime. SQL databases are optimized for complex queries and provide transactional consistency. Because the schema is predefined and data is normalized, SQL databases are optimized for managing data relationships. SQL databases are particularly well suited for storing structured data that changes slowly over time, such as product catalogues, customer data, financial data, and supply chain management. SQL databases are designed to scale horizontally with minimal effort. Many SQL databases provide built-in sharding, replication, and load balancing for horizontal scalability.
When to use NoSQL?
When you need to handle unstructured data that is not critical for transactional integrity, NoSQL databases are the right choice. Unlike SQL databases, NoSQL databases are schema-less. This means you don’t need to specify the data layout in advance, and the database will change the layout as the data changes. NoSQL databases are designed for unstructured data like machine learning models, clickstream data, and unpredictable data that changes frequently. NoSQL databases are optimized for horizontal scaling, and many NoSQL databases support sharding out of the box. NoSQL databases are great for capturing large amounts of data in real-time. NoSQL databases are designed for handling unstructured data that changes frequently. NoSQL databases are great for clickstream data, machine learning, and unstructured data like chat logs.
Connecting MongoDB with your Node.js Application
As part of this article, let’s get an example of a simple tutorial where we connect our node.js application to our MongoDB.
Pre-requisites and setup:
Download and install the latest Node.js available from this link.
Setup a database using MongoDB Atlas, click on connect and get the URL string.
Get a free account on Harness platform
Sign up to MongoDB Atlas, click on database access, and create a new database user.


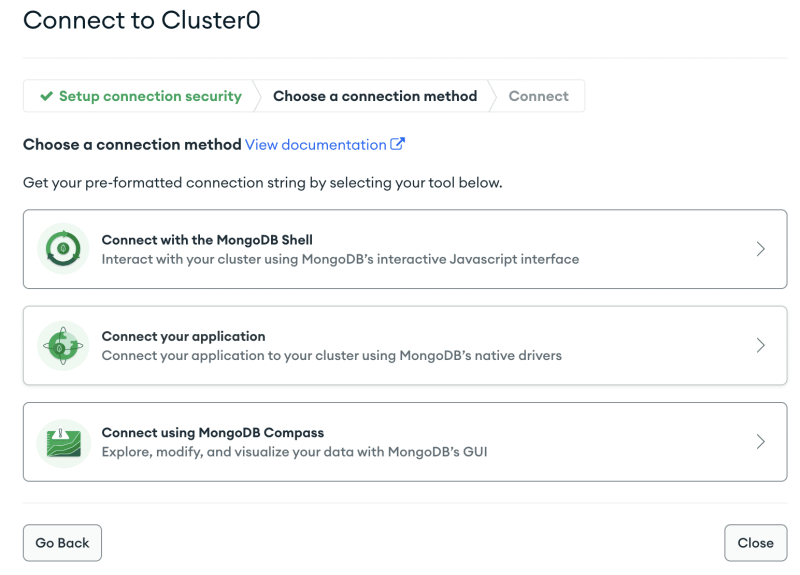
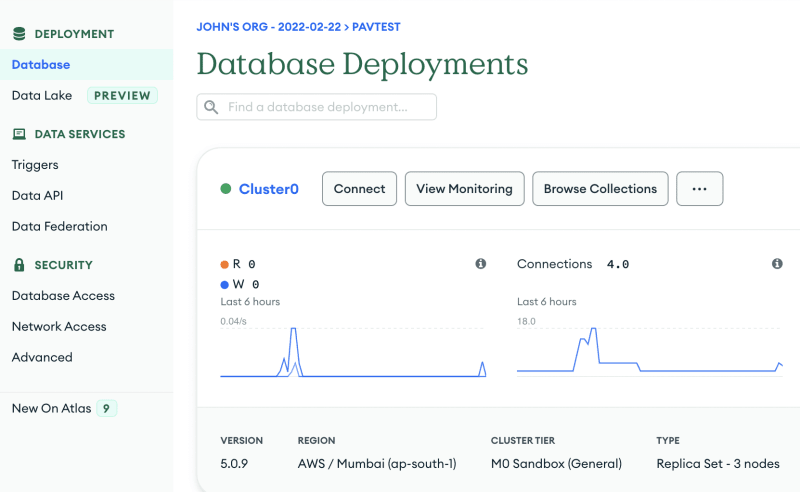
Go to the database tab and click on connect.

Choose connect your application as a connection method and copy the URL string shown.
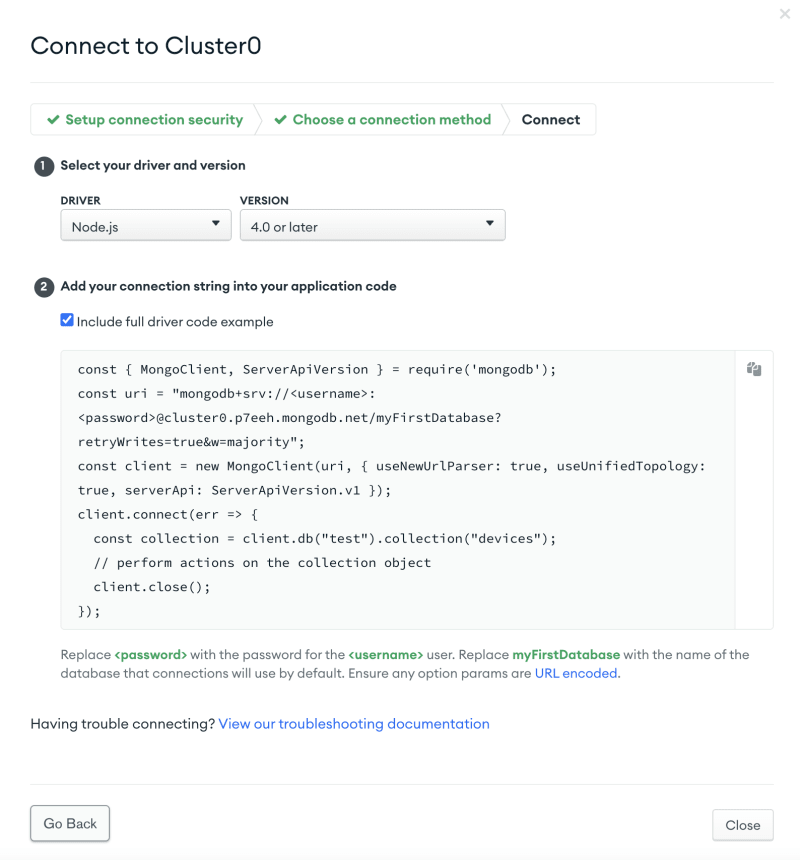
Note: Keep a note of this MongoDB string URL, we need to add it in our server.js file.
But wait, are we exposing our username and password openly? No way. We are making use of DOTENV dependency and making sure our MongoDB password is hidden.
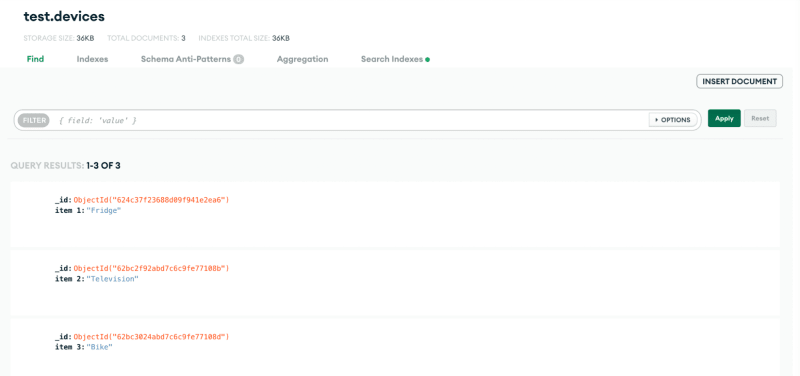
- Go to browse collections and create - name the database test and the collection devices. And then click on ‘Insert Document’ and add item1, 2 and 3 as shown below.
Start building the application
- Initialize the project with npm init --yes and a package.json will be created.
Note: In the above command, ‘-- yes’ skips the interactive session and generates a package.json based on your defaults. If you want to customise this, just use yarn init and mention the required fields.
- We need an express framework and hence we will install it with the command
npm install express - We will be needing the cors package and hence install that too with the command
npm install cors - Also, we will need dotenv package to load environment variables from a config.env file. Install it with this command
npm install dotenv --save - Create a file named
server.jsand add the following express application code,
const dotenv = require("dotenv");
//requiering express and initializing the app:
const app = require('express')();
//requiering the cors middleware:
const cors = require('cors');

dotenv.config({ path: './config.env' });

const PORT = 5001; //we will use port 5001

const { MongoClient, ServerApiVersion } = require('mongodb');
const uri = process.env.DATABASE;
const client = new MongoClient(uri, { useNewUrlParser: true, useUnifiedTopology: true, serverApi: ServerApiVersion.v1 });
client.connect(err => {
 const collection = client.db("test").collection("devices");
 // perform actions on the collection object
 client.close();
});

app.use(cors());//telling express to use the cors middleware

app.get('/', (req,res)=>{ //listen to a get request
 client.connect(async err => {
   const collection = client.db("test").collection("devices");
   //perform actions on the collection object
   //find everything in the collection and turn it into an array:
   const data = await collection.find().toArray();

   //now we turn our data into a string and send it over to the client
   //remember that our data is an array of objects (in this case only one object) but JSON.stringify turns it into a string
   res.send(JSON.stringify(data));
 });
})

app.listen(PORT, ()=>{ //listen to the port we chose above
   //print to the console that the server is listening
   console.log("listening to port: " + PORT);
})
Now, run the application from the root folder with the command node server.js
You should see the output as listening to port: (port number specified)
And once you open the localhost/port specified, you should see the MongoDB content displayed.
Adding your Database at Harness through Secrets
Harness is a modern continuous delivery platform which is loved by developers around the world because of its simplicity and easy-to-set-up features.
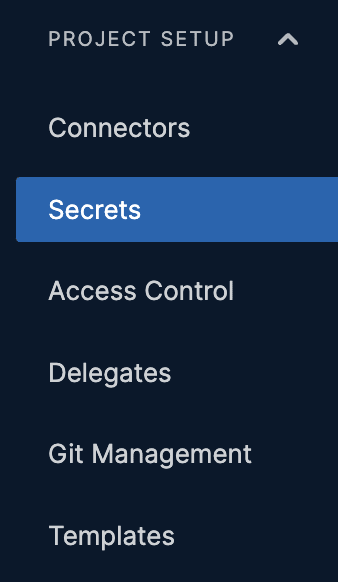
In Harness, you can easily store secrets. How? Your MongoDB string URL can be easily stored in an encrypted fashion that no attacker can guess. This can be done by going to Project setup and clicking on the secrets.
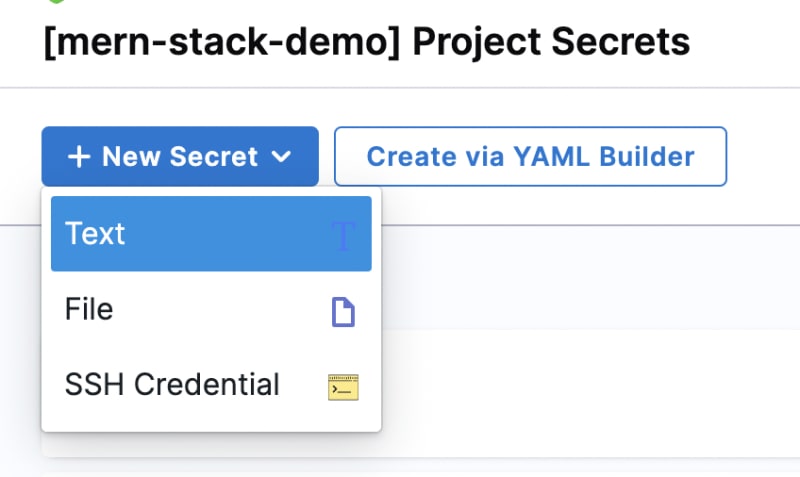
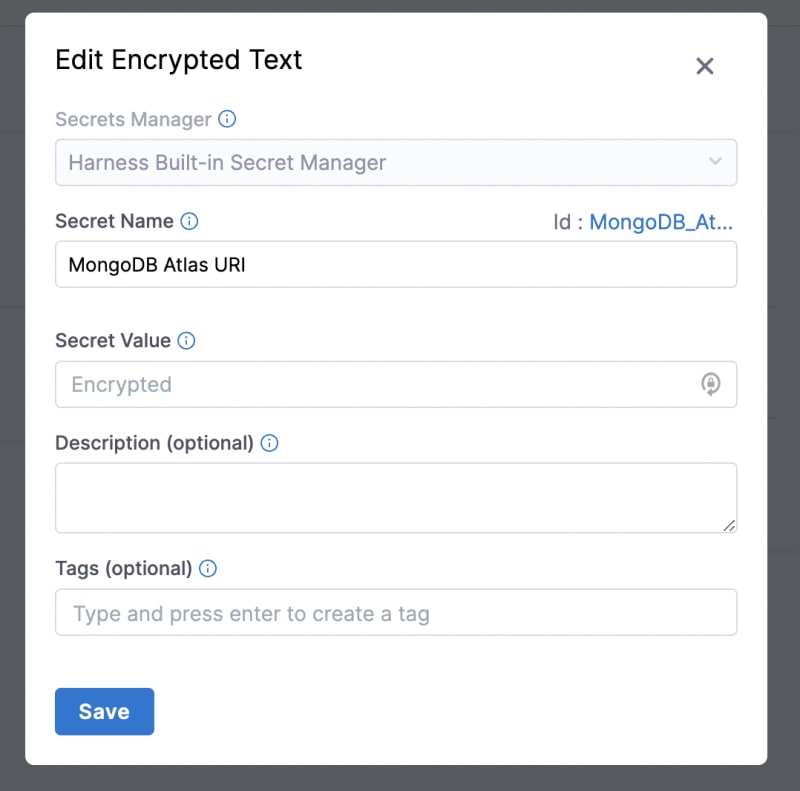
You can name it whatever you wish and store it securely.
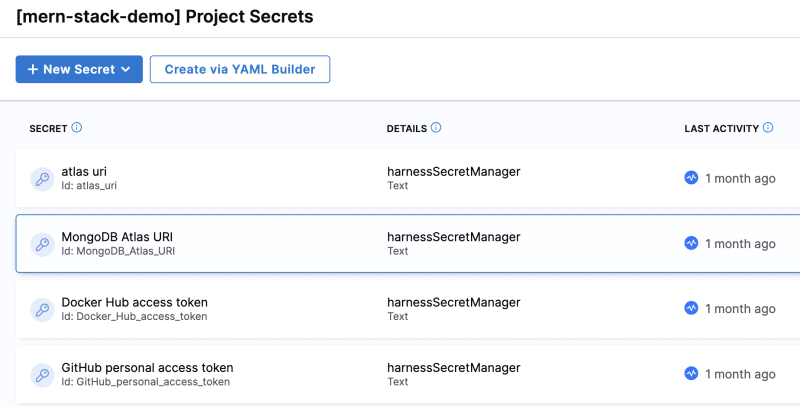
In the project secrets tab, you can see these secrets,
As part of a bigger project, we have created a MERN stack application, so you can see all the features of Harness. We have a well-documented MERN Stack application repository that you can fork and start understanding the complete CI/CD pipeline.
The code for the application is in the harnessapps/MERN-Stack-Example repository, the Kubernetes configuration is in the harnessapps/MERN-Stack-Example-DevOps repository.
Ready to get your hands-on on the Harness CI/CD?
The below-mentioned links will walk you through both Continuous Integration and Delivery.
Happy DevOpsing!


Oldest comments (0)