How to continue shipping small Spring Boot REST API and other POC without going into the big AWS, GCP or Azur things ?
Before that Saturday morning, I never heard about Render.
Searching for a replacement to Heroku after the free plans policy update, I found out on Twitter than Railway App was promising a very easy way to deploy.
I wanted to give it a try.
No Spring Boot template proposed.
No quickstart, in other words.
Docker.
I'll think about it.
I came across another thread talking about Render.
Same kind of promise.
No Spring Boot either.
Docker again.

Ok, so let's go for Docker !
Easy, boy.
You don't even have Docker installed on that machine.
Ok, so first step, go to https://docs.docker.com/desktop/install/mac-install/
👉 Download, double click, wait a bit…
You're all setup for Docker.
Then, create a Dockerfile. Hum… Ok.
Remembering the Twitter thread talking about Docker for Render, with the community forum thread.
#
# Build stage
#
FROM maven:3.6.2-jdk-11-slim AS build
COPY src /home/app/src
COPY pom.xml /home/app
RUN mvn -f /home/app/pom.xml clean -DskipTests package

#
# Package stage
#
FROM openjdk:11-jre-slim
COPY --from=build /home/app/target/vod-0.0.1.jar /usr/local/lib/vod.jar
EXPOSE 8080
ENTRYPOINT ["java","-Dspring.profiles.active=staging", "-jar","/usr/local/lib/vod.jar"]
I updated it to match my need, and saved it as Dockerfile.
Then, the docker-compose file.
It looks like this for me, currently:
version: "3.8"

services:
  app:
    build: ./
    restart: on-failure
    env_file: ./.env
    ports:
      - 6868:8080
    volumes:
      - .m2:/root/.m2
    stdin_open: true
    tty: true

volumes:
  db:
Pretty straightforward, but it will be tweaked later to add all DB stuff dynamically.
Tested it out locally, using the command
docker-compose up
in the CLI, and it launched Docker, created containers etc and made the API accessible on http://localhost:6868 as expected.
For the sake of the deployment test, I used a simplified application.yml file, without using secrets variables.
A commit and push later, going back to Render website, and follow these easy steps:
- Create a new Webservice, right top of the screen.
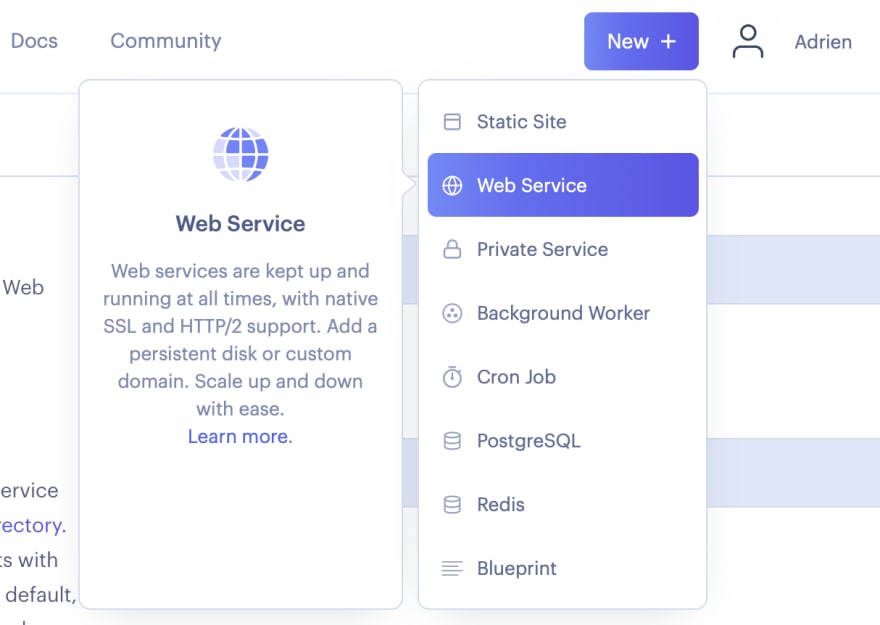
Fill in the form to connect to the Github repository you want to deploy.
Chose a name for your project, choose a plan, select Docker as environment in the list, choose the branch to deploy
Click on advanced, and fill a few fields:
the root directory, for me it was . (dot)
the Dockerfile path input with the correct value, for me it's DockerfileOptionally, I added a health check endpoint value using my endpoint
/api/v1/status
I also switched off the auto deploy on push, to keep control over the deployments in the begining.
And voilà ! Click on create webservice button and you're done.
You're being redirected to the project dashboard and the deployment should be running, as below.

Quick note, so you just don't despair with failing attempts:
It took a small amount of time before the logs were displayed on that console, for me.
As long as the logs weren't showing, the deployment kept failing.
But as soon as it was being routed to the console properly, it's ok.
You can then ping your brand new hosted API and enjoy :)
Thanks to KOO, Audrey and MakLut for their help :)
Cheers ! ✌️


Top comments (0)