In this post, I’ll share how I used Parabeac to create my portfolio website by converting my Figma design file to Flutter code and deploying the project using GitHub Pages.
When working on a product, it’s easy to get lost in the myriad of features, bugs, and refactors to implement. Getting tunnel vision means you lose sight of what is useful to the user and what is not. Because of this, I decided to put myself in our users’ shoes and try to build my portfolio website using Parabeac.
Setting up design file
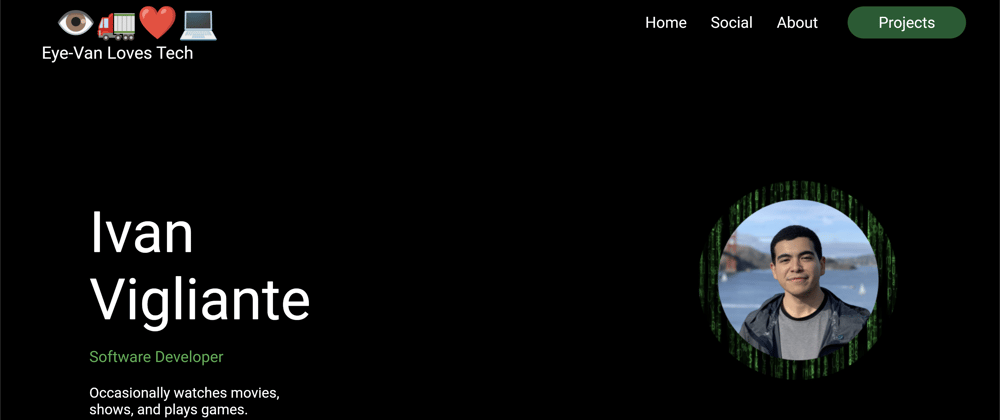
I created a new Figma Project and decided to start with the Landing Page. I knew my website was going to have a minimalist, terminal style with dark colors accentuated by bright greens. Then, I re-watched The Matrix to inspire my design (and because I love the movie). Finally, after looking at a few websites, I started designing and (tried 😅) using Figma best practices to design the page:
Although the design was to my liking, I did not want the UI to be static. Rather, I wanted the green text that says Software Developer to change to some hobbies: Movie Enthusiast, and Gamer 😎. The logic of animating and changing text cannot be generated by Parabeac, so I labeled the text with <custom> in Figma as follows:
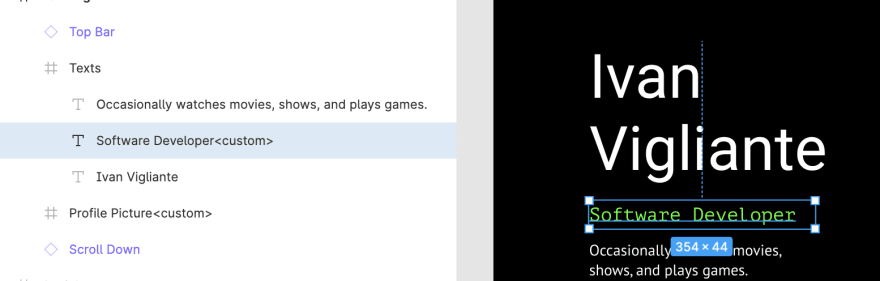
By doing this, Parabeac will create a file where I can add logic and change the text dynamically once the code is generated.
Generating the Code Using Parabeac Nest
Once my Figma file was ready to generate, I went to Github, created a new repo, and initialized it with a main branch. Then, I went to app.parabeac.com to start my new project. I followed the prompts, crossed my fingers, and began the conversion. After a few minutes, I got the success message:
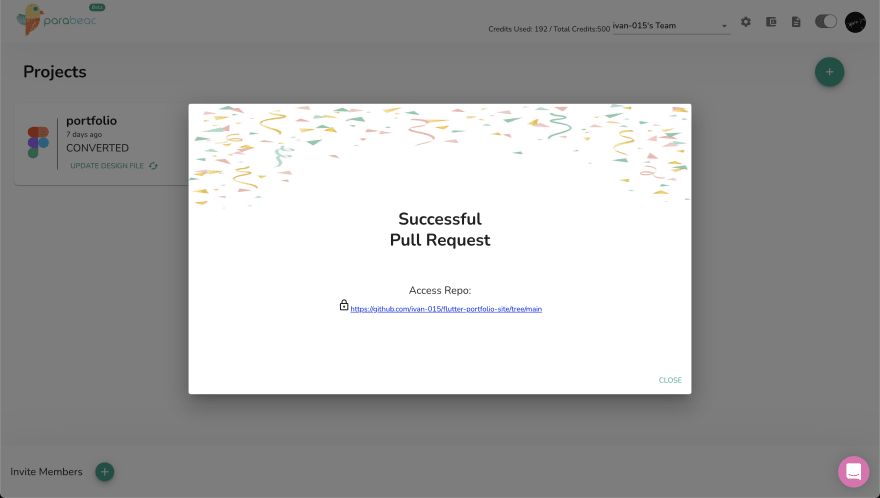
After I saw this success message, I immediately cloned the Git Repo, checked out the generated branch, and opened it in VSCode:
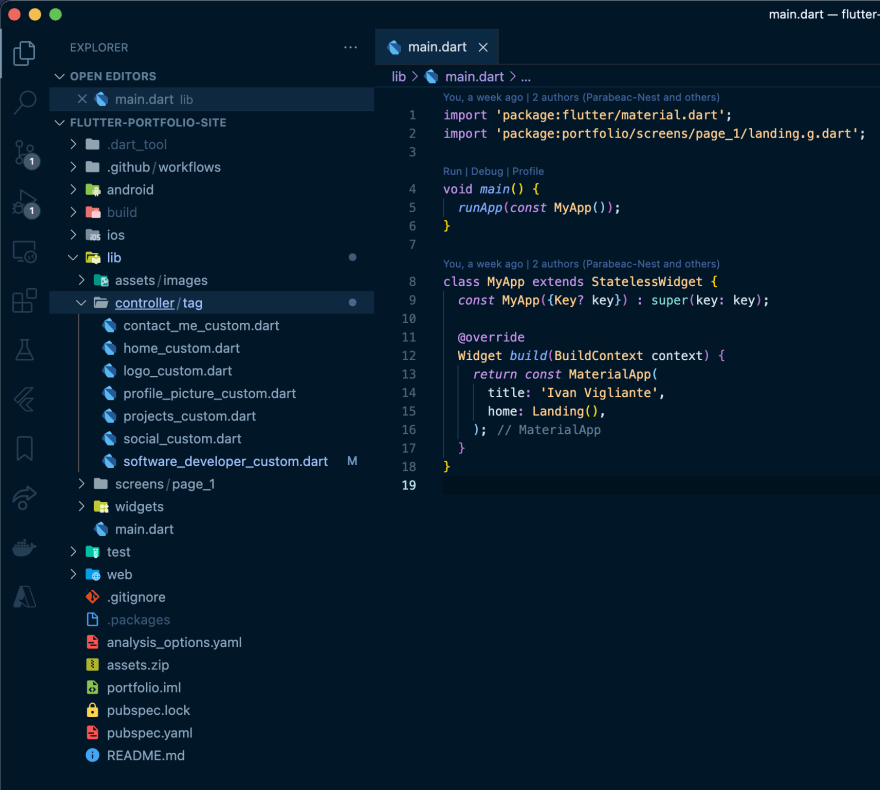
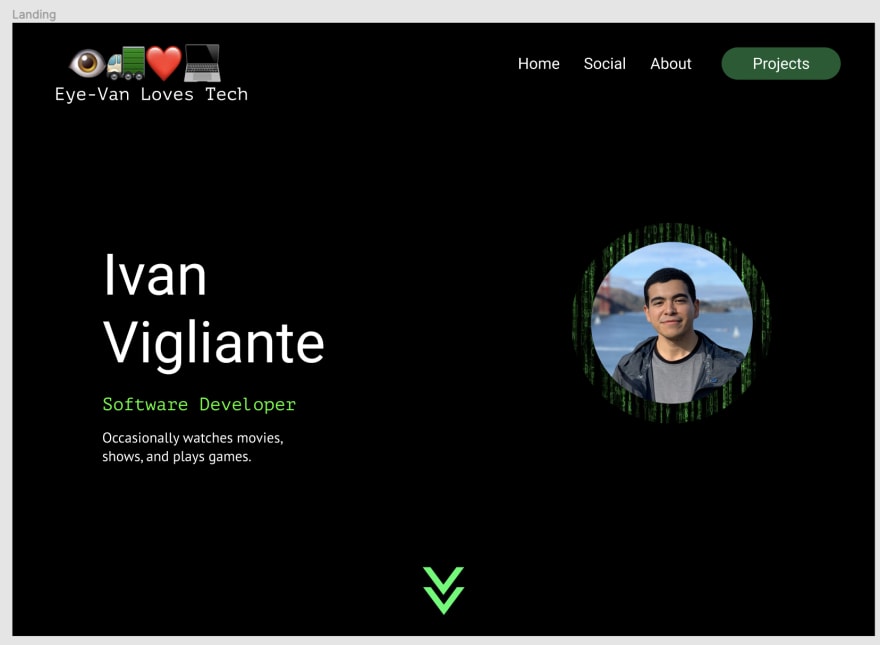
I modified the main.dart file to open the Landing page (as seen above), and ran it with the following result:

Not bad! Next, let’s make the text dynamic.
Customizing logic
The first thing I do when I want to add some logic to my Flutter UI code is look it up on YouTube and hope there’s a Widget of the Week video on it. I searched “flutter animated text”, crossed my fingers once again, and hit the jackpot. This was the first video in the search:
https://www.youtube.com/watch?v=foQTKCQqVWk
After reading the docs, I decided this was exactly what I wanted, so I went to my terminal and ran flutter pub add animated_text_kit on my project. Then, I went to the file software_developer_custom.dart, named after the text element in Figma, which had this boilerplate:
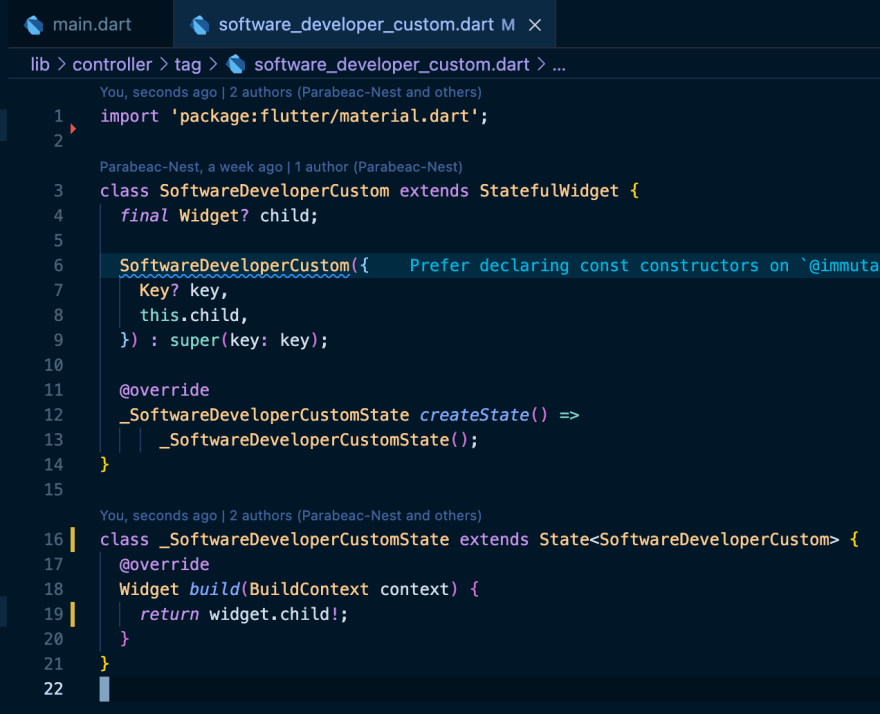
Rather than returning widget.child, which is the static text that displays Software Developer, I want to use the package I just installed to make the text dynamic. I replaced the build method as follows:
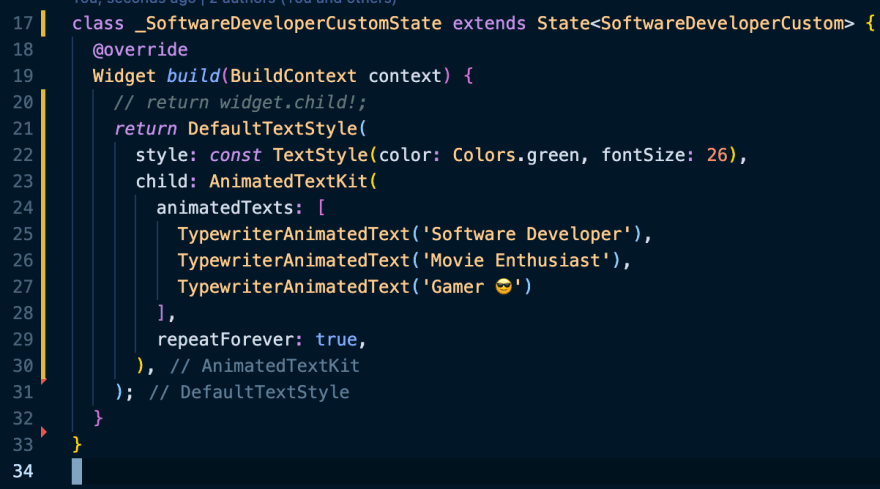
As you can see, I added the AnimatedTextKit widget, which will animate the texts I provided in a loop. Here’s the final result:
And there it is! My landing page is mostly ready. There are still some easter eggs I want to implement, but I first need to design the rest of the website.
As a final touch, I set up GitHub pages and deployed the site. Click here to see the Github repo and source code, and here to see the website.
DISCLAIMER: no .g.dart files were modified during the making of this article.


Oldest comments (2)
Doesn’t work on mobile at all 😞
Correct, you have to make the website responsive using a Flutter package or the
LayoutBuillderwidget to create and render different screens on different devices. For now, I'm only doing web to keep the article short, but will set breakpoints for different devices in the future 😁