In-app messages (IAM) can help increase user engagement among active users, nudging them towards desired actions with targeted messages and dynamic content. These messages can be automated and personalized based on custom segmentation and trigger criteria. This tutorial will cover how to integrate OneSignal IAM into a Flutter app for both Android and iOS. It will also show you how to use message triggers to automate and customize your messages.
Creating the Flutter Project
Open your terminal and run the following command to create a new Flutter project
flutter create flutter_onesignal_iamcd flutter_onesignal_iam
Now run the following command to add Onesignal SDK to the flutter project
flutter pub add onesignal_flutter
Setting up your OneSignal Account
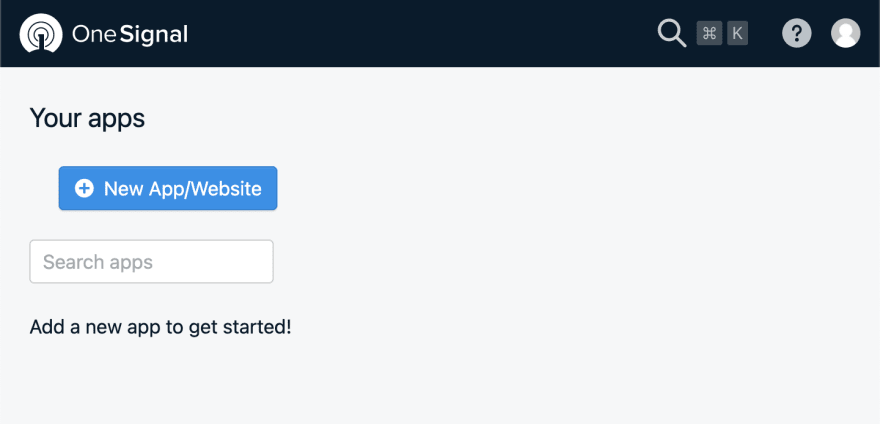
This tutorial requires a OneSignal account. You can either log in to your existing OneSignal account or create a new account for free. Then, click +New App/Website to begin setting up your OneSignal account.
Android Setup
As Flutter apps can target both Android and iOS, both of these platforms need to be set up individually. Let’s proceed with setting up Android for now — iOS can be added later.
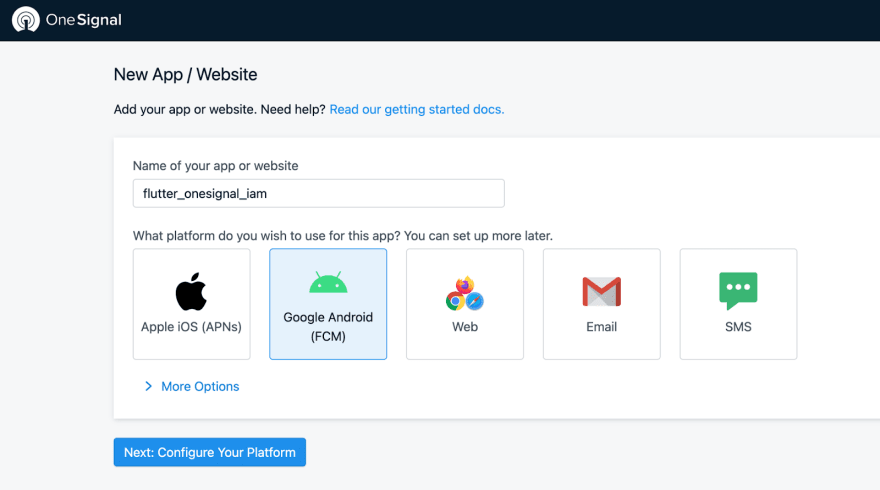
Name your app and select Google Android (FCM) and use the following guide to generate a Firebase Server Key.
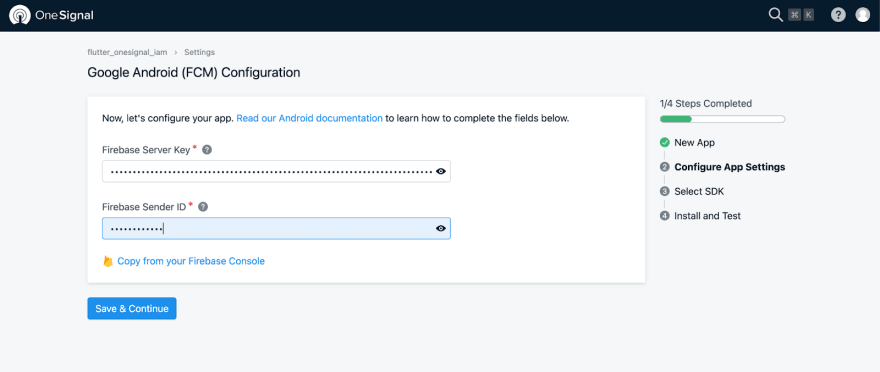
After you've input your Firebase Server Key and Firebase Sender ID, click Save & Continue.
On the next screen, select _ Flutter _ as your target SDK.

On the next page, you'll see your App ID — copy it for future reference. Don't click Done just yet. The Flutter app needs to be run on your device first before you complete this step.
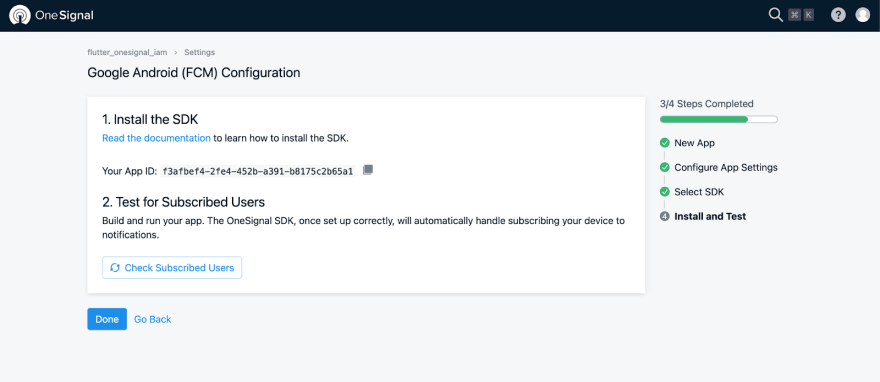
The App ID is used to initialize the OneSignal SDK. Add the following code to main.dart:
import 'package:flutter/material.dart';
import 'package:onesignal_flutter/onesignal_flutter.dart';

void main() {
  runApp(const MyApp());
}

class MyApp extends StatelessWidget {
  const MyApp({Key? key}) : super(key: key);

  // This widget is the root of your application.
  @override
  Widget build(BuildContext context) {
    return const MaterialApp(
      home: MyHomePage(),
    );
  }
}

class MyHomePage extends StatefulWidget {
  const MyHomePage({Key? key}) : super(key: key);

  @override
  State<MyHomePage> createState() => _MyHomePageState();
}

class _MyHomePageState extends State<MyHomePage> {
  @override
  void initState() {
    super.initState();
    OneSignal.shared.setAppId("YOUR ONESIGNAL APP ID HERE");
  }

  @override
  Widget build(BuildContext context) {
    return Scaffold(
      appBar: AppBar(
        title: const Text('OneSignal IAM'),
      ),
      body: const Center(child: Text('OneSignal IAM Example')),
    );
  }
}
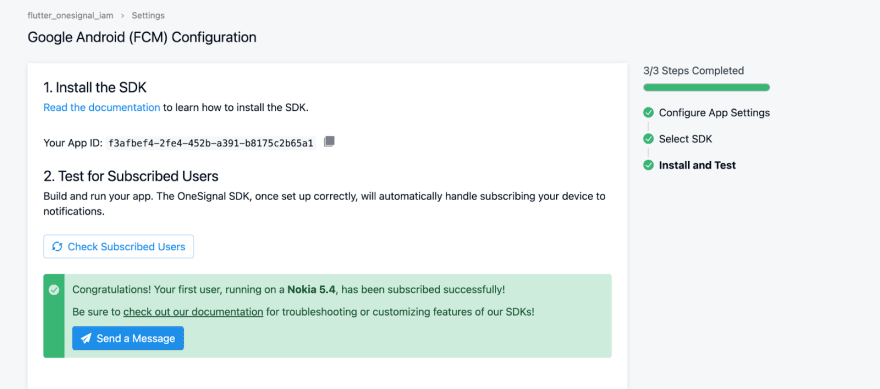
Now, run the app on your device. Then, return to your OneSignal account and click on Check Subscribed Users. A message showing your device model will be shown.
iOS Setup
In your OneSignal account, navigate _ Settings _ and click on Apple iOS (APNs). In this step, you will be asked for an iOS push certificate and its password.
Check out the linked documentation to learn how to generate an iOS push certificate. The easiest method is to useOneSignal provisionator, which directly generates the p12 file and password without much hassle. Once generated, upload the p12 file and password, and continue to the next screen.


Upload Your APNs Cert
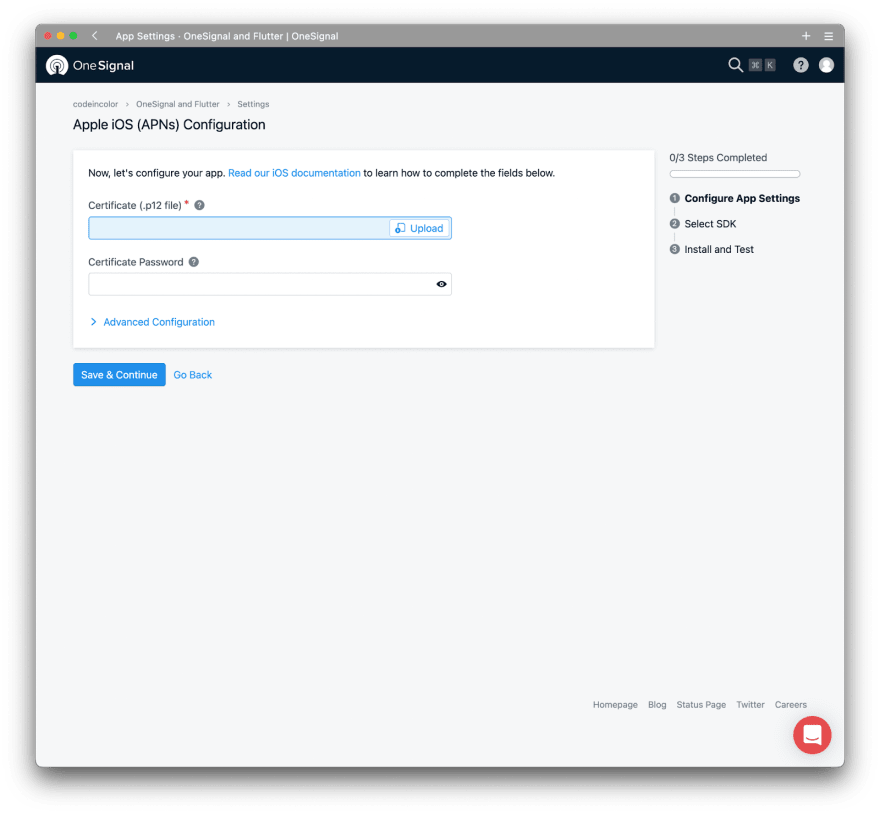
The certificate password is the one used to encrypt the exported certificate. If you left the password empty, do not enter a value for Certificate Password. OneSignal will verify the certificate can be used for push notifications upon clicking the continue button.
Select Flutter SDK on this screen, the next screen is identical to the Android configuration screen. Running the same code for iOS will work without any further modifications.
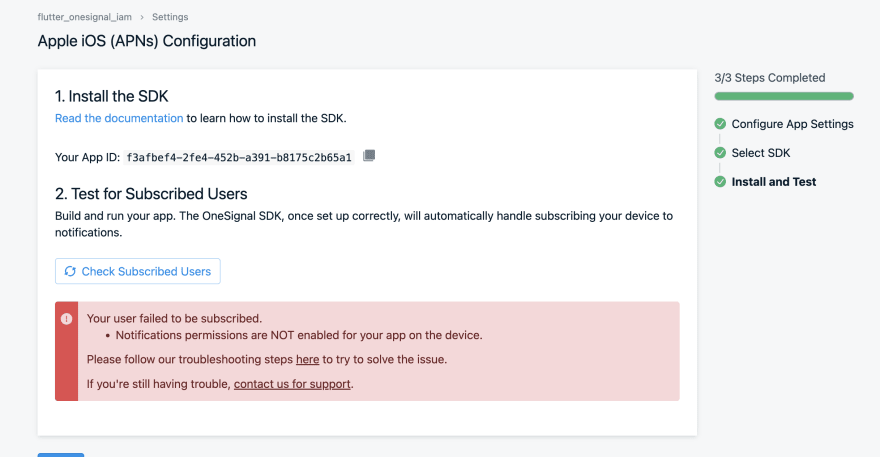
At the bottom of the Apple iOS (APNs) Configuration screen, a warning will appear saying that your user has not subscribed. This is because we have not yet asked for permission to send push notification. We will be asking for opt-in permission using in app messages later in this article.
Sending an In-App Message
Click on _ Message _ from the main navigation bar and then select _ In-App _ from the submenu that appears.
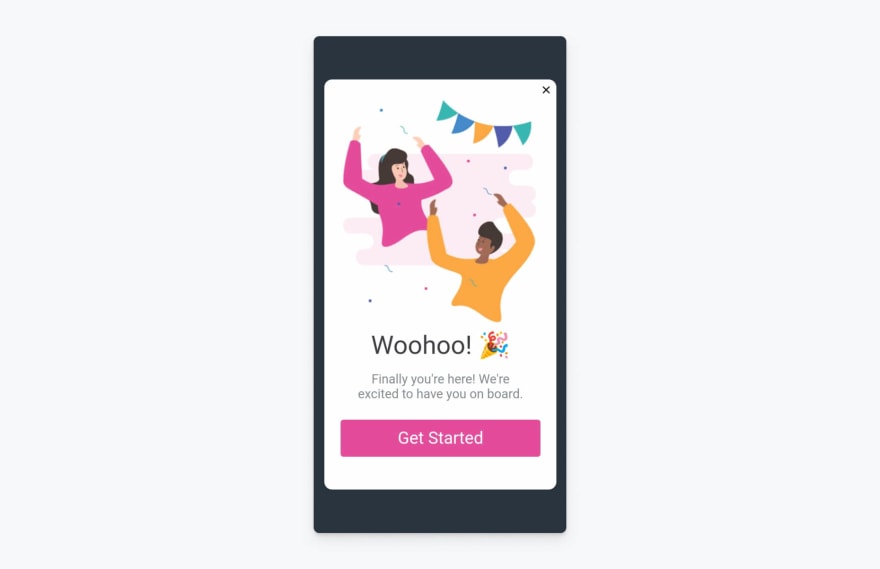
Onesignal provides default in-app messaging templates which can then be customized according to your use case and preference. From the list of templates, click on [Default Template] Welcome Message.
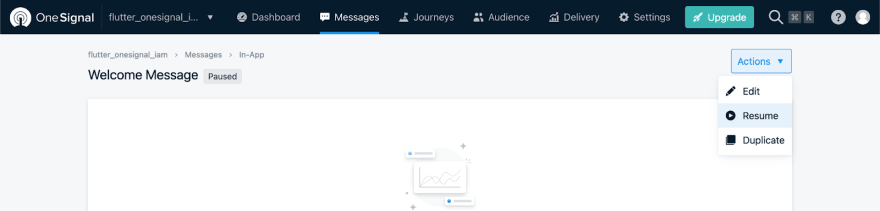
In the top right corner of the screen, select Actions — a drop-down menu will appear. If you'd like to edit and customize the default welcome message, click Edit to alter the template. If you've finished editing or would simply like to test the default message as is, click _ Resume _ from the drop-down menu. Then, run the app on your device.
In-App Messaging Triggers
You can use Triggers to choose when to show the in-app message to the user. There are some predefined Triggers such as "app open," as well as custom triggers that can be set programmatically using the addTrigger() function. To begin, let's try using a predefined trigger for showing an app rating message.
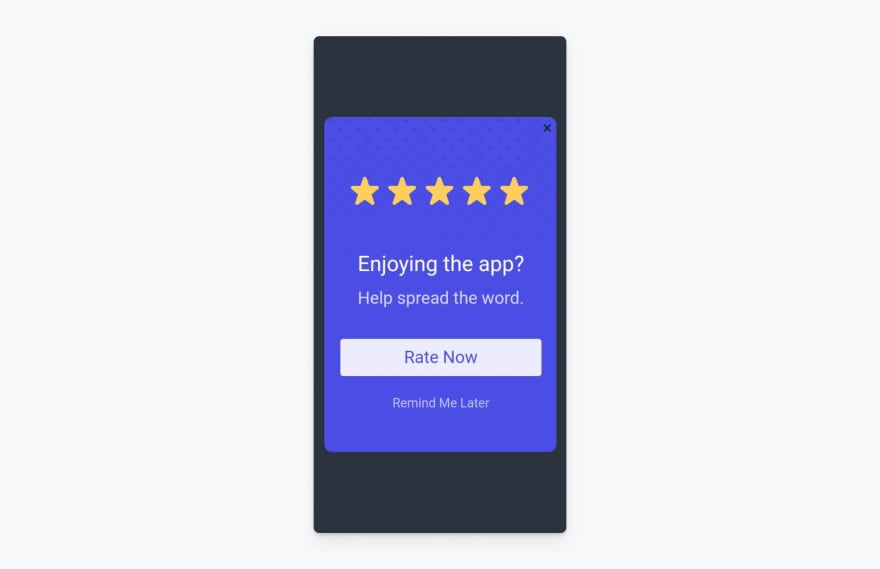
If you're using a free OneSignal plan, you will only be able to have one in-app message live at a time. Before creating the new message, you'll need to pause the welcome in-app message by clicking _ Actions _ and then _ Pause _ from the drop-down menu. Then, navigate back to the main in-app messages screen and select [Default Template] App Store Rating. Select _ Actions _ > Edit and then scroll down on the editing screen to the section entitled 3. Triggers.

When should users see this message? select _ When certain conditions are satisfied during the session . You should see two form fields for **_session duration** and _ duration since the last in-app . Enter a session duration greater than 10 seconds for demonstration purposes, then scroll down to the bottom of the page and click on the blue **_Update Message** button.

Then, from the list of In-app messages, click _ Actions _ > _ Resume _ for this message and then open the app. After 10 seconds, you should see a rating request message inside your app.
This example demonstrates the power of in-app messaging! Using OneSignal's in-app messaging tool, you can:
- Add and remove in-app messages remotely without requiring any app update.
- Leverage useful, pre-made triggers such as _ app open , **_session duration** , and _ duration since the last in-app message _, along with the option to club these triggers with an OR operation. This makes implementing a wide range of in-app messaging strategies possible without requiring any code customizations!
Asking for Push Permission (iOS)
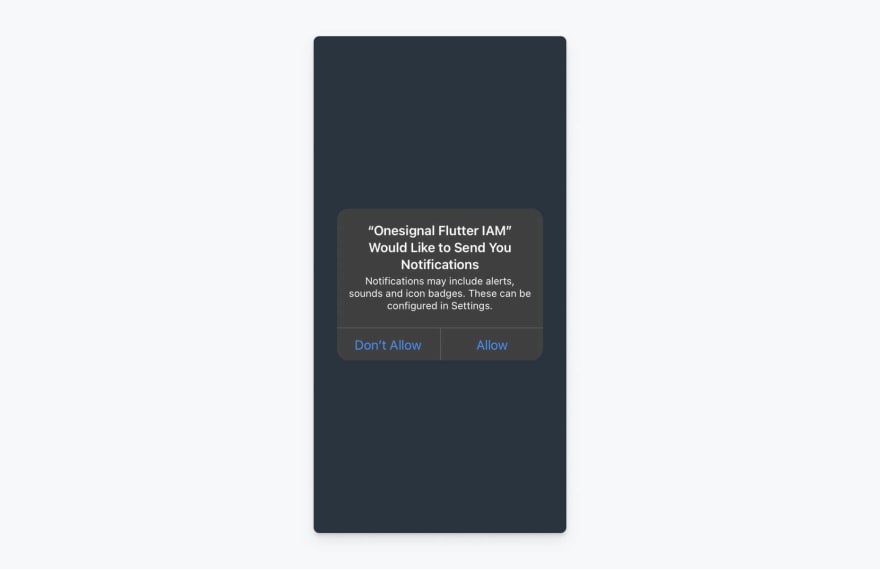
In iOS, a user needs to grant permission to an app in order to receive push notifications. As a general rule of thumb, you don’t want to ask a user for push notification permission immediately when they first launch the app because they aren't likely to understand the value of notifications at that early stage of adoption. Onesignal provides a predefined in-app messaging template to help you time your opt-in request and give users more context to inform their opt-in decision.
To try out this prompt, pause the current message (if you're using a free account), then click Action > _ Resume _ to enable the [Default Template] Push Permission Prompt. This prompt has been set to show the user a message asking for permission upon launching the app, but the trigger and message content can be customized to provide a better user experience and increase the likelihood of opt-in.
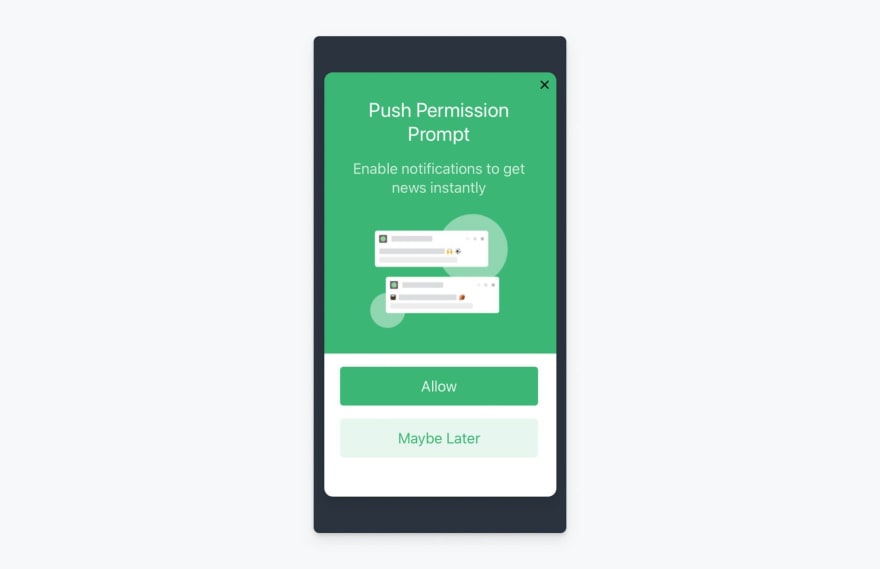
If the clicks to Allow notifications in the in-app message, it will automatically trigger the native iOS permission prompt. If they click Maybe Later , they will be opted out of notifications but can be prompted again later with an in-app message encouraging them to revisit this decision.
If a user denies permission to receive notifications the first time around, but later clicks _ Allow _ when they are re-prompted, they will be taken to the notification settings where they will have to manually allow the app to show notifications — this is a restriction imposed by iOS.
Using Custom Triggers in In-App Messaging
Custom triggers are key-value pairs of string or integer types to which the SDK responds. Whenever the condition set is satisfied, the trigger is initiated. Custom triggers can be clubbed together with AND and OR to create more complex triggers.
For demonstration purposes, let’s build a button that, when tapped eight times, will trigger a promotional in-app message.
To do so, open main.dart and add a floating action button to the scaffold, along with a variable to save the button tap count.
void main() {
 runApp(const MyApp());
}

class MyApp extends StatelessWidget {
 const MyApp({Key? key}) : super(key: key);

 // This widget is the root of your application.
 @override
 Widget build(BuildContext context) {
   return const MaterialApp(
     home: MyHomePage(),
   );
 }
}

class MyHomePage extends StatefulWidget {
 const MyHomePage({Key? key}) : super(key: key);

 @override
 State<MyHomePage> createState() => _MyHomePageState();
}

class _MyHomePageState extends State<MyHomePage> {
 int taps = 0;

 @override
 void initState() {
   super.initState();
   initMessaging();
 }

 Future<void> initMessaging() async {
   await OneSignal.shared.setAppId("f3afbef4-2fe4-452b-a391-b8175c2b65a1");
 }

 @override
 Widget build(BuildContext context) {
   return Scaffold(
     appBar: AppBar(
       title: const Text('OneSignal IAM'),
     ),
     floatingActionButton: FloatingActionButton(
       onPressed: () {
         setState(() {
           taps = taps + 1;
         });
         OneSignal.shared.addTrigger('taps', taps);
       },
       child: const Icon(Icons.add),
     ),
     body: const Center(child: Text('IAM')),
   );
 }
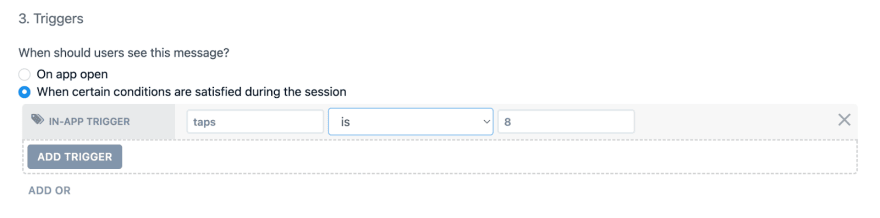
Open the OneSignal dashboard, select the [Default Template] 10% Off Promotional template, and click _ Actions _ > _ Edit . On the editing page, scroll down until you see the **_3. Triggers** section. Under the question, When should users see this message? select When certain conditions are satisfied during the session. Click IN-APP TRIGGER and input taps is 8 to the appropriate form fields, as shown below.
Finally, click _ Add Trigger _ and then scroll to the bottom of the page and click Update Message. If you followed along and implemented the previous example, the push permission prompt will still be live. If you are using a free plan, pause that message, navigate back to your promotional message, and click Actions > Resume to set this one live. Now, run the app with the updated code. Tap the button 8 times and the promotional message should pop up on your screen.
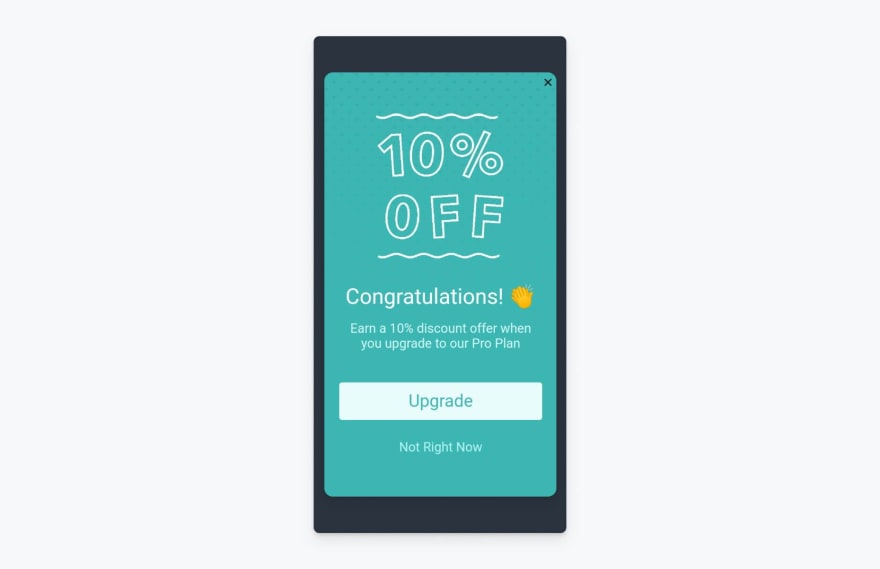
This custom trigger was an example of key is value pair. There are other conditions on which the triggers can be set as well.

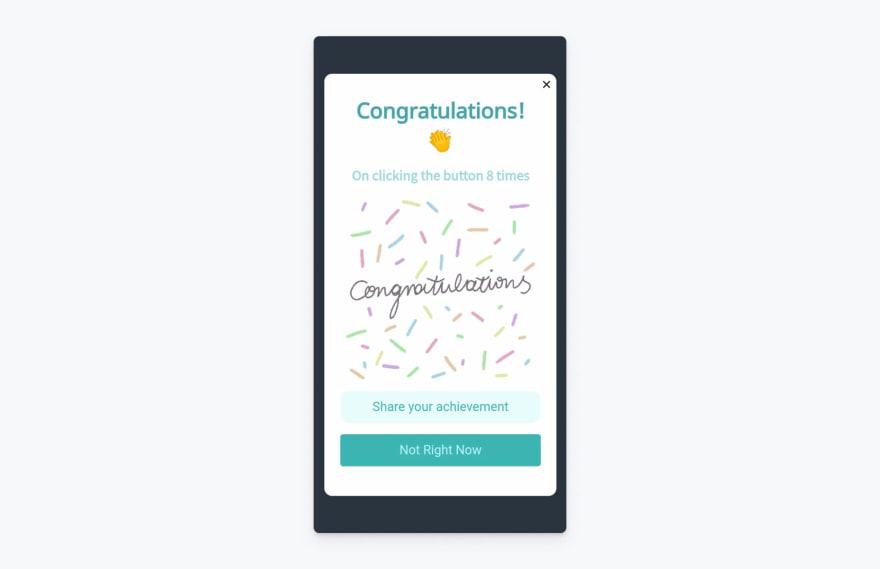
One of the best things about Onesignal's in-app messaging tool is the ability to overhaul the design of the popup without doing an app update. To demonstrate, let's update the current 10% promotional message to something more appropriate. To do so, first click _ Actions _ > Pause to pause the current message, then click on _ Edit _.
All the UI elements are highly customizable in the OneSignal message builder, as can be seen in the video below. Almost all aspects of text can be formatted to suit the design language of your app.
<!--kg-card-begin: html--><!--kg-card-end: html-->
Messages also do not have to be fixed to a particular type of layout. All the UI elements can be reordered on the fly without requiring an app update.
<!--kg-card-begin: html--><!--kg-card-end: html-->
In-app messages also support GIFs!
<!--kg-card-begin: html--><!--kg-card-end: html-->
Let’s apply all these changes, scroll to the bottom and click _ Update Message _. No need to update any code, just open the app again!
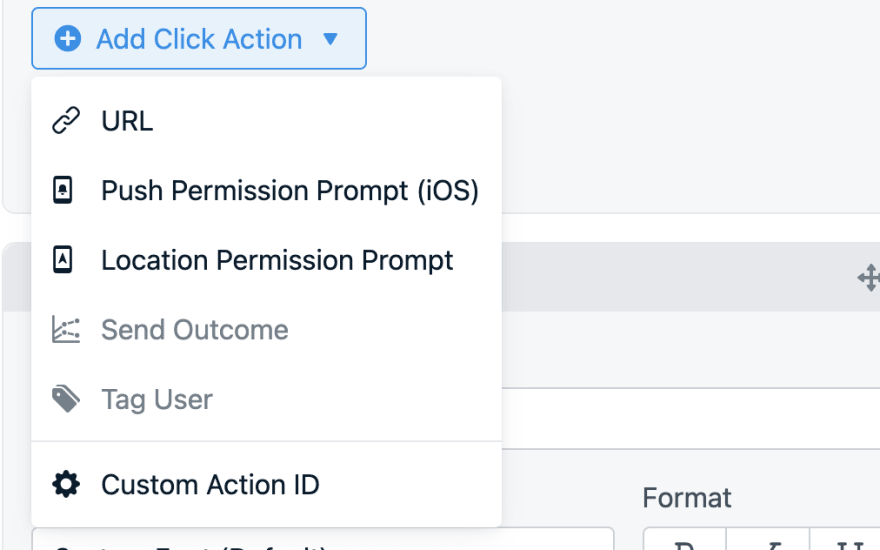
Adding Click Actions in Messages
Onesignal provides a handful of click actions out of the box that can be customized from the dashboard. There is also a Custom Action ID, in which a custom action ID string is sent, which can handle custom cases such as deep-linking, app updates, or any other functionality.
Let’s implement a URL click action first. Implementing an URL means that when a user clicks on the button, they will be taken to the specified URL. To add a link, click Actions > _ Edit _ on the promotional message (if you closed out from the last example) and scroll down to the _ Button 1 _ box and update the URL. Then, scroll down to the bottom of the page and click _ Update Message . Then, click _ Action _ > **_Resume** to resume the message. To test it out, open your app and tap the button 8 times again.
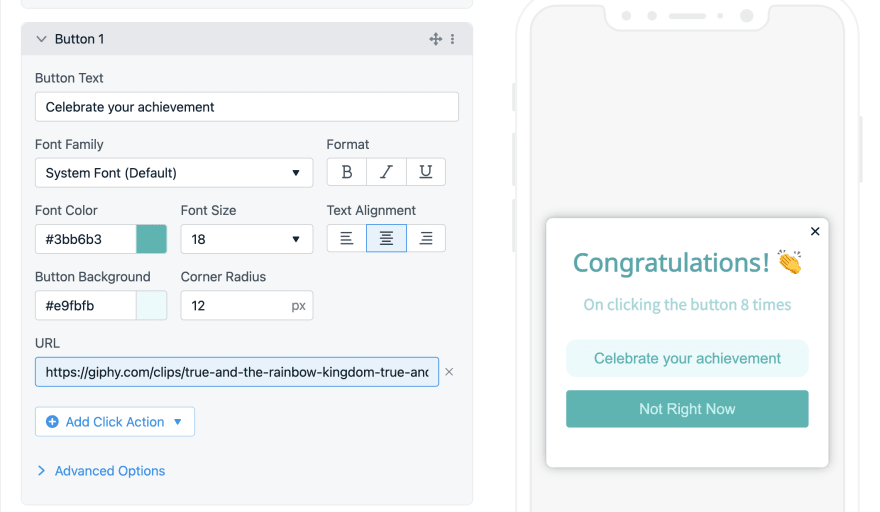
Once the message pops up, press the first button and you should be taken to the website link you provided.
Custom Click Action ( Custom Action ID)
Creating custom click actions requires developer support. All the use cases that may be necessary for the future should be listed beforehand and handled in the code.
In this example let’s try deep linking to a second page when pressing the button. To do so, create a new file called success_screen.dart and add this code.
import 'package:flutter/material.dart';
class SuccessScreen extends StatelessWidget {
  const SuccessScreen({Key? key}) : super(key: key);
  @override
  Widget build(BuildContext context) {
    return const Scaffold(
      body: Center(
        child: Text(
          'Success',
          style: TextStyle(fontWeight: FontWeight.bold, fontSize: 42),
        ),
      ),
    );
  }
Now, go to the initMessaging() in main.dart and add a setInAppMessageClickedHandler to listen to any click actions that happen on the message.
 Future<void> initMessaging() async {
    await OneSignal.shared.setAppId("f3afbef4-2fe4-452b-a391-b8175c2b65a1");
    OneSignal.shared.setInAppMessageClickedHandler((action) {
      if (action.clickName == 'successPage') {
        Navigator.of(context)
            .push(MaterialPageRoute(builder: (_) => const SuccessScreen()));
      }
    });
  }
This works as follows:
- set
InAppMessageClickedHandlerlistens to any action event that is emitted by interacting with any UI element. - When a click action is set in the OneSignal console, it means that an action binds to that UI element.
- Whenever an interaction occurs with that element, the action is triggered.
- If that action is a pre-defined one, such as opening a URL, then while the click handler will listen to the action being emitted, the action to perform is already handled by the SDK and will result in opening the URL in the browser.
- For action IDs that you specify, you can build different use cases as shown in the above example to handle different action IDs.
- In the above snippet, the action has many properties which can be further leveraged to create better user experiences.
Now, click Action > Pause to pause the current message and then select Edit. Scroll down to the button to which a click action has to be added. Then, select Custom Action ID and give the action a name such as successPage.
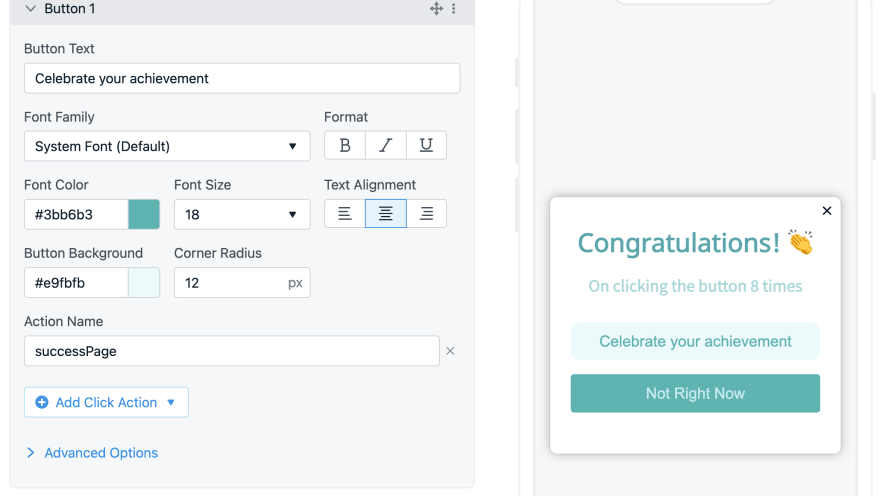
Next, scroll down to the bottom of the screen and click Update Message and Resume the message via the Actions menu. Now, run the updated app.
When you click on the button, you should have successfully implemented deep linking!
<!--kg-card-begin: html--><!--kg-card-end: html-->
Share Your Feedback
We'd love to know what you think and answer any additional questions you have. To connect with us, create an issue on GitHub or ping us on the OneSignalDevs Discord server to share your experience. We appreciate any insight you can share to help us better serve Vue.js users!
To stay in the loop with the latest product updates and innovations, follow the OneSignal Developers Twitter. For additional support and dev inspiration, tap into our global developer community.
>> Connect with the OneSignal Developer Community
This guest post was authored by Chinmay Kabi


Top comments (1)
@devpato Did you find out the solution for the question you posted here
stackoverflow.com/questions/565855...