Small offices can save 20% of electricity and help save the environment
Automating light management using industrial internet of things (IIoT) devices in offices promises 20% energy savings and 100% environmental karma points. Large offices spend substantial amounts of money on service companies installing hardware and administration software. For small and medium sized offices, such investments will never pay off.
Here is an example calculation for a typical small company in a western country. If your office is consuming 10,000 kWh per year at an electric power price of $0.25 per kWh, the energy bill is $2.500 per year. Results vary, but most IIoT providers promise a 20% electricity saving using effective light management. That’s $500 per year saved in this example.
In this post we suggest DIY approaches to achieving the same results in small offices. All you need are some common Home IoT devices sold in consumer markets, the IIoT Server Open Source Software, and a little bit of hacker spirit. Invest half a day of work, have fun, save some money, and do something good for our planet.
Ensure Home IoT lights and plugs are switched off at night
Ensuring lights and other devices are switched off — not just in standby mode — at night is a simple way to save electricity and money. Offices are often empty over the weekend and for 12 to 14 hours per work day, for example between 7:00 p.m. and 9:00 a.m..
By running a scheduled task each evening, it becomes easy to prevent lights, monitors and power chargers from running when no one is around. By running an additional scheduled task in the morning you can make sure the smart plugs are switched on for employee’s convenience.
To run such scheduled tasks you need Home IoT devices that are connected and programmable via your local office WiFi. We suggest running our open source IIoT Server software on a Raspberry Pi, as described in our introduction blog post to this series. The IIoT Server supports a growing number of Home IoT devices. In our setup, we use lights from a global Swedish furniture chain and the Tp Link HS100 power plugs. Whatever hardware you use, set it up as described by their vendors. Then install IIoT Server as an additional way to send commands.
Setting up Home IoT devices to receive commands from IIoT Server
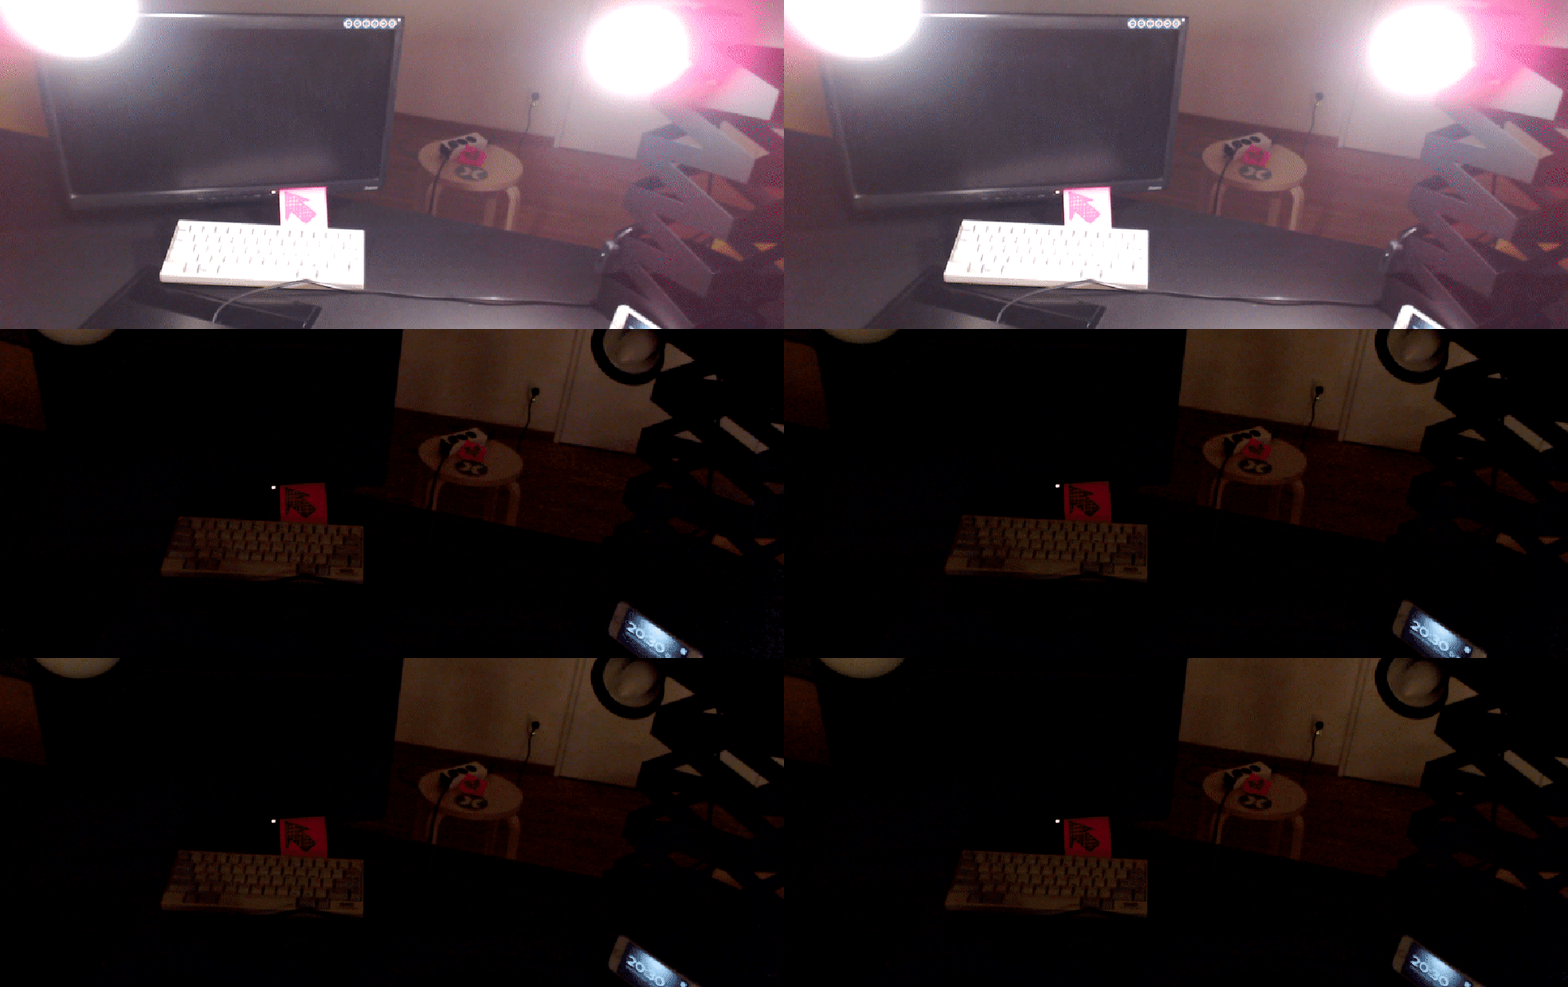
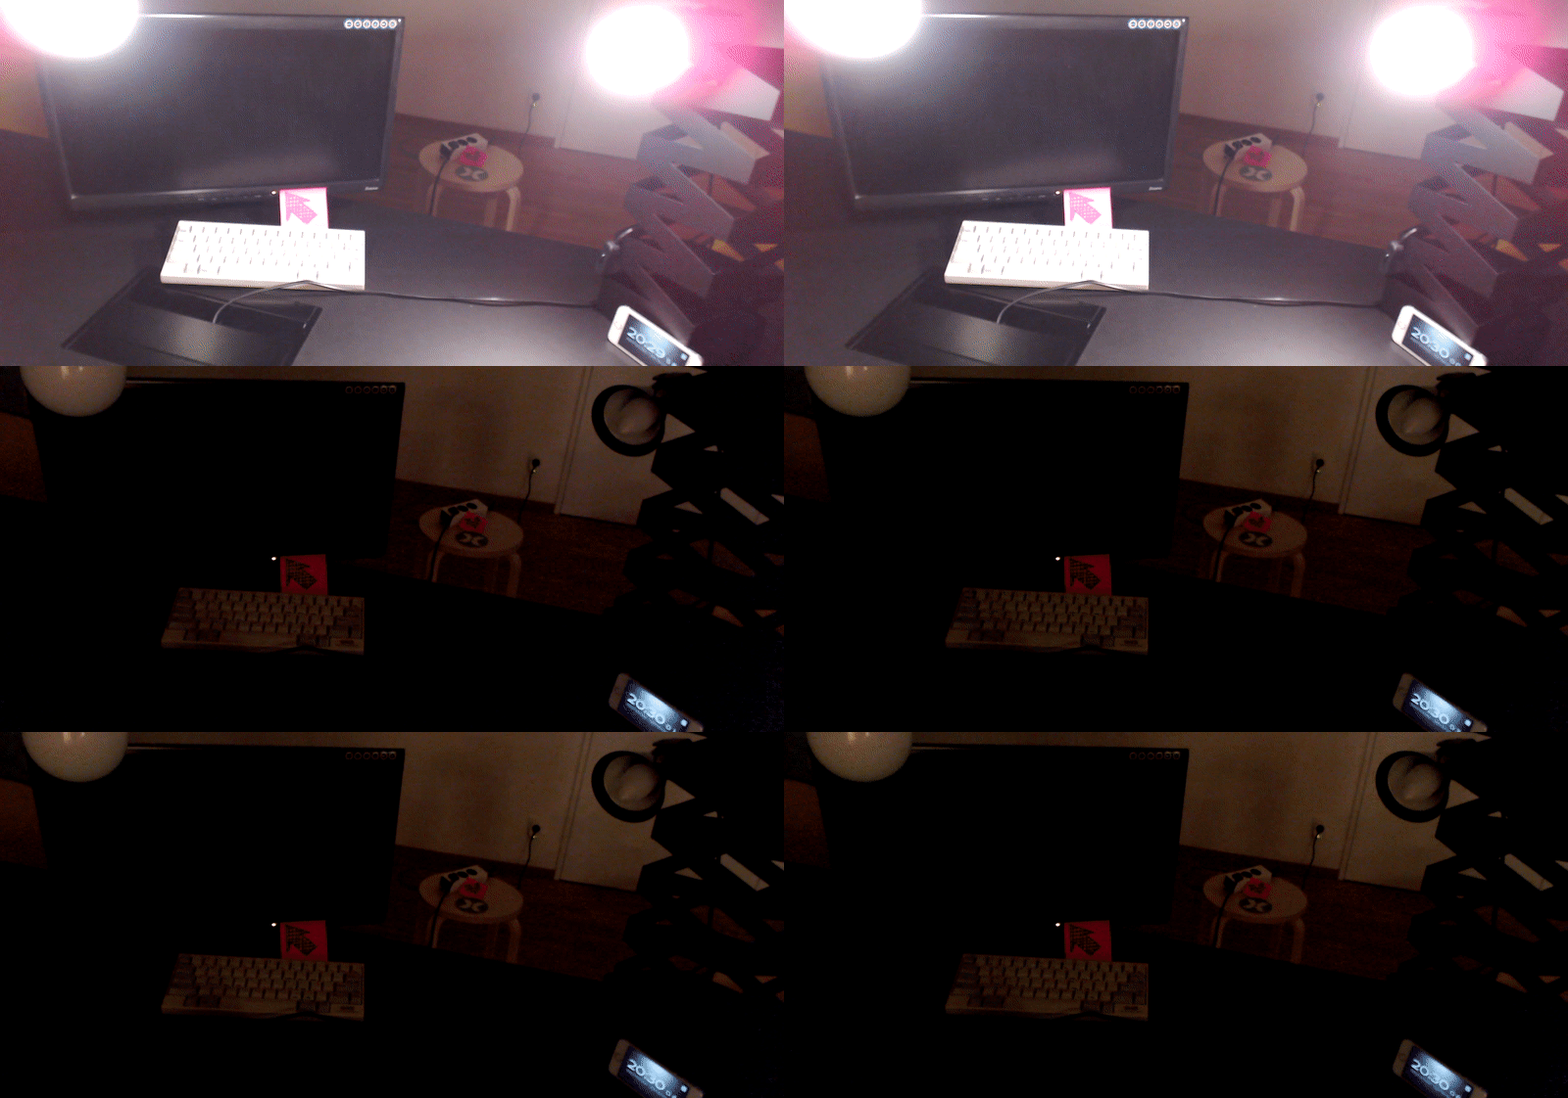
Set up your lights as described in our introduction blog post. We added a second light from the same manufacturer as a reading lamp. Connect the monitors and chargers on your desk with a multiplug socket and use a TP-Link HS100 smart plug as a gatekeeper to power supply.
Configure your devices in IIoT Server in the ./config/devices.yml file. Ours looks like this:
devices:
  office:
    room_a_bulb:
      model_class: TradfriLedColorBulb
      hub_id: 65537
    room_a_lamp:
      model_class: TradfriLedColorBulb
      hub_id: 65540
    room_a_plug:
      model_class: Hs100
      ip: 192.168.10.77
Start the IIoT Server by following the manual. Test your setup and switch on all your lights and plugs, for example by using cURL:
curl --location --request POST 'localhost:4567/device_cmd' \
--header 'Content-Type: application/json' \
--data-raw '{
    "device": "room_a_lamp",
    "action": {
        "cmd": "bulb_on"
    }
}'
One option to schedule the execution of your commands at a specific time is to use the crontab program on your Raspberry Pi. Create two software scripts making HTTP calls to your IIot Server, one to switch all lights and plugs off and another to switch on all plugs. Finally, set up your desired schedule for running these scripts in crontab.
A second option is to use our free Xapix Community Edition and it’s web UI to set up a scheduler and trigger pipelines that switch on and off your lights and plugs.
If interested, then > CONTINUE READING < the full version of this article on our Xapix blog.
Join our Home IoT community
We are working on follow-ups to this blog series and will post updates in our Discord community to inspire you with new ideas about how to use the Xapix IIoT Server once you have set it up. We would love to hear your ideas and collaborate!
Contact us on our Discord community channel if you would like to discuss this tutorial or if you have questions or feedback about the Xapix Community Edition. Or really anything else as well. We look forward to hearing from you!


Top comments (0)