
We are going to build a simple app using the latest React feature of hooks, which lets us use Class components concepts in Functional components.
This series have been inspired from an example in “Modern React with Redux” series by Stephen Grider on udemy.
So, open up your terminal and create a new react app react-hooks.
 react-hooks
Next, cd into that directory. Open up your code editor and start the react application.
 initial setup
Now, as usual go into the src directory in your code editor and delete everything.
 Delete everything
Next, create a new file index.js in the src folder. The content of it will be below code.
import React from 'react';
import ReactDOM from 'react-dom';
import App from './components/App';

ReactDOM.render(
    <App />, document.querySelector('#root')
);
Now, make an components directory inside src folder and create a new file App.js, whose content will be below code.
import React, { Component } from 'react'

class App extends Component {
    render() {
        return (
            <div>
               App is rendered
            </div>
        )
    }
}

export default App;
So, if the initial setup is right you will see the below in our localhost.
 App is rendered
Next, update the App.js to have two buttons, onclick of which different text is displayed.
import React, { Component } from 'react';
import './App.css';


class App extends Component {
    state = { resources: 'posts' };

    render() {
        return (
            <div className="main__container">
                <span className="buttons__container">
                    <button onClick={() => this.setState({ resources: 'posts' })}>Posts</button>
                    <button onClick={() => this.setState({ resources: 'todos' })}>Todos</button>
                </span>
                <span>{this.state.resources}</span>
            </div>
        )
    }
}

export default App;
We also add a tiny bit of CSS by creating an App.css in the same folder.
.main__container {
    display: grid;
    place-content: center;
    grid-template-rows: 30px 30px;
    grid-gap: 10px;
}

.buttons__container{
    display: grid;
    grid-template-columns: 100px 100px;
    column-gap: 5px;
    font-size:1.5rem;
}
And our App now looks like below.
 posts
posts
We are now going to change our app to a functional based component and then use hooks.
So, there are different types of hooks. The are listed in the diagram below.
 Different type of hooks
We need the useState hook for our App, as we are using state in our App. So, let’s change it to use hooks. The major changes are in bold and we are also changed the class based App component to a functional one.
import React, { useState } from 'react';
import './App.css';

const App = () => {
    const [resource, setResource] = useState('posts');

    return (
        <div className="main__container">
            <span className="buttons__container">
                <button onClick={() => setResource('posts')}>Posts</button>
                <button onClick={() => setResource('todos')}>Todos</button>
            </span>
            <span>{resource}</span>
        </div>
    )

}

export default App;
If you go to http://localhost:3000/ and check the app, will behave the same. It means our transformation was successful.
But lets understand what the line const [resource, setResource] = useState(‘posts’) means by below diagram.
 useState explained
The useState(‘posts’) is an array of two elements and we are doing array destructuring, so resource=useState(‘posts’)[0] and setResource=useState(‘posts’)[1]
Next, we will start creating our ResourceList component, but first we will install axios to make GET request to a simple endpoint. So, go ahead to your terminal and stop the running app and install axios
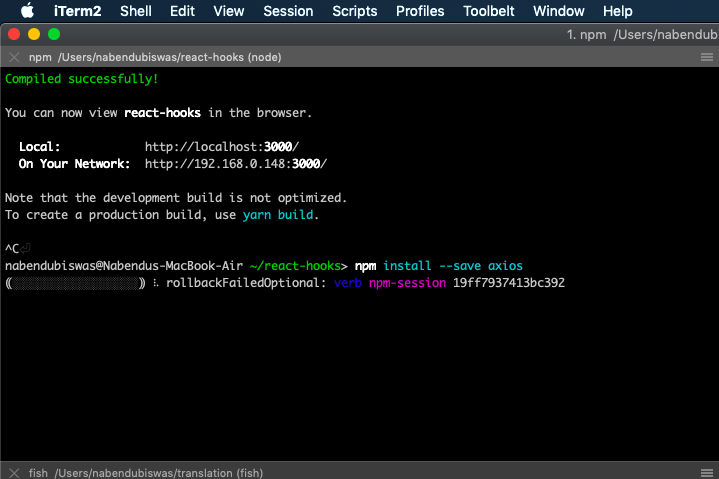 install axios
Now, create a new file ResourceList.js inside src directory. Add the following class based code to it. Here we are making use of two lifecycle methods — componentDidMount and componentDidUpdate, because we are doing an API call at initial render and also whenever the user clicks on the button.
import React, { Component } from 'react';
import axios from 'axios';

class ResourceList extends Component {
    state = { resources: [] };

    async componentDidMount() {
        const response = await axios.get(`https://jsonplaceholder.typicode.com/${this.props.item}`);
        this.setState({ resources: response.data });
    }

    async componentDidUpdate(prevProps) {
        if (prevProps.item !== this.props.item) {
            const response = await axios.get(`https://jsonplaceholder.typicode.com/${this.props.item}`);
            this.setState({ resources: response.data });
        }
    }

    render() {
        return (
            <div>
                {this.state.resources.length}
            </div>
        )
    }
}

export default ResourceList;
Now, we are going to change this to use hooks. We need another hook for lifecycle methods — useEffect.
import React, { useState, useEffect } from 'react';
import axios from 'axios';

const ResourceList = ({ item }) => {
    const [resources, setResources] = useState([]);

    const fetchResource = async (item) => {
        const response = await axios.get(`https://jsonplaceholder.typicode.com/${item}`);
        setResources(response.data);
    }

    useEffect(() => {
        fetchResource(item);
    }, [item])

    return (
        <div>
            {resources.length}
        </div>
    )
}

export default ResourceList;
Now, the hook useEffect is a combination of two lifecycle methods — componentDidMount and componentDidUpdate
 useEffect hook
Lastly, lets complete our app by showing the content of Todos or Posts from our backend API. Change the following in return statement in ResourceList.js
return (
        <ul>
            {resources.map(record => <li key={record.id}>{record.title}</li>)}
        </ul>
    )
And our final app looks like below.
 Final App
You can find the final code for the same in this github link.


Top comments (2)
Isn't the whole project copied from Stephen Grider udemy course?
I had learned almost everything from udemy video courses, and it was just a small example and already given credit to Stephen Grider.