What do you get when you mix a frontend developer, a raspberry pi gathering dust for months and a quarantine?
I live in a city where there are days when you could have all 4 seasons within a single day. That's why I decided to build an app with daily weather reporting using an old raspberry pi 🔥
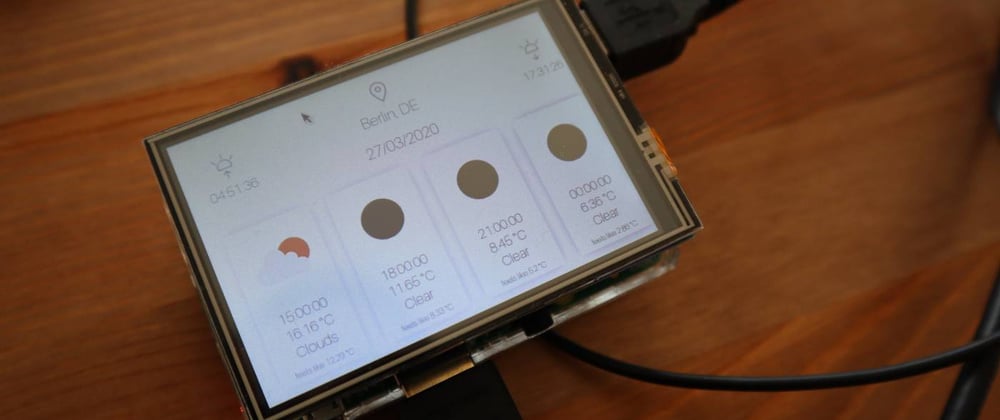
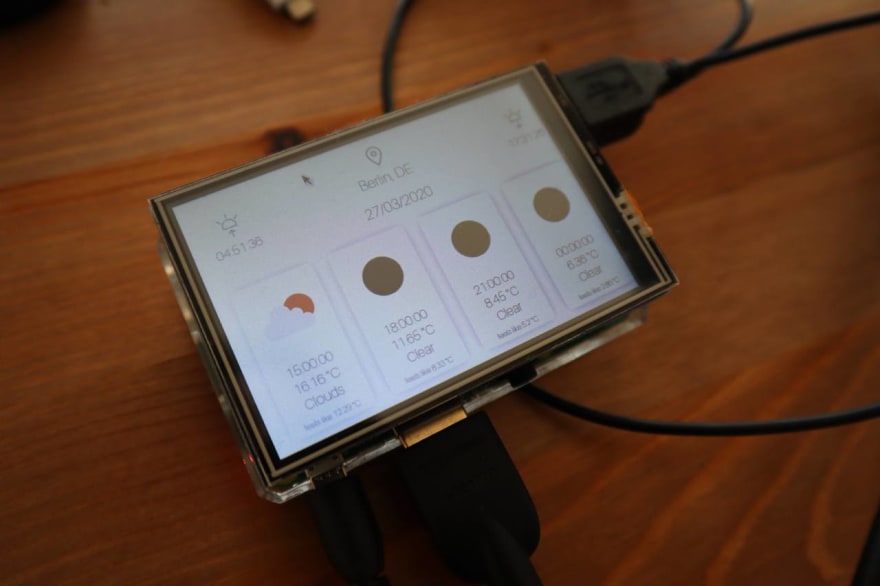
✨ The Result
What I totally love about web technologies is that you can build anything from websites to mobile apps. With this little project I hope to show that you can also power Internet of Things with some modifications and optimisations and have awesome results.
📸 Swag
Light mode 🌝
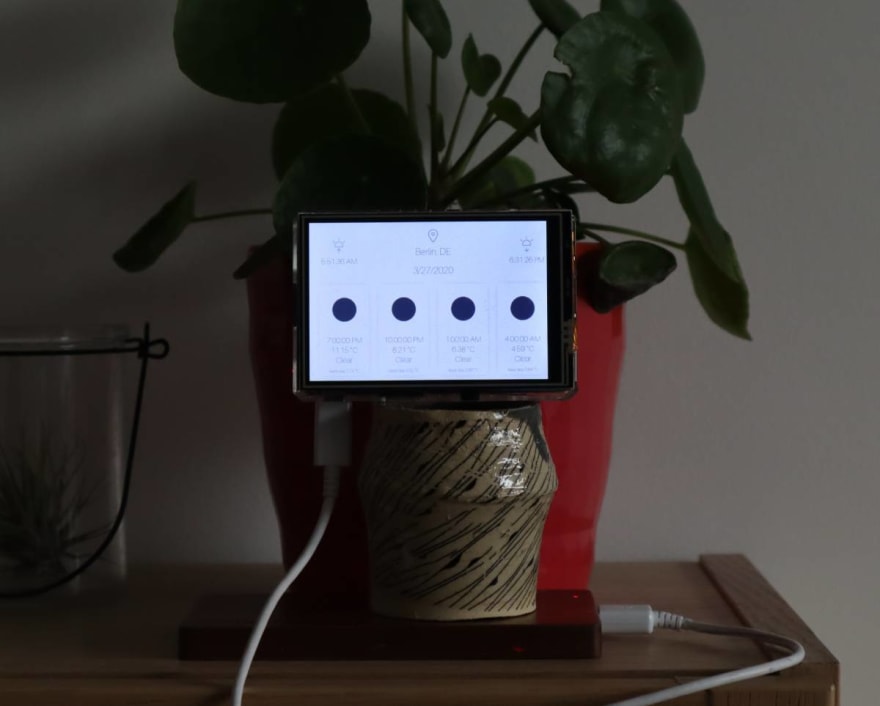
Dark mode 🌚
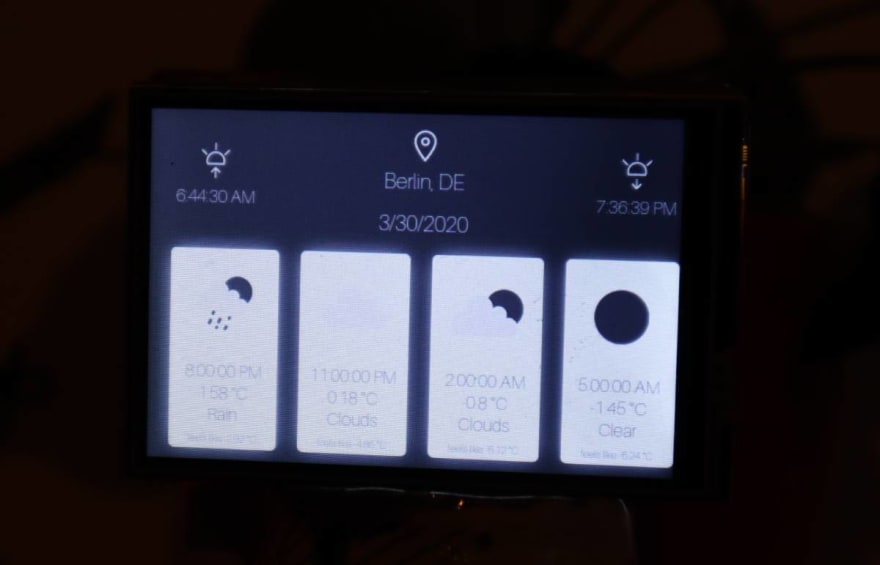
Sunset time 🌘
🐙 Source Code
 moigonzalez
/
weather-preactpi
moigonzalez
/
weather-preactpi
A tiny UI for daily weather forcasts ⛈
🚀 Netlify Functions
This was the most interesting part of the project. Even though I just scratched the surface of using Netlify functions I'm already loving it 😍. I could make a lambda function that gets the user location based on IP and then get the weather for this location. It looks like this:
get-weather.js

const fetch = require('node-fetch');
const IPinfo = require("node-ipinfo");
const ipinfo = new IPinfo(process.env.IP_INFO_TOKEN);

exports.handler = async function(event) {
  // The IP comes for free
  const ip = event.headers['client-ip'];

  // IPinfo gives us the location data
  const { _city, _countryCode } = await ipinfo.lookupIp(ip);

  // And finally the weather ⛈
  const weather = await
  fetch(`http://api.openweathermap.org/data/2.5/forecast/? q=${_city},${_countryCode}&APPID=${process.env.OPEN_WEATHER_TOKEN}&units=metric`);

  return {
    statusCode: 200,
    body: JSON.stringify(weather)
  }
}
then on the client I could just make one http call to get the final weather response:
App.js

const getWeather = () => {
  fetch('/.netlify/functions/get-weather')
    .then(x => x.json())
    .then(res => setWeather(res));
}
The best part is that the endpoint call is the same in your development environment, staging and production. 🎊
⚙️ Setting up timers with web workers
Since Open Weather Map API gives the weather in spans of 3 hours, I wanted the UI to update whenever new data becomes available. By using these 3 hour spans I could set up JavaScript timeouts to handle these updates.
Also, I added a dark mode that appears whenever is sunset time. Since these two timers make two parallel timeouts running on the client, I wanted to have each timer running in a separate Web Worker to ease the load on the browser's thread.
For this, I set up a worker that calculates the amount of milliseconds until the next weather report and sends a message to the app to update the UI. The second one handles the times related to sunrise and sunset.
App.js

  useEffect(() => {
    if (weather.cod === '200') {
      const timeWorker = new Worker('../../static/update-time-worker.js');
      timeWorker.postMessage(`${weather.list[0].dt}`);

      timeWorker.onmessage = ({ data }) => {
        getWeather();
      }
    }
  }, [weather]);
update-time-worker.js

onmessage = ({ data }) => {
  const end = new Date(data * 1000);
  const start = new Date();

  const timeDiff = Math.floor((end.getTime() - start.getTime()));

  setTimeout(() => {
    postMessage('Update weather');
  }, timeDiff);
};
🎨 The CSS
To make sure fonts would scale from the size and resolution of my laptop screen and the size of the (tiny) raspberry touchscreen, I used font sizes varying depending on the screen height:
styles.css

:root {
  --font-size-l: 6vh;
  --font-size-m: 5vh;
  --font-size-sm: 3vh;
}
Changing the screen size on the browser gives this result:

🍒 The Raspberry part
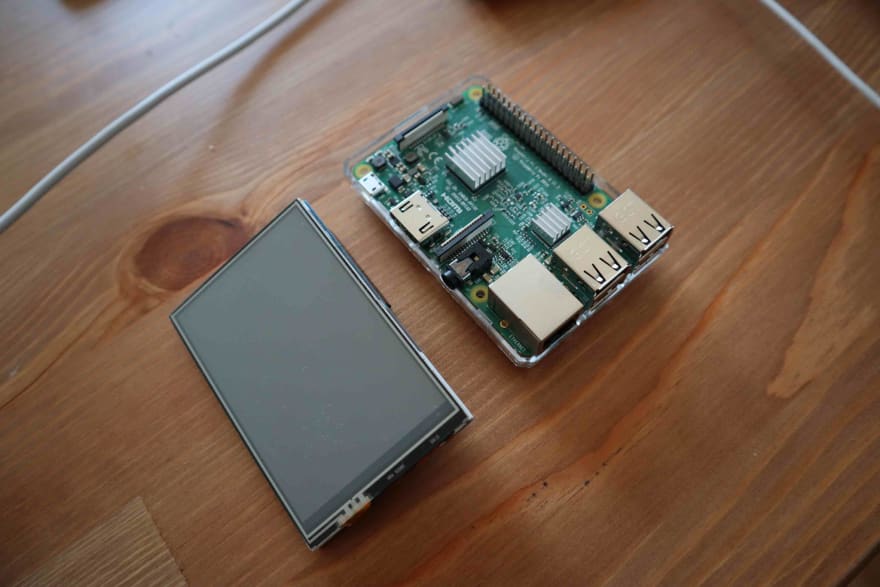
Before anything, I installed Raspbian because it includes a pre-installed Chromium version. You can boot this browser in full screen and without the address bar, making it look like a native app. In March the Raspberry Pi Imager was released and it makes it super easy to install: https://www.raspberrypi.org/downloads/

Now, I want to use my little touchscreen and for this I need a special script to change the boot screen:
git clone https://github.com/goodtft/LCD-show
cd LCD-show
sudo ./LCD35-show

All set for the last step! We will just show Chromium without the navigation bar and on fullscreen:
/usr/bin/chromium-browser --incognito --start-maximized --kiosk https://weather-preactpi.netlify.com/
🔥💥 Boom 💥🔥
📚 Resources
https://ipinfo.io/
https://openweathermap.org/
https://docs.netlify.com/functions/build-with-javascript/#format
http://frenetic.be/tricks/simple-timer.php
https://www.youtube.com/watch?v=Fj3wq98pd20
https://blog.gordonturner.com/2017/07/22/raspberry-pi-full-screen-browser-raspbian-july-2017/


Top comments (5)
This is awesome. I really need to start tinkering around with Pis already! Side-note: I'm based out of Portland so I definitely need to try my hand at this project! Portland and Berlin must be antipodes of one another or close to it — totally feel you on the "every season in one day" thing!
Very great post! I'll also see him in #Raspberry tag !
Thanks for the tip! Will add it now :D
Nice! What's the screen and or are the specs of the screen?
Thanks! The screen is this one: amazon.de/gp/product/B06X191RX7/re...
Got mine years ago together with the Pi! Works really well :)