Next.js is an open-source, React framework, that helps developers build web applications, with all the features you need for production - hybrid static & server rendering, TypeScript support, smart bundling, route pre-fetching, and more.
In this article we’ll deploy a Next.js application on a Kubernetes cluster on AWS, using Microtica’s production-ready templates:
- Amazon EKS
- Next.js
This will setup a production-ready solution in less than 20 minutes.
One-click Deploy
Click Deploy with Microtica below and follow the template steps to deploy your Next.js application on your AWS account.

Prerequisites
A Microtica account. You can create an account by signing up with your email or with your Git account.
An AWS account. Here you can sign up for an AWS account.
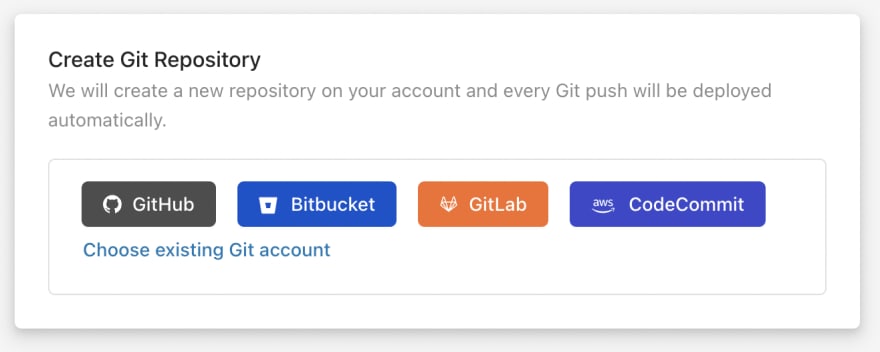
1. Create Git Repository
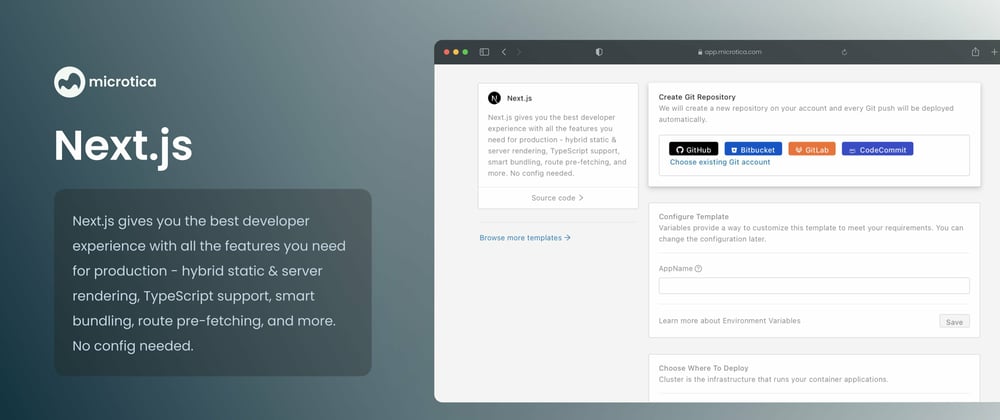
After signup, click the Deploy app button to navigate to the Templates page, where you can see a list of Microtica’s production ready templates. There find the Next.js template and select it. On the Next.js template page, on the left side, you can see a link to the source code of this template. It will redirect you to Microtica's GitHub account to learn more about it.
As a first step, you need to connect a Git account (GitHub, Bitbucket, GitLab, or CodeCommit). Microtica defines a repository name by default for each template, but you can change it. If you already have a Git account connected to Microtica, you can choose it from the list. We will create a new repository on your account with the provided name, and every Git push will be deployed automatically in Microtica.
Follow this guide on How to import your existing application in Microtica, if you already have a Node.js application source code.
2. Configure Template
After creating your repository, you need to enter a name for the application, to be able to distinguish it from other apps in the Applications tab.
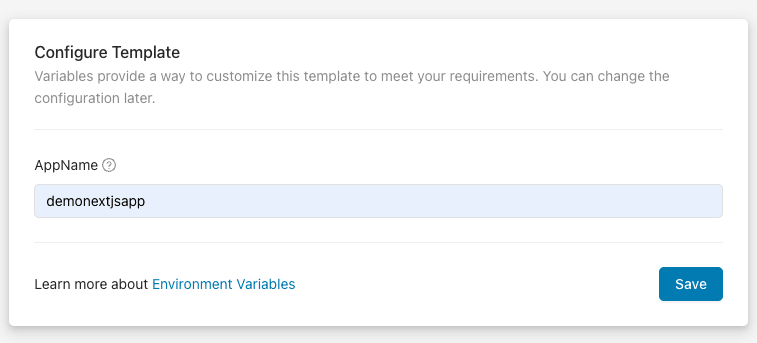
You can customize this template to meet your requirements with environment variables. You can update the configuration later in App Settings.
3. Select a cluster
The next step is choosing the Kubernetes cluster where your application will deploy. To deploy on your AWS account, you can create an AWS managed-Kubernetes (EKS) cluster on the spot, by clicking on the Create Amazon EKS Cluster button.
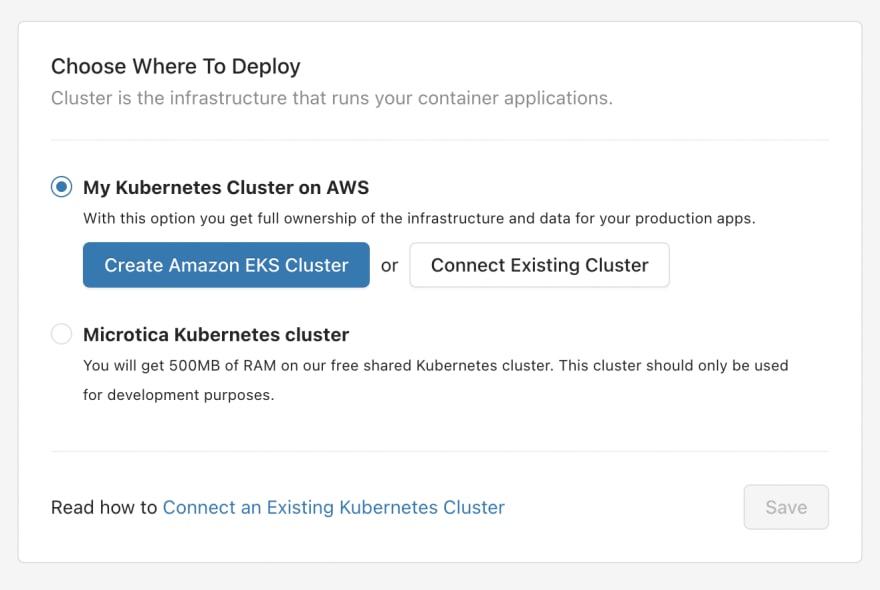
This is the recommended option for production applications, as it gives you full ownership of your cloud infrastructure and applications.
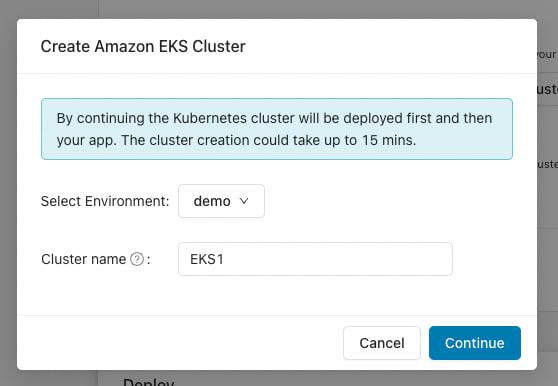
This action will open the popup shown in the image above. You can select the environment in which you’d want this cluster to be deployed. If you don’t have an existing environment, you can create one by selecting the Create Environment action from the dropdown menu.
Once you select an environment, the next step is to select an AWS account and region where the EKS cluster will be deployed. If you don’t have a connected AWS account, you can connect one right here by clicking the Connect AWS Account button. This will initiate a CloudFormation stack that will give Microtica permissions to provision infrastructure on your AWS account. Once you create the stack, the connection will be established automatically and you’ll be able to see the AWS account in the dropdown list of accounts.
Select the account, select a region, and then click on Continue to move to the deployment of your environment.
Deploying a new Kubernetes cluster on your AWS account could take up to 15 mins.
4. Deploy the template to your cluster
Once you’re done with the cluster selection, you will see a summary of all the previous steps and what will be deployed with this template.

You can go ahead and trigger a deployment of the environment by clicking on the Deploy button.
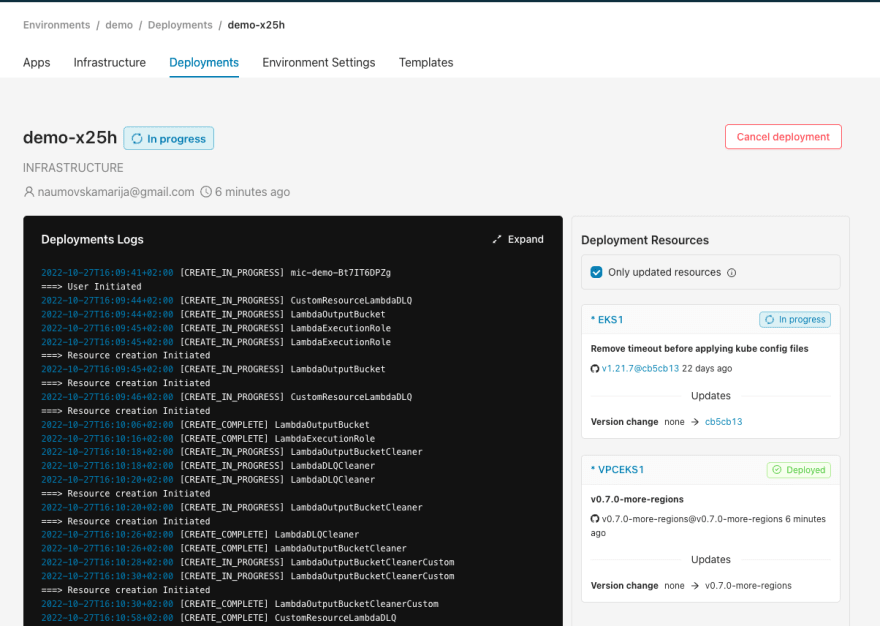
It takes approximately 15–20 mins for this application to be deployed on the cloud, together with a new EKS cluster.
In the meantime, you can follow the detailed deployment logs by clicking the View deployment button.
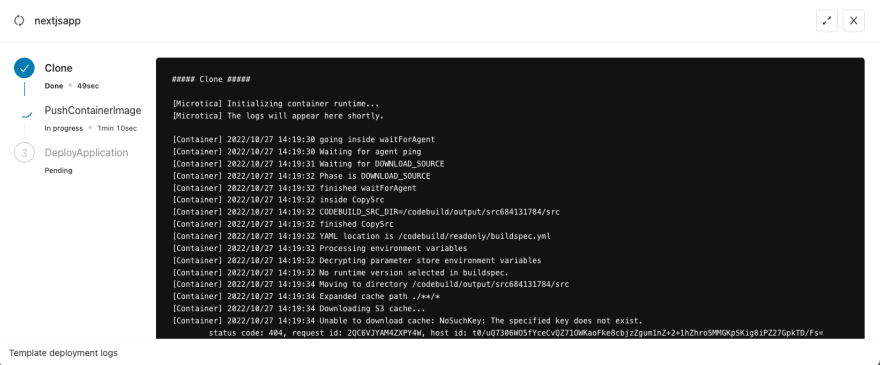
When the EKS cluster deployment is finished, click the View logs button to follow the application deployment.
5. Access the application
When the deployment is finished, you will see a View Application button, that leads you to the app Overview tab.
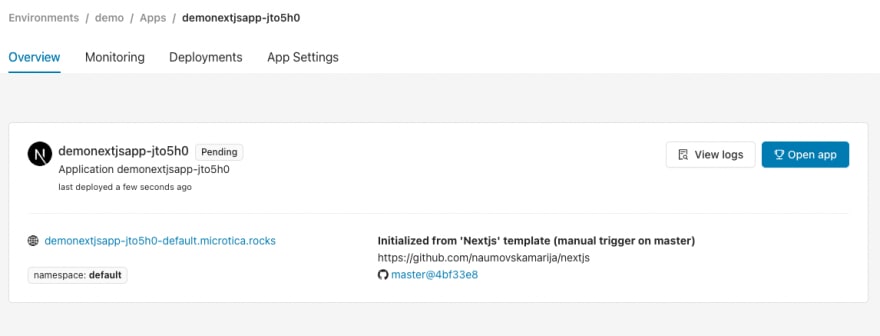
Since you deployed on your EKS cluster on AWS, you need to expose your application to the internet, so follow this guide to enable external access to your apps.
For even more information, you can also look at the Deployments and Monitoring tabs, where you have the pipeline history, resource consumption metrics, and logs for your instances.
To learn more about how to scale your Next.js application in Microtica, read the following article about Scaling Applications in Microtica.
Bonus: Cleanup
To undeploy your application in Microtica, navigate to the app, in App Settings → Danger Zone, and delete the application.
To remove all the resources created on your AWS account, navigate to your environment (demo in our example) → Environment Settings → Infrastructure, and you’ll see the Undeploy section.
This will clean up the resources created in AWS, but you will still have the configuration in Microtica in case you want to deploy it in the cloud again.


Top comments (0)