Let’s improve your productivity as a developer by creating your own custom snippets in VS Code.
Snippets allow you to define templates that can be used in your code by just typing the snippet prefix.
The most simple ones will just put some text in your editor, but VS Code allows you to create more complex templates where you can specify the cursor position and the selected text after the snippet has been inserted.
There are some built-in snippets in VS Code, the ones that I use the most are the for one and switch one so I don't have to look for the syntax in Google.
The easiest way to create a snippet is by going into the editor command (Command + Shift + P in Mac or Control + Shift + P in Windows) and type “snippets”, then select “Configure user snippets”, and then select the language for which you want it. This will open a json file where you can put your own snippets.
You’ll need to specify 3 things:
- The name: this will be the name that appears in IntelliSense when you type the prefix.
- The prefix: the characters that will identify your snippet and the ones that you’ll type to insert it in your code.
- The body: the actual text that will be inserted.
Examples
console.log(”<string>”);
Use this snippet if you want to log a string:
{
...
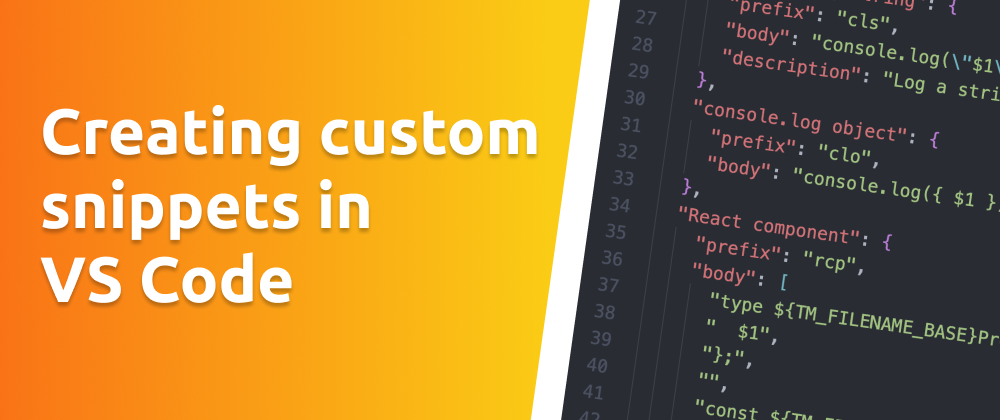
"console.log string": {
"prefix": "cls",
"body": "console.log(\"$1\");",
}
}
console.log({ object });
If instead of a string you want to log a variable you can use the following one:
{
  ...
  "console.log object": {
    "prefix": "clo",
    "body": "console.log({ $1 });",
  }
}
This snippet leverages the shorthand notation and logs an object whose key is the variable name you want to debug.
React component
You can create even more complex snippets:
{
  ...
  "React component": {
    "prefix": "rcp",
    "body": [
      "type ${TM_FILENAME_BASE}Props = {",
      "  $1",
      "};",
      "",
      "const ${TM_FILENAME_BASE} = ({ $2 }: ${TM_FILENAME_BASE}Props) => {",
      "  return ${3:null}",
      "};",
      "",
      "export default ${TM_FILENAME_BASE};"
    ]
  }
}
This will use the filename where it is being used. If your file is called Test.tsx it will place the following code in it:
type TestProps = {

};

const Test = ({  }: TestProps) => {
  return null
};

export default Test;
The best part is that the $n defines the cursor position, so in our case the first cursor position will be in the type definition, the second one in the component signature so you pick the props you are going to use and the last one after the return. You can move from one position to the next one using the Tab key.


Top comments (0)