Introduction
Have you ever wondered how you can update your UI when there are data changes without explicitly writing listeners for those data? In this article, you will learn what the flutter_hooks package is and how to get these desired results. We will explore the "useListenable" and "useListenableSelector" methods the package provides us.
flutter_hooks is a flutter package that gives you access to pre-written hooks. Hooks are objects that help you manage the lifecycle of a widget as well as increase code reusability of widgets. An example is when we use a TextEditingController or an AnimationController, we would have to write the initState logic, call it in the required place in the build method and then dispose of it. flutter_hooks helps simplify that process. It gives us an easier way of managing all of that while ensuring there are no memory leaks by disposing it when no longer in use.
Flutter hooks, according to the documentation, are grouped into 2 types:
- Primitive hooks
- Object-binding hooks
The Object-binding hooks are further divided into 4 types:
- Dart:async related hooks
- Animation related hooks
- Listenable related hooks
- Misc hooks
For the sake of this article, we will only describe Listenable related hooks.
Listenable related hooks are hooks that have functions relating to Listenable data. These functions can be either subscribing to or creating Listenables. The hooks under these are
- useListenable
- useListenableSelector
- useValueNotifier
- useValueListenable
What are useListenable and useListenableSelector methods?
useListenable and useListenableSelector are two of the four listenable related hooks which are used to trigger rebuilds when the state of a listenable data is changed. The difference between the two is that while useListenable triggers a rebuild every time the listener is called, useListenableSelector allows you to specify the value of the Listenable that should trigger a rebuild. useListenableSelector listens to the listenable data but gives you the ability to select when the rebuild should happen.
You have been seeing Listenable a lot. You must be wondering what it is.
What is Listenable
If you have been into Flutter for a while, you might have noticed some widgets have the addListener and removeListener methods, those widgets are Listenables. Listenable is an interface that provides those two methods. There are classes that implement this Listenable class, such as ChangeNotifier and ValueNotifier. In summary, any class that extends or implements either the ChangeNotifier or ValueNotifier class are by inheritance Listenables. Example is TextEditingController which extends ValueNotifier.
I will be showing the implementation using a two screen layout made with stateless widgets so we don't have to call setState. The first screen will have a text field and a button which only shows when the user inputs "Flutter Hooks". The second screen will have a single button that toggles the theme of the screen between light and dark modes. Now let's dive into the actual implementation.
Flutter Implementation
First step is to create the flutter project.
flutter create hooks_example
Next, we go to the pubspec.yaml file in the project root folder and add the flutter_hooks package to it. The dependencies section of our pubspec.yaml will then look like this
dependencies:
  cupertino_icons: ^1.0.2
  flutter:
    sdk: flutter
  flutter_hooks: ^0.18.5+1
The latest version of flutter_hooks at the time of creating this article was 0.18.5+1. Next we create the two files in the lib folder first_screen.dart and second_screen.dart.
Starting with the first screen we add the following code to first_screen.dart.
import 'package:flutter/material.dart';

import 'second_screen.dart';

class FirstScreen extends StatelessWidget {
  const FirstScreen({Key? key}) : super(key: key);

  @override
  Widget build(BuildContext context) {
    return Scaffold(
      appBar: AppBar(
        backgroundColor: Colors.blueGrey,
        title: const Text("Hooks - First Screen"),
      ),
      body: Column(
        children: [
          const Expanded(
            flex: 3,
            child: Center(
              child: Padding(
                padding: EdgeInsets.all(8.0),
                child: TextField(
                  decoration: InputDecoration(
                    labelText: "Enter Text...",
                    enabledBorder: OutlineInputBorder(),
                    focusedBorder: OutlineInputBorder(),
                  ),
                ),
              ),
            ),
          ),
          Expanded(
            flex: 2,
            child: Center(
              child: OutlinedButton(
                onPressed: () {
                  Navigator.push(
                    context,
                    MaterialPageRoute(builder: (_) => const SecondScreen()),
                  );
                },
                style: OutlinedButton.styleFrom(
                  padding:
                      const EdgeInsets.symmetric(horizontal: 25, vertical: 20),
                  backgroundColor: Colors.blueGrey,
                ),
                child: const Text(
                  "Proceed",
                  style: TextStyle(
                    color: Colors.white,
                  ),
                ),
              ),
            ),
          ),
        ],
      ),
    );
  }
}
Note that there will be an error under the SecondScreen() class, this is because we have not created the second screen yet. Not to worry, we will get to that now. The code below is then added to second_screen.dart
import 'package:flutter/material.dart';

class SecondScreen extends StatelessWidget {
  const SecondScreen({Key? key}) : super(key: key);

  @override
  Widget build(BuildContext context) {
    return Scaffold(
      appBar: AppBar(
        automaticallyImplyLeading: true,
        backgroundColor: Colors.blueGrey,
        title: const Text("Hooks - Second Screen"),
      ),
      body: Center(
        child: OutlinedButton(
          onPressed: () {},
          style: OutlinedButton.styleFrom(
            padding: const EdgeInsets.symmetric(horizontal: 25, vertical: 20),
            backgroundColor: Colors.blueGrey,
          ),
          child: const Text(
            "Change Theme",
            style: TextStyle(
              color: Colors.white,
            ),
          ),
        ),
      ),
    );
  }
}
After this, the error in the first screen should be gone. Next we change our main.dart to look like this.
import 'package:flutter/material.dart';

void main() {
  runApp(const MyApp());
}

class MyApp extends StatelessWidget {
  const MyApp({Key? key}) : super(key: key);

  @override
  Widget build(BuildContext context) {
    return MaterialApp(
      title: 'Flutter Hooks Example',
      theme: ThemeData(
        primarySwatch: Colors.blue,
      ),
      home: const FirstScreen(),
    );
  }
}
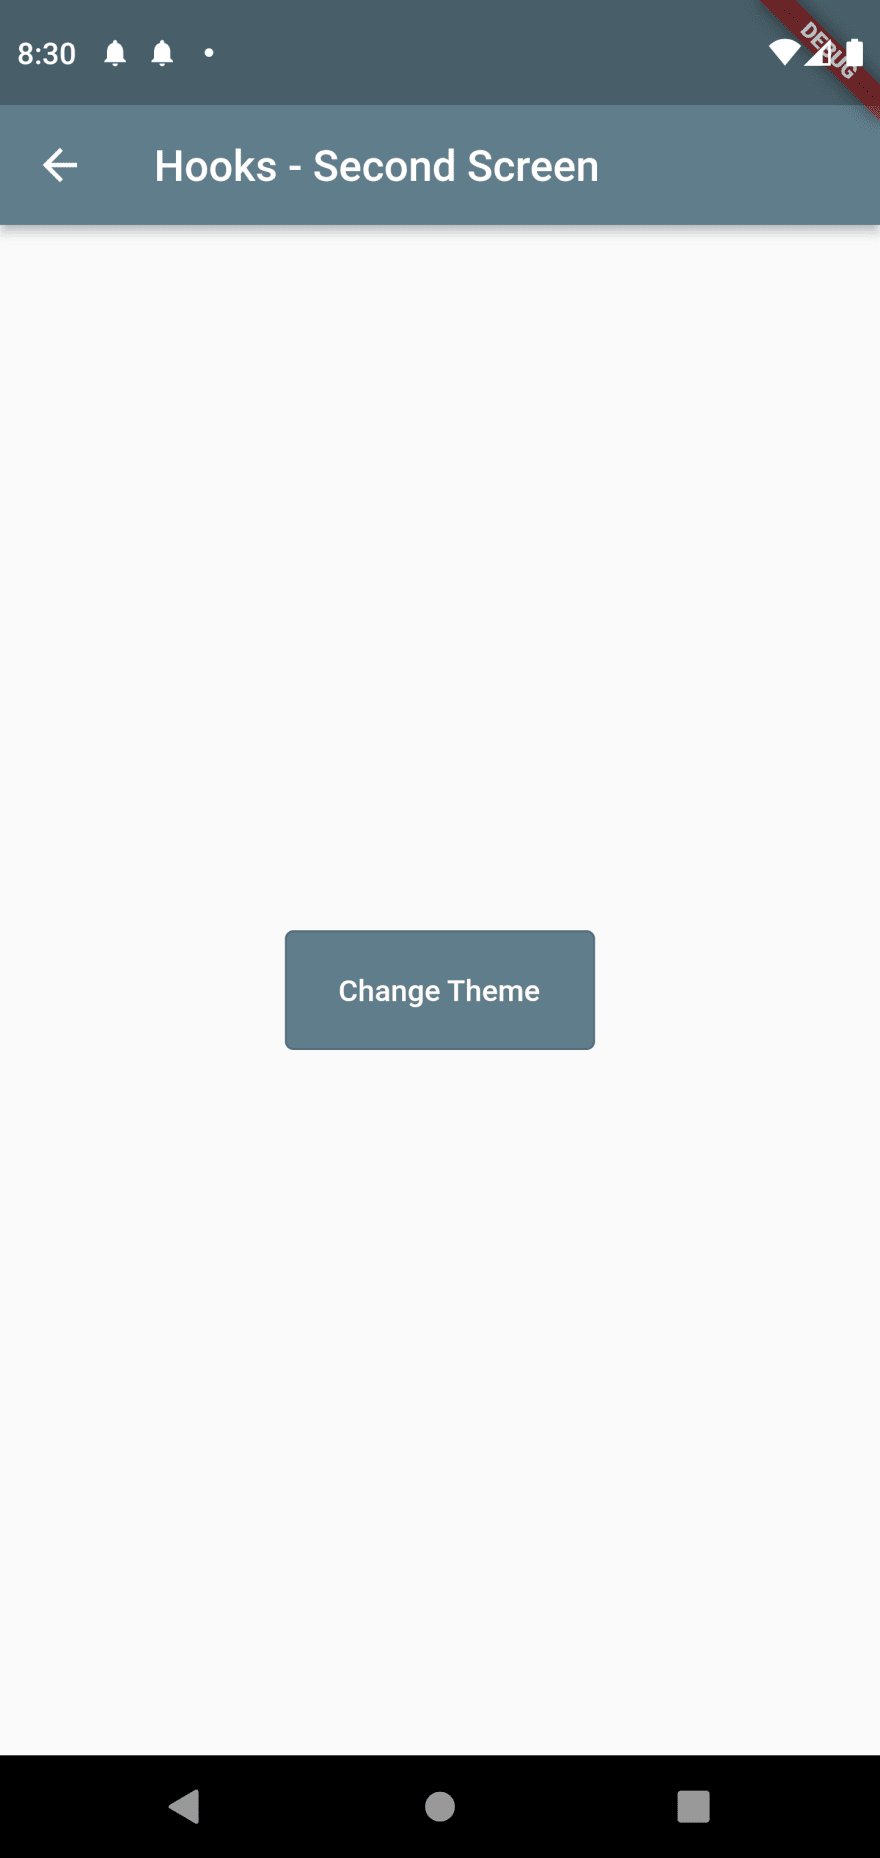
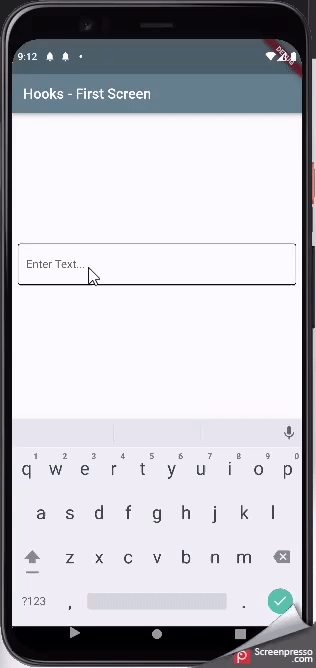
Here, we clean up the default code the project comes with upon creation and change the value of the home property of MaterialApp to the FirstScreen widget. When we run the code, we will have both screens looking like:

Now that we have our base screens, let us proceed to add the logic to the first screen. We replace the different sections of the code to look like below.
// 1.
class FirstScreen extends HookWidget {
  const FirstScreen({Key? key}) : super(key: key);

  @override
  Widget build(BuildContext context) {
// 2.
   final controller = useTextEditingController();
// 3.
    final buttonIsVisible = useListenableSelector(
        controller, () => controller.text == "Flutter Hooks");
    return Scaffold(

'''

'''
// 4.
              child: Padding(
                padding: const EdgeInsets.all(8.0),
                child: TextField(
                  controller: controller,
                  decoration: const InputDecoration(
                    labelText: "Enter Text...",
                    enabledBorder: OutlineInputBorder(),
                    focusedBorder: OutlineInputBorder(),
                  ),
                ),
              ),
'''

'''
// 5.
         child: Visibility(
              visible: buttonIsVisible,
              child: Center(
                child: OutlinedButton(
                  onPressed: () {
                    Navigator.push(
                      context,
                      MaterialPageRoute(builder: (_) => const SecondScreen()),
                    );
                  },
                  style: OutlinedButton.styleFrom(
                    padding: const EdgeInsets.symmetric(
                        horizontal: 25, vertical: 20),
                    backgroundColor: Colors.blueGrey,
                  ),
                  child: const Text(
                    "Proceed",
                    style: TextStyle(
                      color: Colors.white,
                    ),
                  ),
                ),
              ),
            ),
'''
What happened here is that we
- changed StatelessWidget to HookWidget to be able to use the different hooks
- created a text controller using one of the Misc hooks
- created a listenableSelector to listen for changes to the text controller but only rebuild when the selector result changes from true to false and vise versa
- added the controller to the text field
- then made the button visibility dependent on the
TextEditingValueof the text controller using theVisibilitywidget.
For the second widget we make similar adjustments to the existing code and the code should look like this.
import 'package:flutter/material.dart';
import 'package:flutter_hooks/flutter_hooks.dart';

ValueNotifier<bool> isDarkMode = ValueNotifier(true);

class SecondScreen extends HookWidget {
  const SecondScreen({Key? key}) : super(key: key);

  @override
  Widget build(BuildContext context) {
    useListenable(isDarkMode);
    return Scaffold(
      backgroundColor: isDarkMode.value ? Colors.grey[900] : Colors.white,
      appBar: AppBar(
        automaticallyImplyLeading: true,
        backgroundColor: isDarkMode.value ? Colors.grey : Colors.blueGrey,
        title: const Text("Hooks - Second Screen"),
      ),
      body: Center(
        child: OutlinedButton(
          onPressed: () {
            isDarkMode.value = !isDarkMode.value;
          },
          style: OutlinedButton.styleFrom(
            padding: const EdgeInsets.symmetric(horizontal: 25, vertical: 20),
            backgroundColor: isDarkMode.value ? Colors.grey : Colors.blueGrey,
          ),
          child: const Text(
            "Change Theme",
            style: TextStyle(
              color: Colors.white,
            ),
          ),
        ),
      ),
    );
  }
}
Here, we
- create a global simple ValueNotifier variable
isDarkModewhich holds a boolean value, it is made global so we can have a constant constructor for theSecondScreenclass. - make use of a ternary operator to specify the theme colors everywhere we need the theme change to reflect.
- also added a function that toggles the
isDarkModevalue to theonPressedproperty of theChange Themebutton.
Now that we are done with the "dirty work", our final result will be this
We notice that the first screen is only rebuilt when the value of buttonIsValidchanges while the second screen rebuilds every time the isDarkMode value changes.
You can check out the complete code here
Conclusion
You have learnt a summary about flutter_hooks, what Listenables are, how useListenable and useListenableSelector can be used to customize and limit rebuilds of widgets, and when to use one over the other. Check out the official flutter_hooks and flutter documentation for further study.
If you have any questions, feel free to reach out to me on Twitter: @lord_chris__ or LinkedIn: @lord-chris.


Latest comments (0)