In this article, I will introduce you to how to create react dev env with Docker. Actually there are 5 steps (including step0), but you can skip Step0 since it's not necessary for people who don't use VScode and don't want to install a new VScode extension.
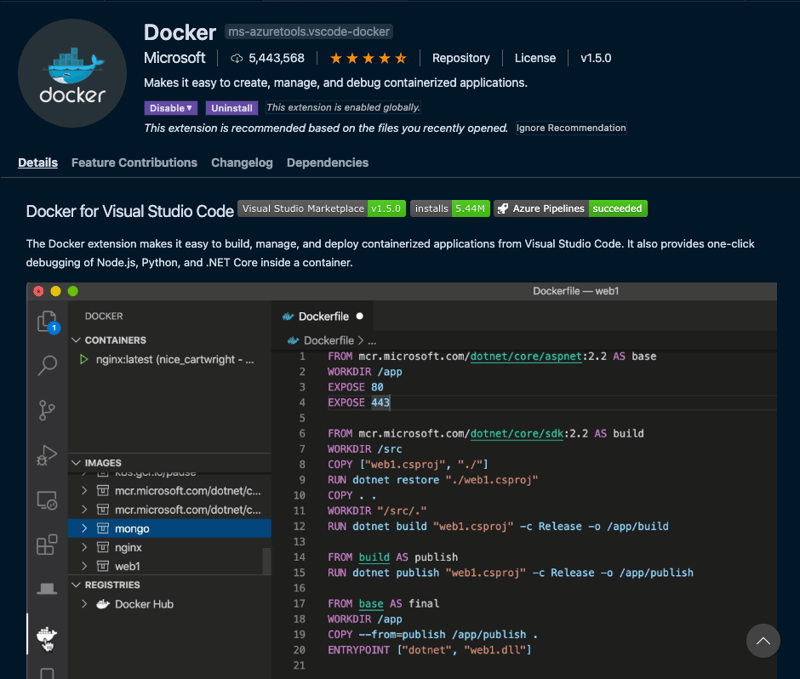
Step0 Install an extension, Docker on VScode (optional)
Step1 Create Dockerfile
$ mkdir react_docker
$ cd react_docker
$ touch Dockerfile
FROM node:12.18.0-alpine
WORKDIR /usr/src/app
Step2 Create docker-compose.yml
docker-compose.yml must be under react_docker folder.
$ touch docker-compose.yml
version: '3'
services:
  react:
    build:
      context: .
      dockerfile: Dockerfile
    environment:
      - NODE_ENV=development
    volumes:
     - ./:/usr/src/app
    command: sh -c "cd myapp && yarn start"
    ports:
     - "3000:3000"
    tty: true
If you want to use a different app name, you need to change 2 things.
-
cd myapp-->cd your-react-app-name -
npx create-react-app myapp-->npx create-react-app your-react-app-name
Step3 Build the image
This step will take some time.
$ docker-compose build

# javascript
$ docker-compose run --rm react sh -c 'npx create-react-app myapp'

# typescript
$ docker-compose run --rm react sh -c 'npx create-react-app myapp --template typescript'
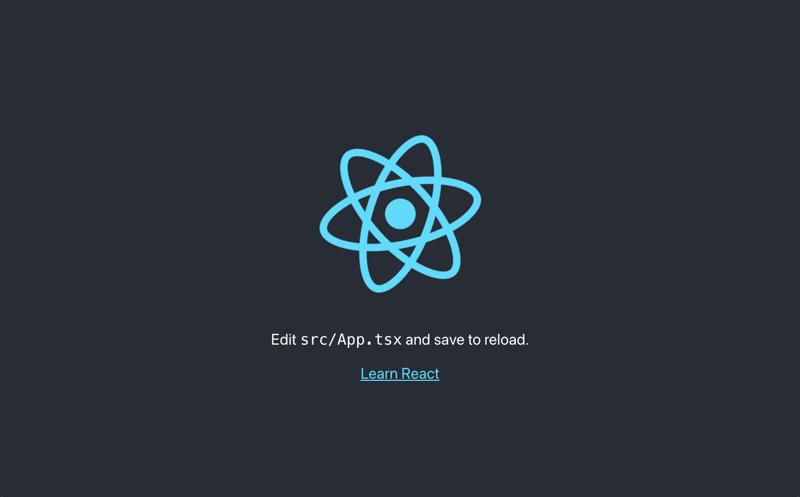
Step4 Start react app
This step may take some time
$ docker-compose up -d

# stop
$ docker-compose stop
Open VScode and click the Docker icon in the sidebar.
You can check the docker's status. Of course, you can do the same thing with Terminal/iTerm.

Now, we can start developing the react app.
Happy coding with react and Docker!!!


Top comments (0)