Are you interested in creating an application that uses MongoDB? This is blog is going to give a step by step guide on how to set up your MongoDB cloud using Atlas.
If you have never used MongoDB before there can be a ton of thoughts going through your head. Thoughts such as, how can I input data? how do I link to to my application? what is the structure of the DB? how to create useful data etc...
Instead of diving into the structure of MongoDB right away lets just get our cloud DB set up so that when you are working through the other aspects you have something to refer to. Atlas gives you the ability to see your data from an easier to read perspective rather than trying to learn everything solely from the command line.
The first step is to go to:
Set up an account, I am not going to go into much detail about this. Just follow the link to sign up and fill in the input fields as needed.
Once you have set up your account you will be taken to your home page. This is where you will create your first project and first cluster.
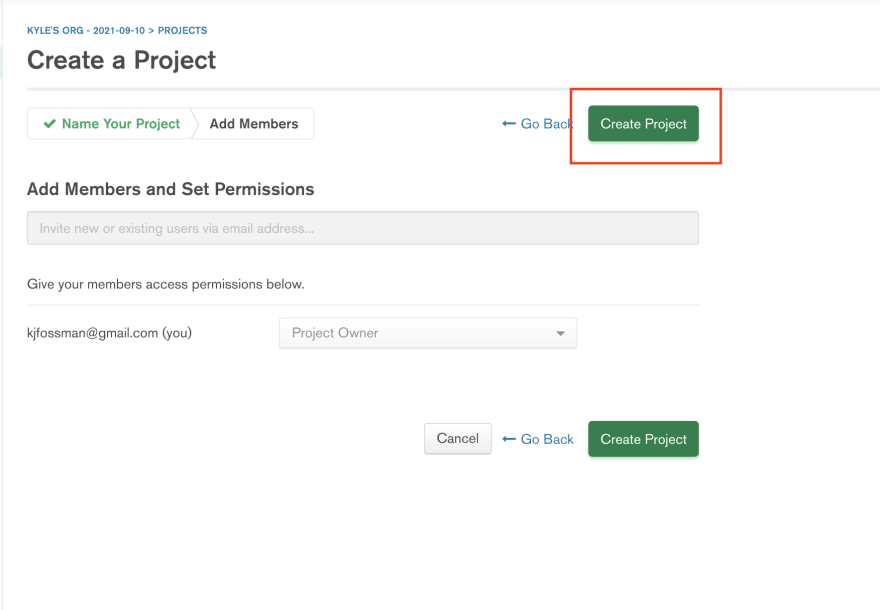
Make sure that Atlas is selected and then from the drop down menu in the top left select new project.

Name it whatever you would like and click next. Here you can add members to also view the DB but let's not worry about that for now. Click create project.
You should be in your project you just created. Now we can set up the DB. Click on the "Build a Database" button.

Select the Shared option and click create. This way we can build a free DB.
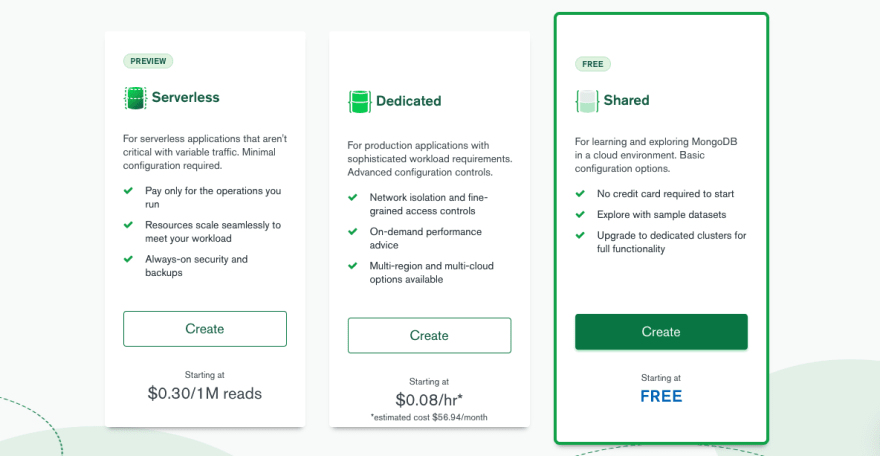
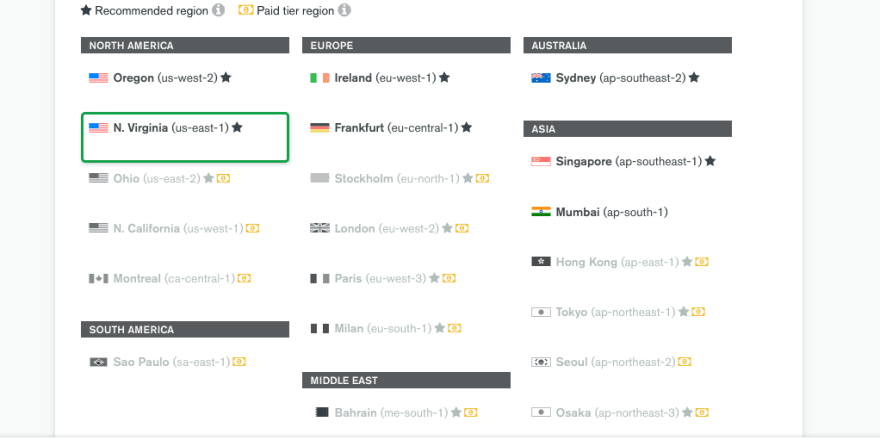
Leave the shared free option selected. I used the AWS version so I would recommend leaving that as is also.
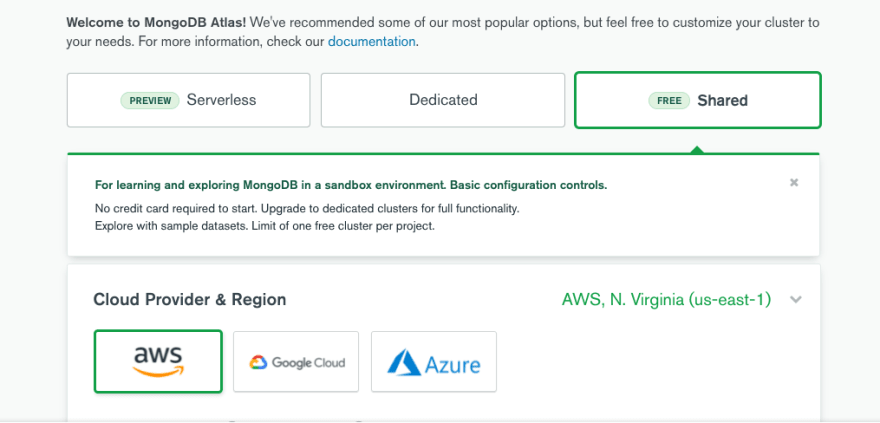
You can select any region you need to, just make sure that it supports the free version.
Lastly you can click around and check out the different settings you can choose as well as naming your cluster. Once you have done that click on "Create Cluster".

Once you have hit the "Create Cluster" button it will take a few minutes to build it for you. Once it is finished you will see this screen.
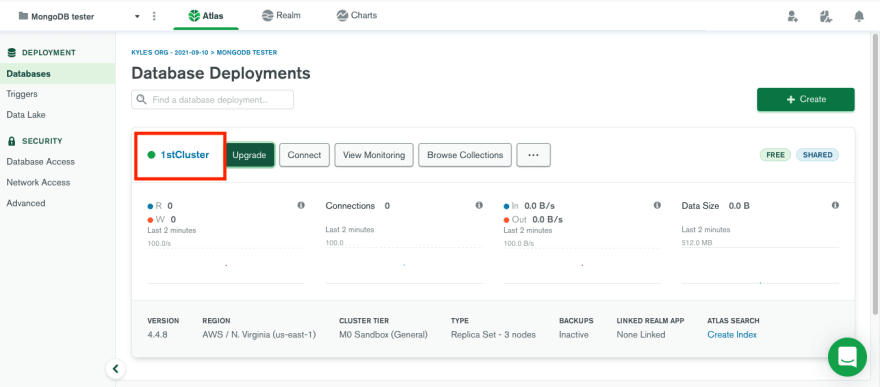
Click on the name of your cluster to access it. Select the collections tab and then let's add some data. Click Add my own data.

When you create your first database with Atlas you may run into naming errors. You can read the whole list of naming rules but the main one is to make sure the DB ends with the letters "db". If you don't do that it will tell you that your name is not allowed.

This takes you to your database and now you can insert a document to your collection. documents are very similar to the structure of JavaScript objects. For now we are going to do an extremely simple example, and you can experiment with it on your own to get more complex data. Click insert document.

When inserting a new document they will auto generate a unique id field. After that it is up to you how to structure the data. I am just going to do two keys and values.
month: "October"
name: "Halloween"
You can choose any holiday you want to do, or make a whole list of collection of them.

Click insert and you will see your updated collection.

I hope that this helps you understand how to set up an Atlas account for your MongoDB and how to insert data.
If you enjoyed this let me know and I will create a step by step guide on how to connect your MongoDB from Atlas to your React.js application!


Top comments (2)
Very clear and easy to understand. I'd love to see a guide on how to connect MongoDB from Atlas to a React.js application.
Great tutorial!