In the previous post, I created voting app with React and Redux. It's time to craft pipelines for CI/CD. In this article, I create simple CI/CD pipeline first.
Azure DevOps
It's Microsoft Azure solution which provides complete feature set for DevOps.
- Board for sprint, task, etc.
- Repository
- Build and Release Pipelines
- Testing
- etc.
See Azure DevOps for more datail.
For CI/CD pipeline, Azure DevOps supports both YAML and GUI authoring experience. Each has pros and cons but I use YAML in this article as it's relatively new feature and way to go for my understanding.
Create your first pipeline explains in both experiences.
Refer to YAML Scheme for more detail about YAML definition.
Create Web App service
To host the application, I use Azure Web Service. You can find detail information at Configure a Linux Node.js app for Azure App Service
This time, I just use Azure Portal add new resource wizard to create Linux/Node.js Web App service.
Check in existing code
To start using Azure DevOps, go to DevOps portal and create new project. Then go to Repos to get the git address where you can check-in/push your code. After you create the project, let's check-in the code.
1. Update .gitignore to ignore .vscode folder.
2. Add remote server. You can get the git address by visiting Repos section in your Azure DevOps project.
git remote add origin <your git address>
3. commit and push.
git add .
git commit -m "any comment"
git push -u origin master
4. You should see all the code checked-in to master branch.

Create build and deploy pipeline
Let's add first build pipeline. This pipeline covers both CI and CD.
1. Select Pipelines and click "Create Pipeline".

2. Select "Azure Repos Git" and select the repository. (Or you can pick up any repo where you have your own react code.)

3. In "Configure your pipeline" page, select "Node.js React Web App to Linux on Azure".

4. Select your Azure subscription and web app service, then click "Validate and configure", which creates yaml file for you.

5. Click "Save and run" once you see the yaml detail. It triggers the pipeline and you can see the progress via GUI.
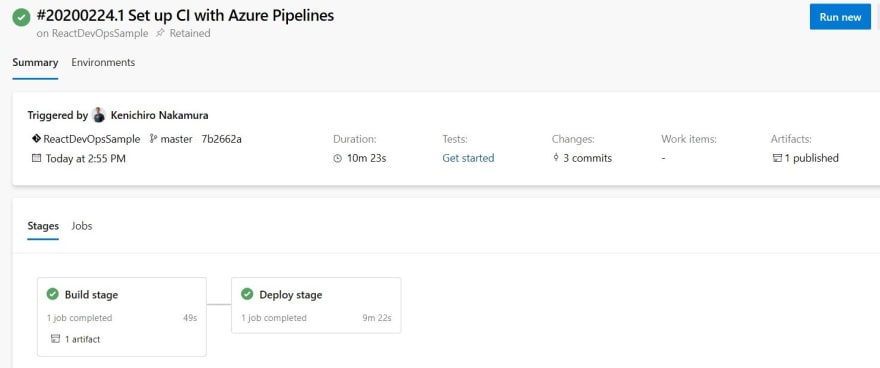
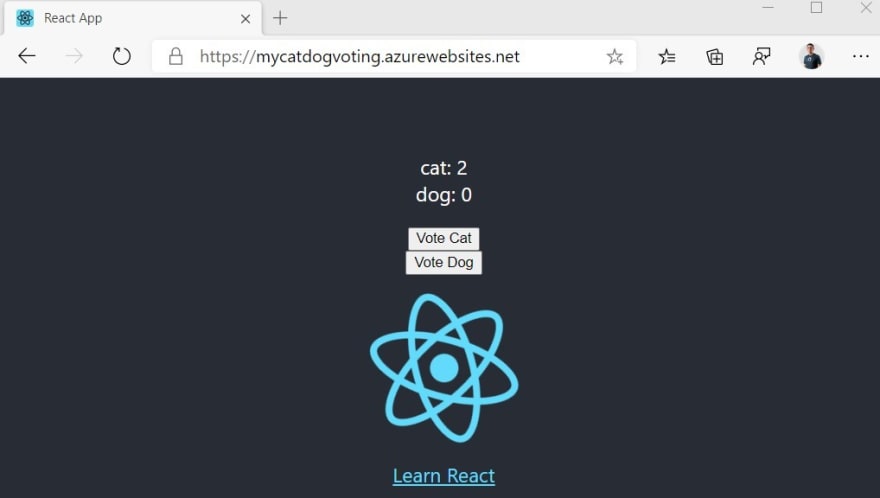
See the application
Once build and deploy has been completed, go to the URL of the Web App to see if the application works as expected.
Update build stage
The pipeline I just created doesn't have good build stage as it just zip the source code and pass to deploy stage. But I need to run following tasks before deploy stage.
- Build the application
- Run test
So let's update the yaml.
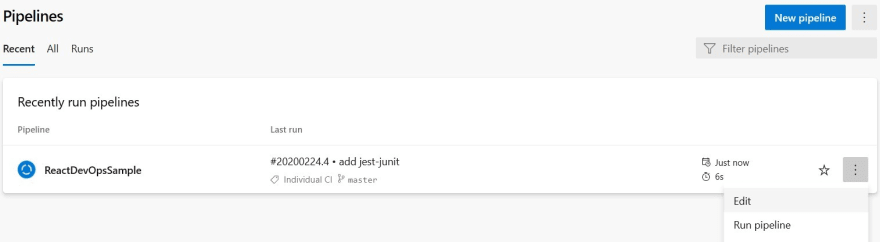
1. Go back to pipelines and edit the existing one.

2. Add "Node.js/npm Tool Installer" from Tasks pane after the "ArchiveFiles@2" tasks.
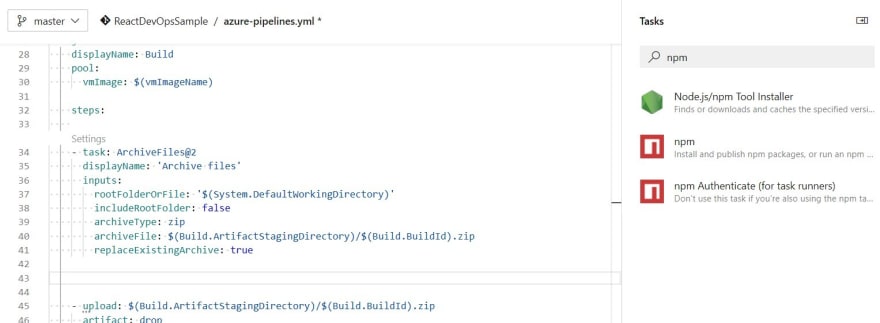
3. Next, add script task and add command.
- script: |
    npm install
    npm run build
    CI=true npm test
  displayName: 'npm install, build and test'
4. Click "Save" which triggers the pipeline automatically. I can see the newly added task run successfully.
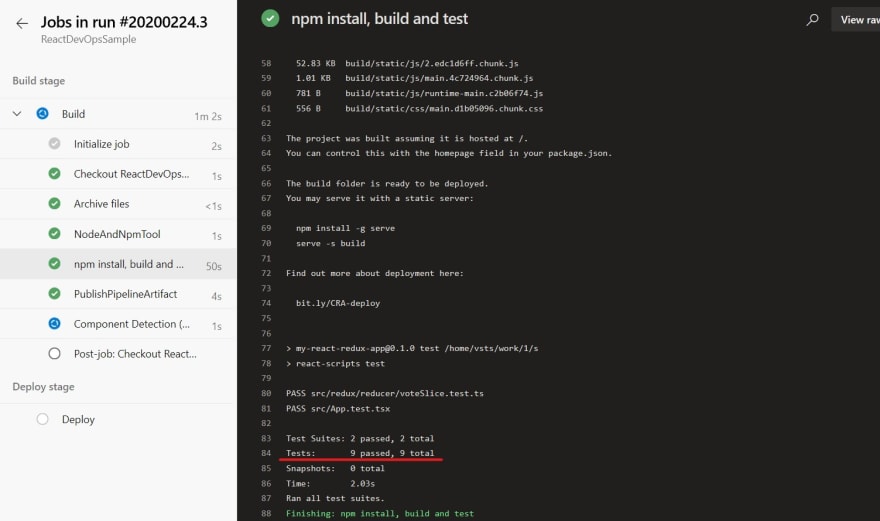
5. But the Tests result won't be displayed in the summary page.

Azure DevOps didn't pick up the test results, so I need to explicitly publish the test report.
Publish Report
According to Azure DevOps: Review test results, Mocha, Jest and Jasmine are the supported test runner framework which automatically surface the test result.
React-Script supposes to use Jest underneath, but it looks like I have to manually push the report. Run unit tests page gives me the list of Test runner and reporters combination. I use jest-junit.
Create React App: Configuration page indicates that I cannot specify reporters by using package.json, so I use argument to specify it.
1. Back to VSCode and install jest-junit.
npm install jest-junit
2. Run npm test with parameter. Don't forget add -- between npm run and parameters.
($env:CI = "true") -and (npm test -- --reporters=jest-junit --reporters=default)
3. Once the test is ran, junit.xml file is generated at the root. As we don't need to check in this file, add it to .gitignore

4. Push the change.
git pull
git commit -am "add jest-junit"
git push
5. Go back to Azure DevOps pipeline, select the pipeline and edit. Pipeline is running because it was triggered by push. I canceled it for now.
6. Change test script.
- script: |
    npm install
    npm run build
    CI=true npm test -- --reporters=jest-junit --reporters=default
  displayName: 'npm install, build and test'
7. Select "Show assistant" on the right if you don't see the Tasks pain. Search for "publish test results".

8. Change the file name as "junit.xml" and click "Add" which add following snippet. Make sure to put this task below the test task.
- task: PublishTestResults@2
  inputs:
    testResultsFormat: 'JUnit'
    testResultsFiles: 'junit.xml'
    failTaskOnFailedTests: true
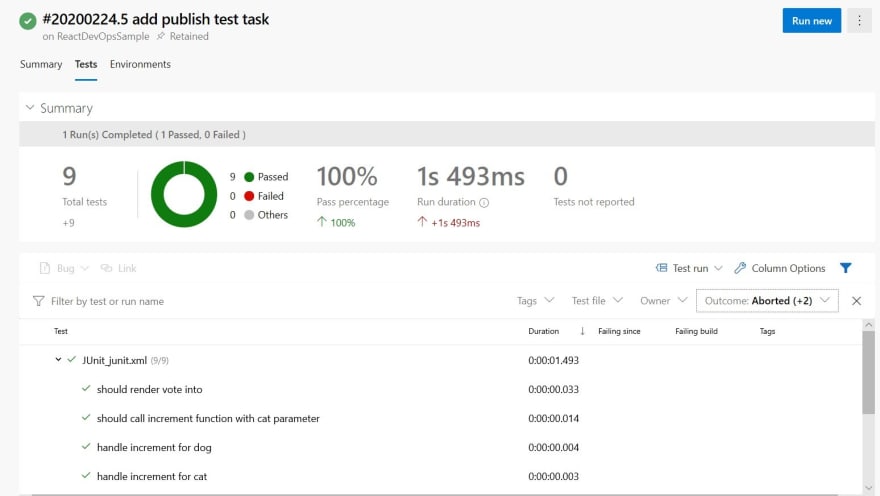
9. Save the change which triggers the build. I can see the test result in the summary page now.

10. I can see the detail in test tab.
Summary
In this article, I created CI/CD pipeline with unit test. In the next article, I will enhance the pipeline to add several features including approval process.


Top comments (2)
Great , this helped me with integrating React testing library with Azure DevOps
I am glad to hear that :)