
APIs and API documentation go hand-in-hand. With the help of of the swagger-ui-dist npm package, it's super easy to take an OAS YAML or JSON file and display it as a separate page for others to browse. This walkthrough will create an Angular component dedicated to showing the API documentation.
Assemble your OAS spec
Both JSON and YAML can be used for this process. The main key is that the file needs to be accessible via a live URL. You can do this by taking your spec and pushing it to a public repo and utlilizing GitHub's "Raw" file feature.
I will be using the files https://raw.githubusercontent.com/OAI/OpenAPI-Specification/master/examples/v3.0/petstore.yaml found in the examples/ folder for OAS v3.
 OAI
/
OpenAPI-Specification
OAI
/
OpenAPI-Specification
The OpenAPI Specification Repository
Add swagger-ui-dist to package.json and angular.json files
In the root of your project, run:
$ npm install swagger-ui-dist
This will add the swagger-ui-dist CSS and JS files needed to render the API documentation layout.
You'll next need to include said files into the "styles" and "scripts" section of your Angular project for them to be pulled in. See the lines below marked with +s for what to add to the project build:
"architect": {
  "build": {
    "builder": "@angular-devkit/build-angular:browser",
    "options": {
      "outputPath": "dist/example-angular-project",
      "index": "src/index.html",
      "main": "src/main.ts",
      "polyfills": "src/polyfills.ts",
      "tsConfig": "tsconfig.app.json",
      "aot": true,
      "assets": [
        "src/favicon.ico",
        "src/assets"
      ],
      "styles": [
+       "node_modules/swagger-ui-dist/swagger-ui.css",
        "src/styles.css"
      ],
      "scripts": [
+       "node_modules/swagger-ui-dist/swagger-ui-bundle.js",
+       "node_modules/swagger-ui-dist/swagger-ui-standalone-preset.js"
      ]
    },
Create a new Angular component
Continue as you would with adding an Angular component.
$ ng g c api
Update app-routing.module.ts to route https://localhost:4200/api to this component.
import { NgModule } from '@angular/core';
import { Routes, RouterModule } from '@angular/router';
import { HomeComponent } from './home/home.component';
import { ApiComponent } from './api/api.component';

const routes: Routes = [
  { path: '', component: HomeComponent },
  { path: 'api', component: ApiComponent },
];

@NgModule({
  imports: [RouterModule.forRoot(routes)],
  exports: [RouterModule]
})
export class AppRoutingModule { }
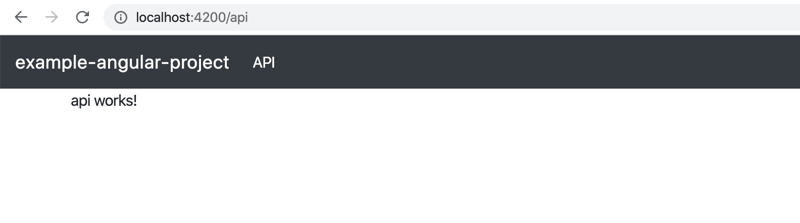
Spin up the project using ng serve to confirm that https://localhost:4200/api shows you the generated <p>api works!</p> message.
Updating ApiComponent to utilize swagger-ui-dist
Change the api.component.html file to include the below div. The swagger-ui ID will be what the OpenAPI spec display gets rendered inside.
<div id="swagger-ui"></div>
Meanwhile, api.component.ts should be updated with the following:
import { Component, OnInit } from '@angular/core';
import { SwaggerUIBundle, SwaggerUIStandalonePreset } from 'swagger-ui-dist';

@Component({
  selector: 'app-api',
  templateUrl: './api.component.html',
  styleUrls: ['./api.component.css']
})
export class ApiComponent implements OnInit {

  constructor() { }

  ngOnInit(): void {
    const ui = SwaggerUIBundle({
      dom_id: '#swagger-ui',
      layout: 'BaseLayout',
      presets: [
        SwaggerUIBundle.presets.apis,
        SwaggerUIBundle.SwaggerUIStandalonePreset
      ],
      url: 'https://raw.githubusercontent.com/OAI/OpenAPI-Specification/master/examples/v2.0/yaml/petstore.yaml',
      operationsSorter: 'alpha'
    });
  }

}
Going through the notable changes, we first import SwaggerUIBundle and SwaggerUIStandalonePreset from the swagger-ui-dist node package added earlier. This will allow us to initial the SwaggerUIBundle() call that gets made when the component initializes.
We can see that swagger-ui ID mentioned prior. This can be changed if needed (i.e. if you want multiple specs to show on the same page and need to distinguish between the two). For more information about these settings and ways to customize them, the SwaggerUI documentation can be found at https://swagger.io/docs/open-source-tools/swagger-ui/usage/configuration/.
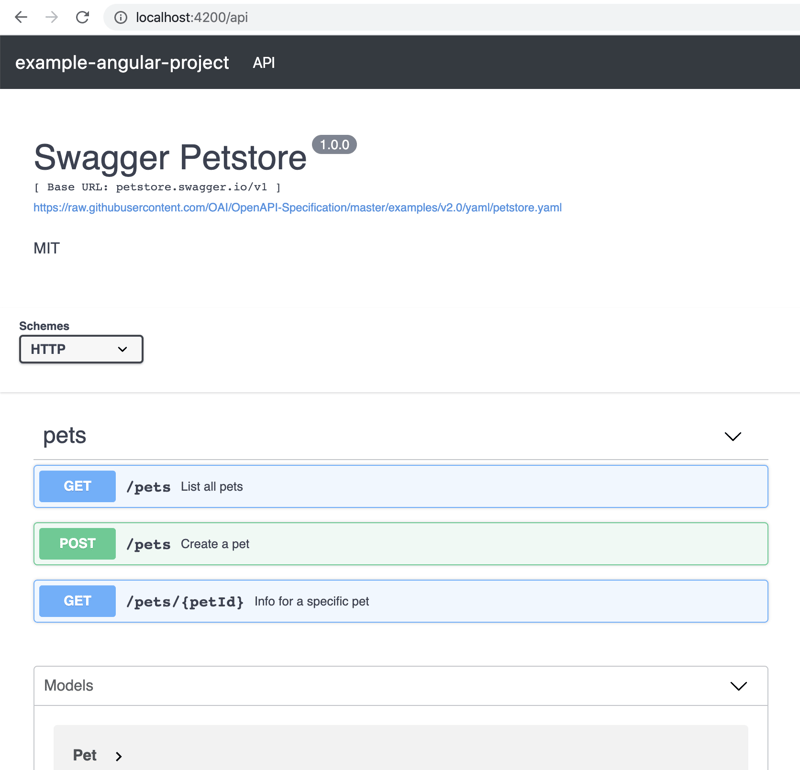
Most notably, the url is just set to the raw.githubusercontent.com URL for the OpenAPI spec's YAML file.
Running ng serve on the same page, and you should now see your API documentation nicely rendered!
Conclusion
With just a few steps, we are now able to house a dynamic view of the API documentation in our Angular project. I recommend using this method to host your documentation with GitHub pages while also providing users to download the spec raw.


Latest comments (0)