Expo doesn't have any API for managing bluetooth of any device. There are some react native packages available to manage the bluetooth like this one. But this packages are not easy to use in expo currently. Many peoples are requesting this bluetooth feature for long time. Al though in expo SDK 42 it is possible to use react-native-ble-plx package on a custom development clients, which is mentioned here.
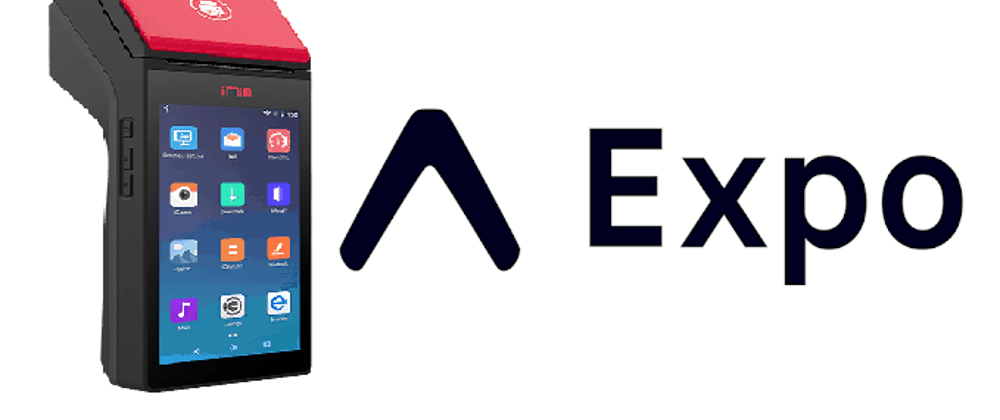
Even if we manage to use this package, it will be still hard to print from a Mobile POS like M2 of imin. Becasue they didn't provide any sdk to for it to use on any Javascript project easily. So isn't here are any way available to print from a expo app to this printer?
Hopefully, yes there is.
There is apps available in playstore which is developed by rawbt. We need to use two extra apps from rawbt. One will connect the printer via bluetooth and another will do the auto print job. By auto print I mean whenever we will download any file to a specific folder via our expo app. The print will start automatically after successfull print.
So the basic process is something like this.
Expo app downlaods a file to a folder => Whenever any new files comes to this specific folder => AutoPrint for RawBT will send request to => RawBT print service => Which will print the file
Table of Contents
Download and configure RawBT
We need to download and install the
RawBT print service from playstore if not installed yet. After installing the app go to Settings. Set the Conenction method Bluetooth. Set Connection parameters by searching the Bluetooth device. Set the printer driver ESC/POS general. Click a Test to see if the print is working.
Download and configure AutoPrint for RawBT
This app is a kind of helper app of RawBT print service. What actually it does is, if we enable and select a folder in device folder this will keep watching on that folder for any file changes. If any new file appears on that particular folder then it will immediately send print request to RawBT print service to print the paper.
So after downloading the AutoPrint for RawBt from playstore we need to accept all the permission it requied. Then we will ADD a folder path where we will keep watching for any new files for print. In our case we will add this path /storage/emulated/0/Pictures/auto print. Here we are selecting this because expo Media library will save the file most probably in Pictures folder of the device storage (I am sure if there is any other way to change the folder). We will create another folder in that Picture folder called auto print. This is the sample configuration we will use which is given below:
You can change the auto print folder name to some other unique name if you want.
Create expo app
Now we do not have to touch the two previous apps anymore if everything working fine. Now just we have to download the pdf file in the specific directory. RawBT will automatically print each new pdf. So now I am going create a new expo project by expo init command. This is the App.js file code:
import * as React from 'react';
import { View, StyleSheet, Button } from 'react-native';
import Constants from 'expo-constants';
import * as FileSystem from 'expo-file-system';
import * as MediaLibrary from 'expo-media-library';

export default function App() {

    // Download the pdf file to expo temporary storage
    async function download2() {
    const fileUrl = 'https://YOUR_PDF_LINK.com';
    const fileName = `${Date.now()}.pdf`;

    FileSystem.downloadAsync(fileUrl, FileSystem.documentDirectory + fileName)
      .then(({ uri }) => {
        console.log('Finished downloading to ', uri);
        saveFile(uri);
      })
      .catch((error) => {
        console.error(error);
      });
  }

  async function saveFile(filePath) {
    const albumName = 'auto print';
    const permission = await MediaLibrary.requestPermissionsAsync();

    let asset = null;
    if (permission.granted) {
      try {
        asset = await MediaLibrary.createAssetAsync(filePath);
      } catch (e) {
        console.error('MediaLibrary.createAssetAsync failed', e);
      }

      if (asset) {
        try {
          let album = await MediaLibrary.getAlbumAsync(albumName);
          if (album) {
            await MediaLibrary.addAssetsToAlbumAsync([asset], album, false);
          } else {
            album = await MediaLibrary.createAlbumAsync(
              albumName,
              asset,
              false
            );
          }
          const assetResult = await MediaLibrary.getAssetsAsync({
            first: 1,
            album,
            sortBy: MediaLibrary.SortBy.creationTime,
          });
          asset = await assetResult.assets[0];
        } catch (e) {
          console.error(' failed', e);
        }
      } else {
        console.error('unable to use MediaLibrary, can not create assets');
      }
    }
  }

  return (
    <View style={styles.container}>
      <Button title="Download invoice & print" onPress={download2}></Button>
    </View>
  );
}

const styles = StyleSheet.create({
  container: {
    flex: 1,
    justifyContent: 'center',
    paddingTop: Constants.statusBarHeight,
    backgroundColor: '#ecf0f1',
    padding: 8,
  },
  paragraph: {
    margin: 24,
    fontSize: 18,
    fontWeight: 'bold',
    textAlign: 'center',
  },
});
By using this piece of code now we can easily download the file from the web and save it to specific directory.
In the download2() function we are using FileSystem.downloadAsync() to download the pdf file from the web. This will download the file to the host.exp.exponent directory, which cannot be accessable with other apps easily. So that after downloading the file we have to move to the downloaded file to a specific directory.
For that we are using the saveFile(). Here we are mainly using the MediaLibrary.createAssetAsync() to store the file in a specific directory. In our case we are saving it to the /storage/emulated/0/Pictures/auto print path. This is the folder where the AutoPrint for RawBT will keep looking for any new file to print automatically by RawBT.
This is the package.json file of mine, install this packages correctly to avoid any error.
{
  "main": "node_modules/expo/AppEntry.js",
  "scripts": {
    "start": "expo start",
    "android": "expo start --android",
    "ios": "expo start --ios",
    "web": "expo start --web",
    "eject": "expo eject"
  },
  "dependencies": {
    "expo": "~42.0.1",
    "expo-constants": "~11.0.1",
    "expo-file-system": "~11.1.3",
    "expo-media-library": "~12.1.2",
    "expo-print": "~10.2.1",
    "expo-sharing": "~9.2.1",
    "expo-status-bar": "~1.0.4",
    "react": "16.13.1",
    "react-dom": "16.13.1",
    "react-native": "https://github.com/expo/react-native/archive/sdk-42.0.0.tar.gz",
    "react-native-web": "~0.13.12"
  },
  "devDependencies": {
    "@babel/core": "^7.9.0"
  },
  "private": true
}
Now if we press the Download invoice & print button. For the first time it will ask one or multiple permissions. If the link is correct then the download will be complete shortly. And the print will work fine.


Oldest comments (0)