In this post, I will talk about creating a small Image Compressor website, if you prefer to watch a video on this topic rather reading this whole post, you can watch it below:
First, we will create three files index.html, style.css & main.js.
We will create style.css file inside a folder called css & main.js file inside a folder called js.
We will put following contents into index.html file:
<!DOCTYPE html>
<html lang="en">
<head>
<meta charset="UTF-8">
<meta http-equiv="X-UA-Compatible" content="IE=edge">
<meta name="viewport" content="width=device-width, initial-scale=1.0">
<title>Image Compressor</title>
<link rel="stylesheet" href="css/style.css">
</head>
<body>
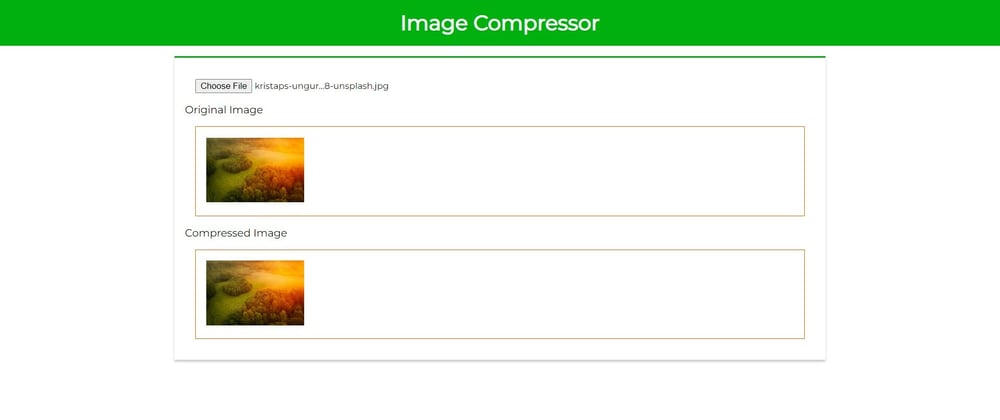
<h1 class="heading">Image Compressor</h1>
<div class="main_content">
<input type="file" id="my_image">
<span>Original Image</span>
<div id="original_image_container"></div>
<span>Compressed Image</span>
<div id="compressed_image_container"></div>
</div>
<!-- JS -->
<script src="js/main.js"></script>
</body>
</html>
Now, in above code, what I'm doing is creating an input element of type file to choose an image that we will later process & compress it.
I'm also adding two container divs, one for displaying the original image & other for displaying the compressed image.
Now, we will put the following contents in css/style.css file:
@import url('https://fonts.googleapis.com/css2?family=Montserrat&display=swap');

* {
    margin: 0;
    padding: 0;
    box-sizing: border-box;
}

body,
button,
input {
    font-family: 'Montserrat', sans-serif;
}

.heading {
    text-align: center;
    background-color: #00b00f;
    color: #fff;
    padding: 1rem;
}

.main_content {
    width: 1000px;
    margin: 1rem auto;
    box-shadow: 0px 3px 3px #ccc;
    padding: 1rem;
    border-top: 3px solid #00b00f;
}

input {
    display: block;
    margin: 1rem;
}

#original_image_container,
#compressed_image_container {
    border: 1px solid #ff6600;
    padding: 1rem;
    margin: 1rem;
}

#compressed_image_container {
    cursor: pointer;
}
There is nothing to explain in above code, I'm just putting some basic CSS to style our website.
Now, we will put following contents into js/main.js file:
const myImage = document.querySelector("#my_image");
const originalImageContainer = document.querySelector("#original_image_container");
const compressedImageContainer = document.querySelector("#compressed_image_container");

myImage.addEventListener("change", (evt) => {
    const image = evt.target.files[0];

    const reader = new FileReader();
    reader.onload = () => {
        const newImage = new Image();
        newImage.src = reader.result;
        newImage.onload = () => {
            const canvas = document.createElement('canvas');
            canvas.height = newImage.height;
            canvas.width = newImage.width;
            const ctx = canvas.getContext('2d');

            newImage.width = 150;
            originalImageContainer.appendChild(newImage);

            ctx.drawImage(newImage, 0, 0);

            const newUrl = canvas.toDataURL('image/jpeg', 0.5);

            compressedImageContainer.innerHTML = `<img src="${newUrl}" width="150" onclick="downloadImage(event)">`;
        };

    };
    reader.readAsDataURL(image);
});

const downloadImage = (evt) => {
    const a = document.createElement('a');
    a.download = 'compressed_image.jpeg';
    a.href = evt.target.src;
    a.target = '_blank';
    a.click();
};
So, in above code, I'm selecting all the HTML elements that we require here using querySelector.
I'm taking input element in myImage variable & attaching "change" event listener on it, so when someone will choose image using input element, it will fire "change" event handler defined in the above code.
In the handler, I'm taking the image that user selected using the following code:
const image = evt.target.files[0];
After that, I'm creating an instance of FileReader API to read the image file as dataURL(base64 format).
const reader = new FileReader();
reader.readAsDataURL(image);
Now, when FileReader API will finish reading the image, it will fire onload event handler & give it's base64 encoded dataURL in reader.result property.
Once, we have the base64 encoded format of image file that user has selected, we can create an image element from that dataURL.
Next, we will take that image and draw a canvas out of it, the main reason for drawing a canvas out of that image is to use a method of canvas that is toDataURL that take two parameters, first one it takes mime type & second it takes the quality of the image.
The lowest quality value is 0 and highest quality value is 1, so we will take its middle value to take the medium quality so that it will compress it and size will be less from original image.
In the following code, we can see that we are getting new dataURL of compressed image.
const newUrl = canvas.toDataURL('image/jpeg', 0.5);
Now, using the dataURL of compressed image, we can display this on our website and also add a functionality to download this compressed image which size will be less from original image.
You can find the whole code on github here
Please note, the code given in this post can be further optimized to suit our needs, I just tried to show how to create core functionality of an Image Compressor just using pure JavaScript.


Top comments (0)