
Intro
One thing I've been putting off for a while now, is to extract some of the generic helpers I created in the context of the "ASP.NET Core: From 0 to overkill" series, as well as other things that regularly come to mind, and putting them in some NuGet packages to reuse across projects.
Creating these NuGet packages provides an opportunity to mess around with some interesting CI/CD tooling I haven't had the time to try before.
I did something similar in the past (you can check it out here), so the ideas should be similar, just using different tools and technologies.
To get started, and the focus of this post, we'll set up the NUKE build automation system.
NUKE: what and why?
As briefly mentioned, NUKE is a build automation system, which, like Cake, allows us to define our build using .NET code (another alternative to these two is FAKE, same idea, but focused on F#).
The two main things that draw me to this kind of build systems are:
- Being able to write C# to define the build, which for very simple stuff is a bit irrelevant, but if we need some extra logic, using a programming language should make things easier.
- Decouple the build definition from the CI/CD provider used, making it easier to migrate or even run in more than one at the same time.
This time I'm going with NUKE instead of Cake, not only to test out a different tool, but also because it has one trait that seems really interesting: the build is defined in a console application. What makes this interesting is that, even though Cake allows us to define things in C#, it still requires IDE/plugins to support it, and at least the last I tried it, IntelliSense didn't work as well. With NUKE defining things in a console application, the support is there to begin with.
Initial setup
Going through the docs, there's a pretty straightforward procedure to get things going, by installing a global tool and using it to initialize NUKE in our solution.
To install the global tool:
dotnet tool install Nuke.GlobalTool --global
Then we can use it to get things initialized. It provides a nice little wizard, to guide us through the setup.

Going through the choices I made:
- Used the suggested build project name and location
- Used the latest stable release
- Use the only available solution as the default one
- Accepted the help to get things started
- Use .NET CLI to implement the build definition (the alterative was MSBuild/Mono)
- Selected the locations of key components
-
srcfor the projects -
artifactsfor the output of the build (e.g.NuGetpackages) -
testsfor the test projects
-
- Won't use
GitVersionto handle the project versioning
After finishing the setup, we can take a look at the solution folder to see what went on:

We can see the expected new build project (_build.csproj and other related files), but we can also see that some additional files were added to the repository's root.
The .nuke file marks the root directory and contains the default solution file, nothing fancy, but more interesting than that are the [build.xyz](http://build.xyz) files, used to bootstrap NUKE, either on Windows/Powershell or Unix/Bash. These will be what we use in our CI server (or locally) to kick of a build.
I'm not going to paste the contents of the build.xyz files here, but in short, what they do is check for the pre-requisites, like if dotnet is installed, install it if needed, then run the build project.
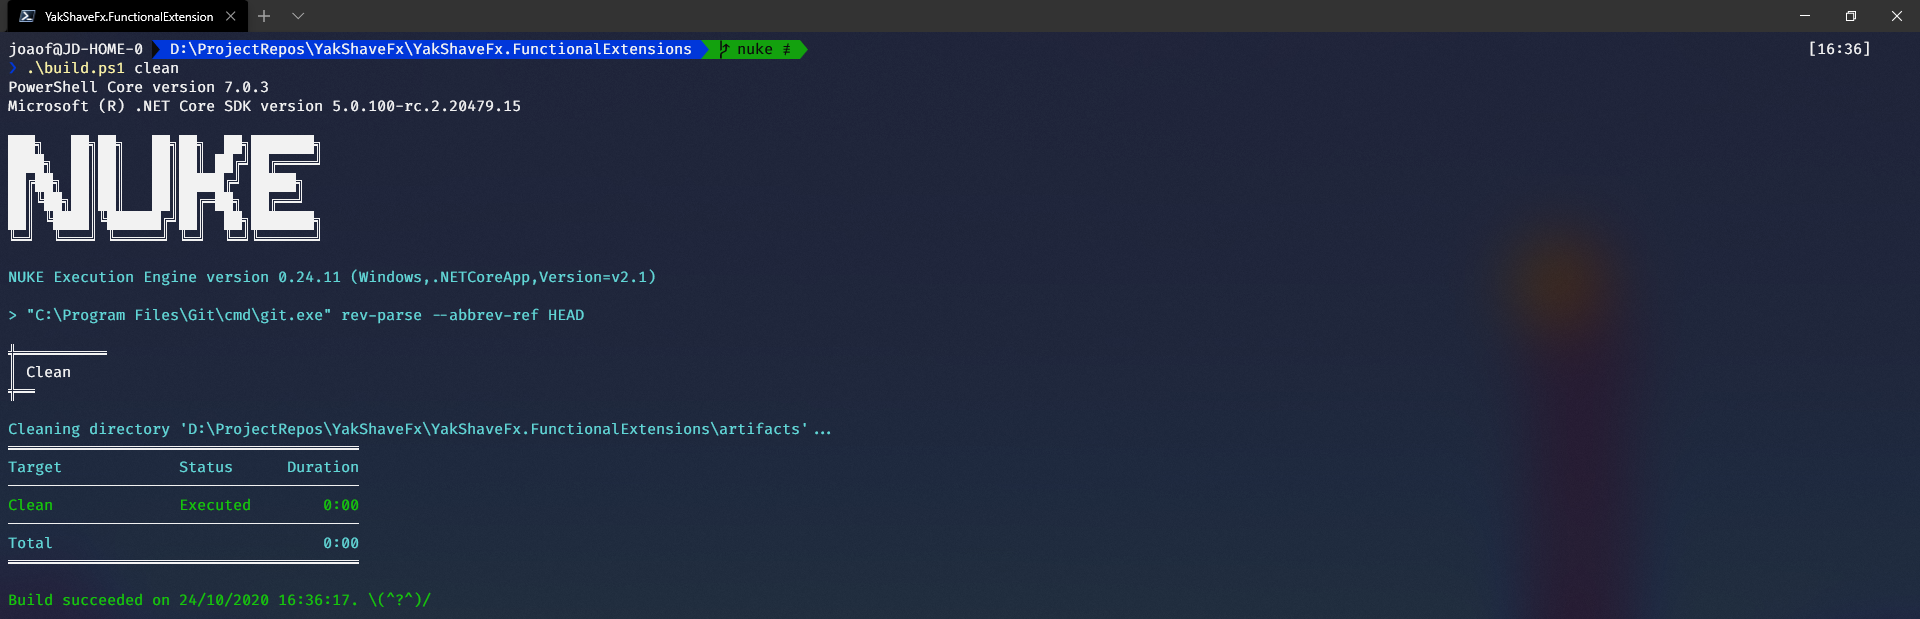
We'll see the generated build definition in a minute, but we can run it immediately and see the result, by executing .\build.ps1 (because I'm on Windows using PowerShell right now).

Customizing the build
What we get out of the box
In the Build.cs file we have an already fully functional build definition, as demonstrated by the previous execution. It's defined as follows:
[CheckBuildProjectConfigurations]
[UnsetVisualStudioEnvironmentVariables]
class Build : NukeBuild
{
    /// Support plugins are available for:
    ///   - JetBrains ReSharper        https://nuke.build/resharper
    ///   - JetBrains Rider            https://nuke.build/rider
    ///   - Microsoft VisualStudio     https://nuke.build/visualstudio
    ///   - Microsoft VSCode           https://nuke.build/vscode

    public static int Main () => Execute<Build>(x => x.Compile);

    [Parameter("Configuration to build - Default is 'Debug' (local) or 'Release' (server)")]
    readonly Configuration Configuration = IsLocalBuild ? Configuration.Debug : Configuration.Release;

    [Solution] readonly Solution Solution;
    [GitRepository] readonly GitRepository GitRepository;

    AbsolutePath SourceDirectory => RootDirectory / "src";
    AbsolutePath TestsDirectory => RootDirectory / "tests";
    AbsolutePath ArtifactsDirectory => RootDirectory / "artifacts";

    Target Clean => _ => _
        .Before(Restore)
        .Executes(() =>
        {
            SourceDirectory.GlobDirectories("**/bin", "**/obj").ForEach(DeleteDirectory);
            TestsDirectory.GlobDirectories("**/bin", "**/obj").ForEach(DeleteDirectory);
            EnsureCleanDirectory(ArtifactsDirectory);
        });

    Target Restore => _ => _
        .Executes(() =>
        {
            DotNetRestore(s => s
                .SetProjectFile(Solution));
        });

    Target Compile => _ => _
        .DependsOn(Restore)
        .Executes(() =>
        {
            DotNetBuild(s => s
                .SetProjectFile(Solution)
                .SetConfiguration(Configuration)
                .EnableNoRestore());
        });
}
The class inherits from NukeBuild, which will provide it with some helper properties and methods.
Then, we have the Main method, the build's entry point, which invokes Execute with the default step Compile, defined later on.
Before the various steps, we have some fields and properties we can use later. Some of the values defined there will be familiar, as we chose them in the initial setup.
Finally, we have the build steps themselves, Clean, Restore and Compile. NUKE provides us with a DSL to configure the build steps using C# code, so we can certainly recognize many of the terms used here from the .NET CLI.
As we can see, Compile DependsOn Restore, so even though the Main method targets Compile, Restore is also executed (as we saw previously).
If we want to target a specific step, we simply pass its name when running the build script.
Adding some more steps
Having these steps defined out of the box is great, but what we really want is to add more stuff.
In this case, creating a new library, what I want is to run the tests, ensuring all is well, package the library into a NuGet and push it to a package repository. This last step is going to be done in a later post, but the tests and packaging we can handle now.
At the end of the Build class, we'll add two new steps, Test and Pack.
// ...

Target Test => _ => _
    .DependsOn(Compile)
    .Executes(() =>
    {
        DotNetTest(s => s
            .SetProjectFile(Solution)
            .SetConfiguration(Configuration)
            .EnableNoRestore()
            .EnableNoBuild());
    });

Target Pack => _ => _
    .DependsOn(Test)
    .Executes(() =>
    {
        DotNetPack(s => s
            .SetProject(Solution)
            .SetOutputDirectory(ArtifactsDirectory)
            .SetIncludeSymbols(true)
            .SetConfiguration(Configuration)
            .EnableNoRestore()
            .EnableNoBuild());
    });
Considering the steps we have prepared for us after the initial setup, creating these extra steps comes rather naturally if we have a good overall idea of what we want to achieve, as we have IntelliSense guiding us through the process.
We start typing test or pack and DotNetTest and DotNetPack appear immediately, so we can continue from there and look for the options we need.
You'll notice the NoRestore and NoBuild being used many times. As we already did those things in previous steps, we can instruct our steps to skip them.
With the new steps ready, we can head to the console and target them with a .\build.ps1 pack.

Now, besides what we already had, we can see the test results and that the NuGet packages were created and stored in the previously defined artifacts directory.
Outro
That's all for this really quick look at getting started with NUKE to setup a build plan.
We've seen how easy it is to get started, run the build and define some extra steps.
Coming up in a follow-up post, we'll get things running in GitHub Actions
Links in the post:
- NUKE
- Cake (C# Make)
- FAKE - F# Make
- GitHub Actions
- ASP.NET Core: From 0 to overkill
- Creating a CI/CD pipeline for a .NET library: Part 1 - Intro
The source code for this post is in the YakShaveFx.FunctionalExtensions repository, tagged as nuke-build.
Thanks for stopping by, cyaz!


Latest comments (0)