Intro
In the previous posts I went through the bulk of the work required for a reasonably simple CI/CD pipeline for a .NET library, from defining the build using Cake, running it in the cloud using AppVeyor and Travis CI.
This last post will be small, as I'll only put some finishing touches, like making the code coverage reports available online using Coveralls and adorn the project's GitHub page with build status information.
Adding the project to Coveralls
Now that the build is working on the cloud CI providers, we can add the nice touch of having the tests code coverage available to see, not only the percentage but to also browse the code and see what’s covered and what's not - which is probably more relevant than just a loose percentage number.
There are more alternatives - have I thought of it earlier and I probably would have used SonarQube to have not only coverage, but some static code analysis as well, I’ll have to get back at it later - but I went with Coveralls for this example, for no particular reason, just to try it out.
Given the coverage report generation and publish was already discussed on the post dedicated to Cake, all we have left to check out at this point is the project creation on the Coveralls website.
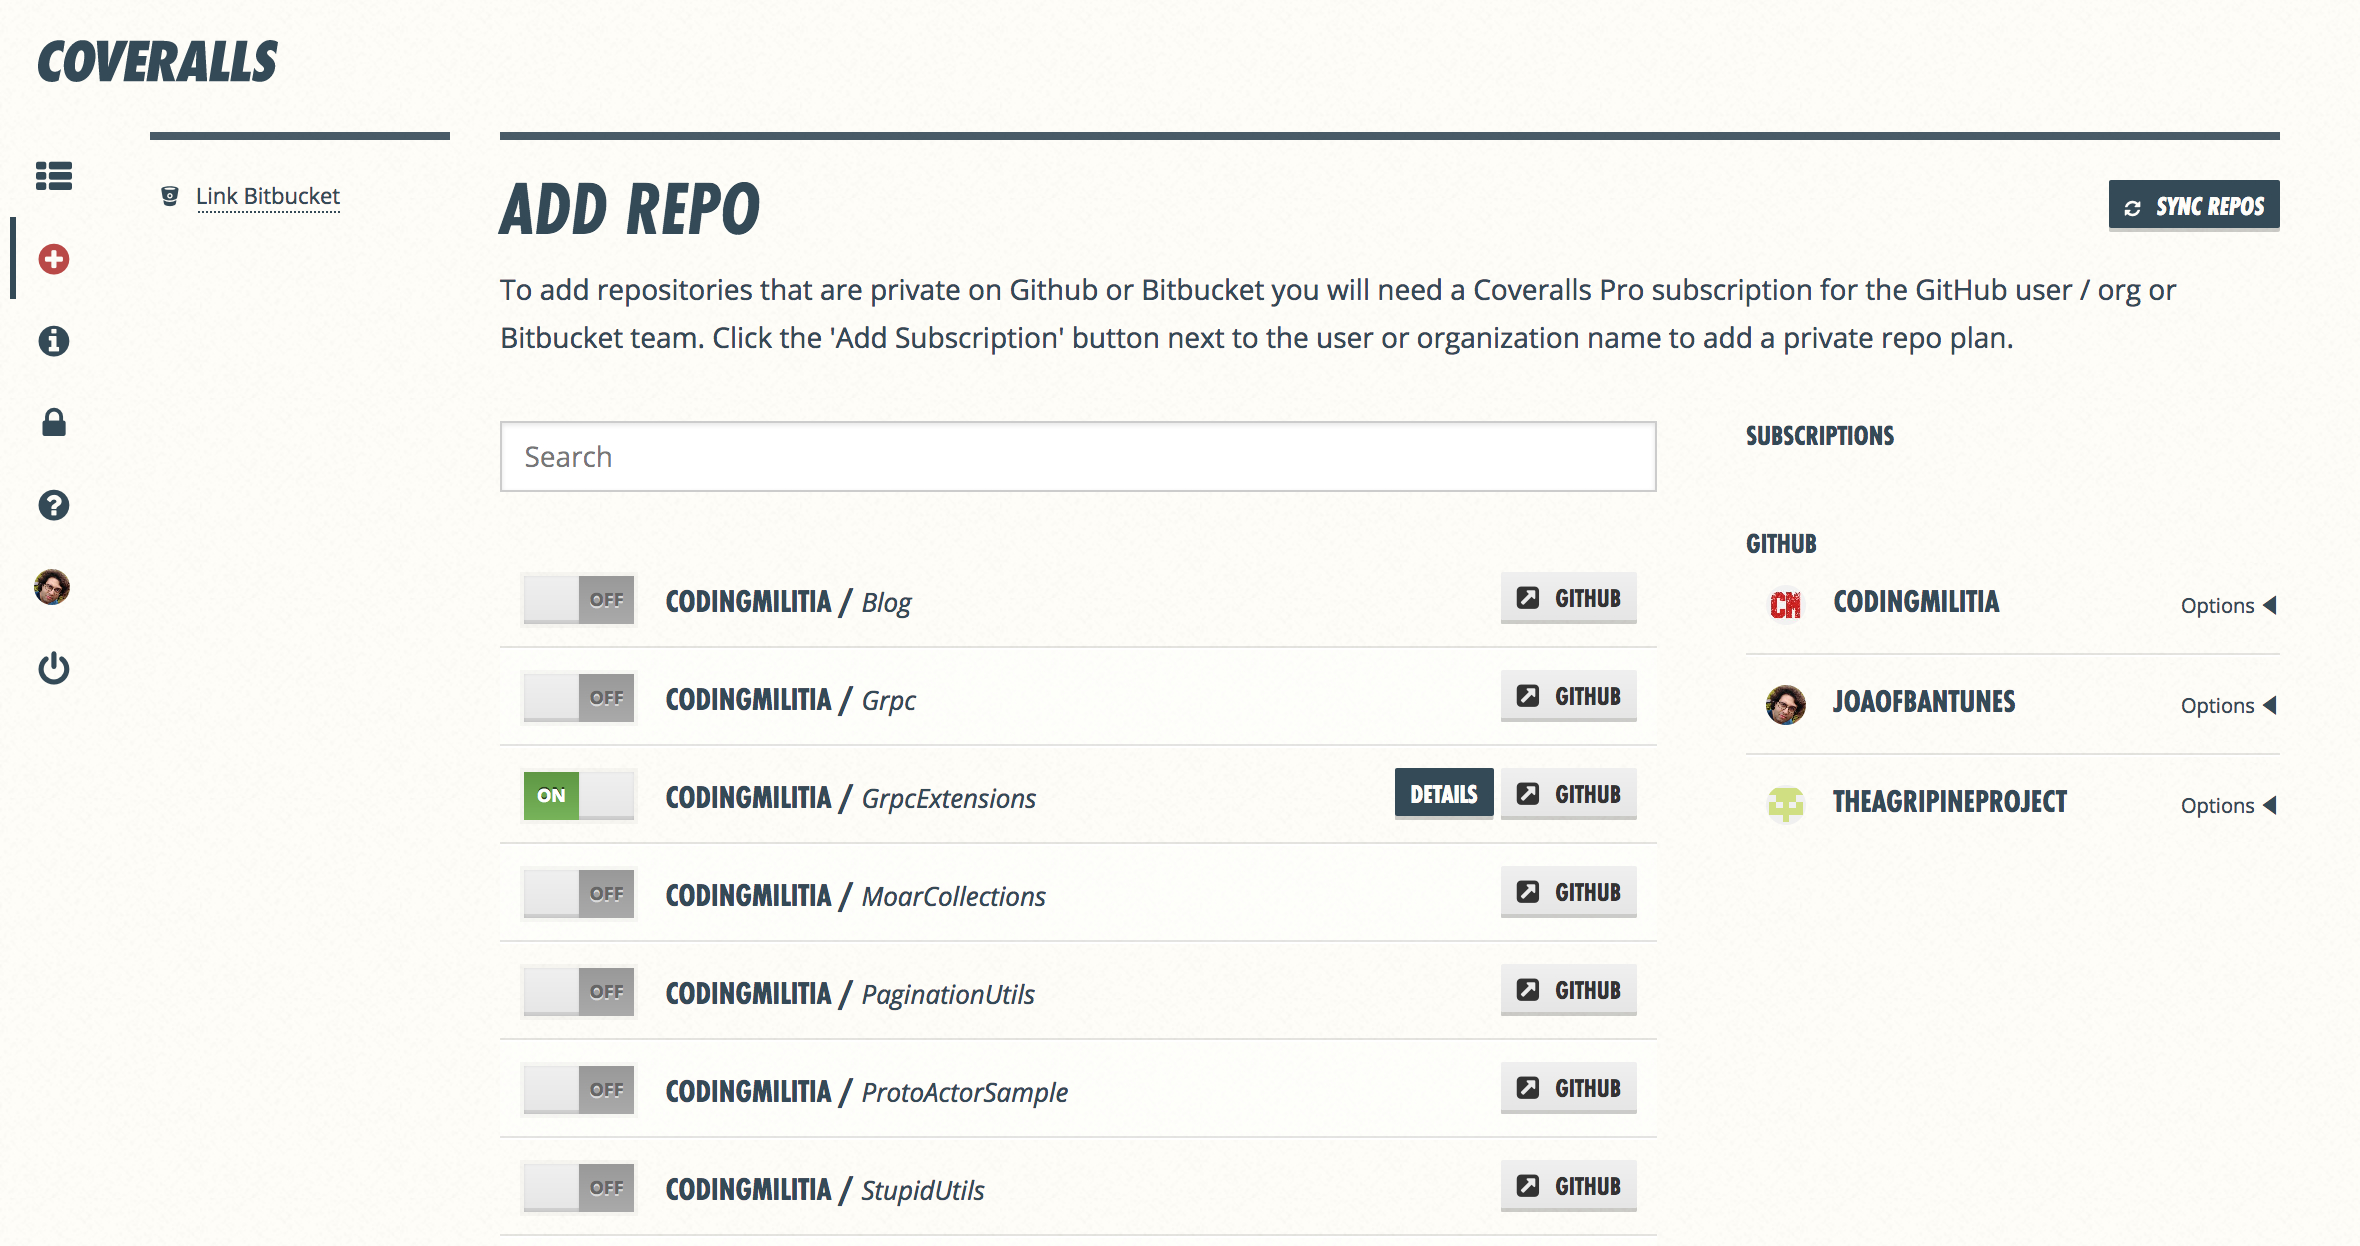
In the homepage, among other things, we can add a new repository. My homepage has already a reference to the project as I’ve added it previously.

Adding a repository is really as simple as toggling an on/off switch, given I’ve signed up using my GitHub account, all my projects are already available to add.
When we have results published they’ll show up in the specific project’s page.

Then we can drill down on the project’s files to see the coverage.

And then click a specific file and see the coverage details for it.

And with the glimpse of my failure to thoroughly test the exceptions, we have Coveralls working 😀
Bonus: CI status badges
Now that we have everything working, we might as well make it all visible in the GitHub project page by showing CI status badges.

For AppVeyor's badges, on the project settings there’s a section “Badges” that has the details one might need, with a sample for the master branch.

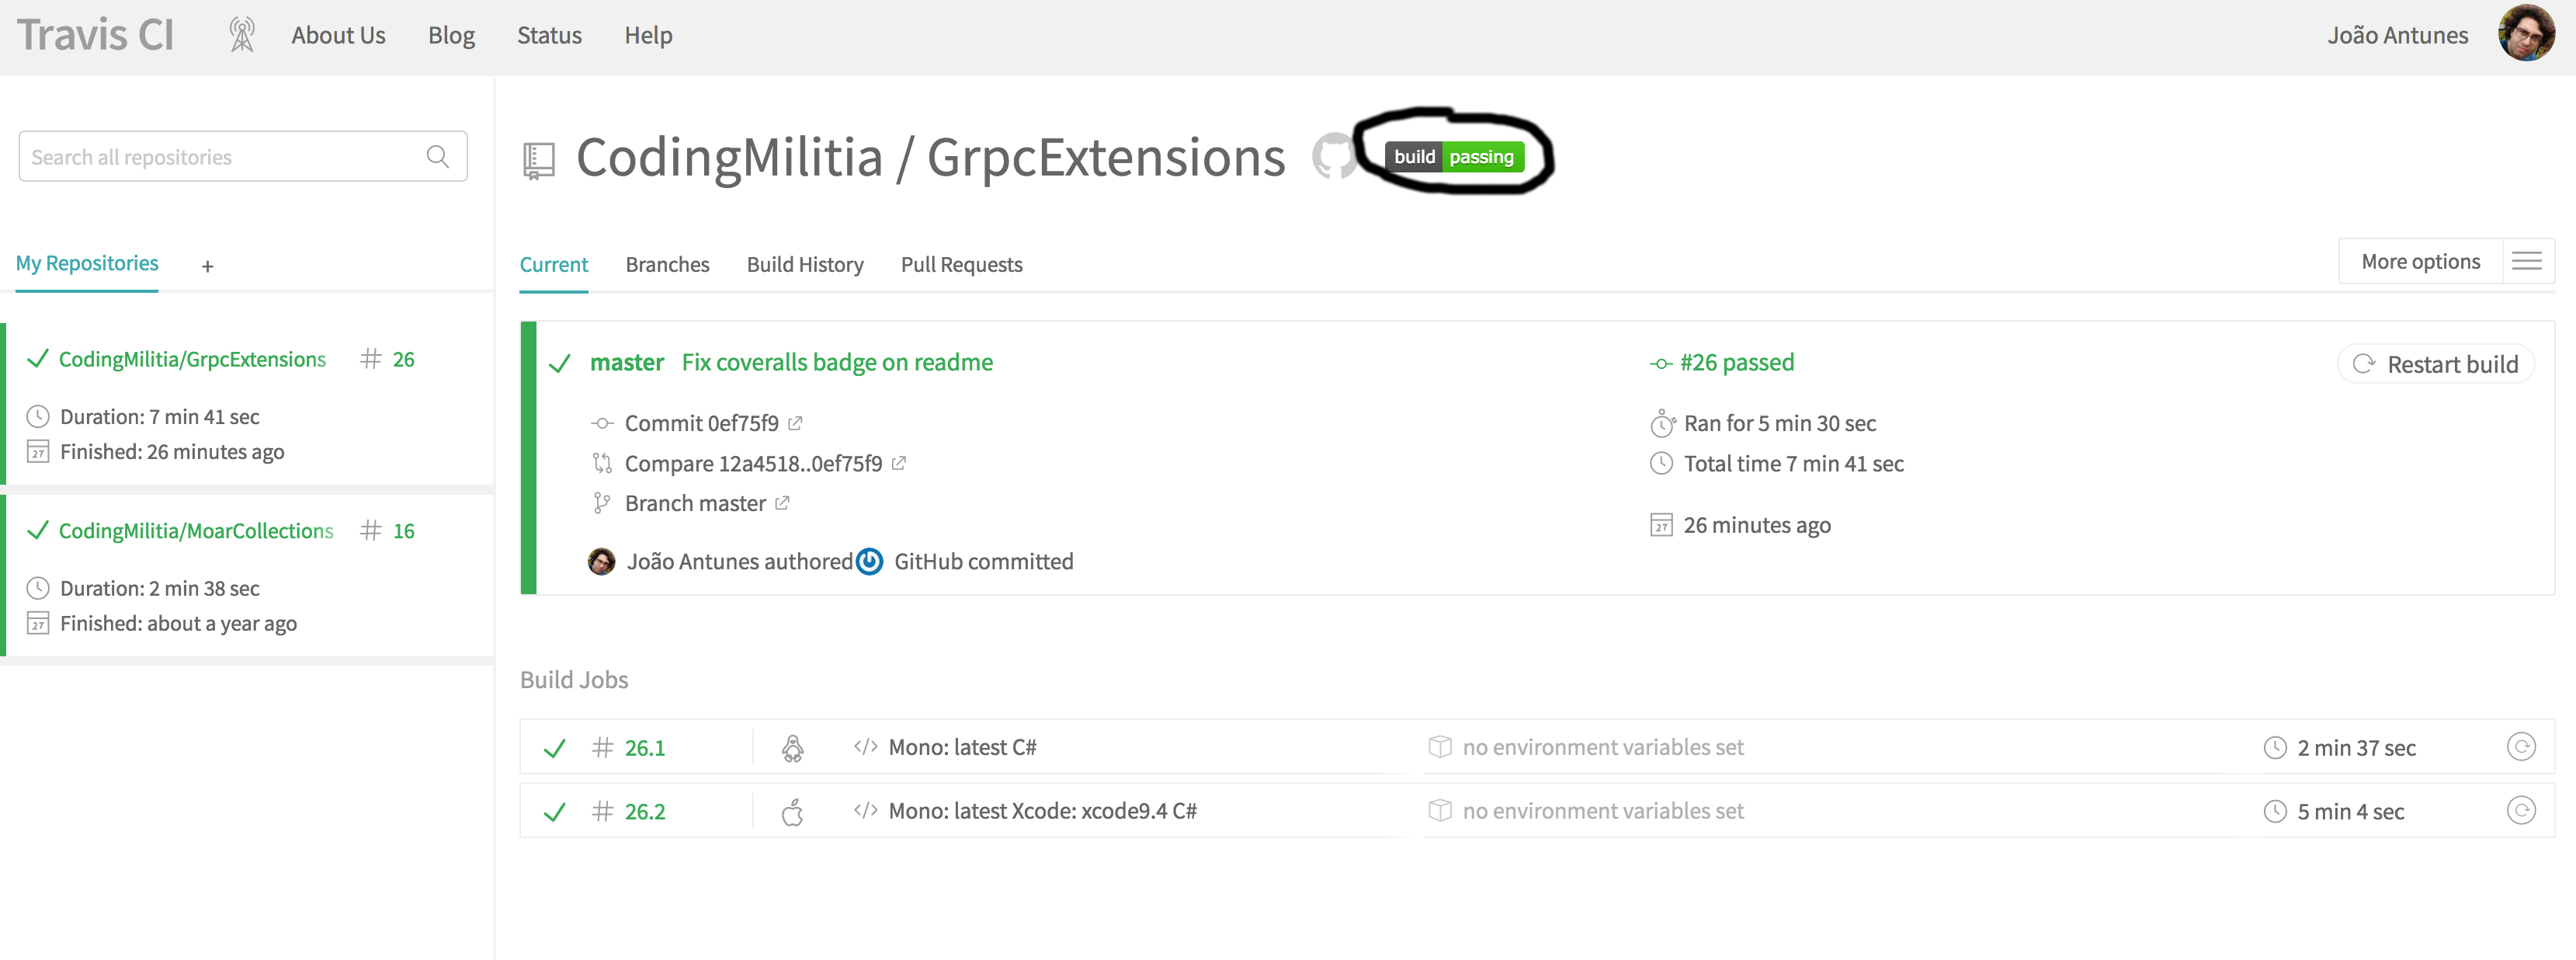
For Travis CI we could just copy the image address of the status image that shows up at the top of the project page (didn't really find a specific section for this in their docs, if you do please comment).
For Coveralls, on the project page there’s also a badge with a useful embed option.

Now we just have to put together a couple of tables in markdown with the badges for all the services and we're good to go.
Wrapping up
So, to sum this all up (post series wise), the end result is that when I make a change and hit git push, the code is built and tested in different environments, coverage is published and eventually the library as well, no manual work besides pushing the code (and merging to master for actually publishing the package).
Also we saw how practical it is to define the builds in C# using Cake. The out of the box stuff works well and if something’s missing we can just code it!
I’m pretty sure there are a lot of improvements that can be made, so if you have any feedback about the solution or the posts, send it over!
- Part 1 - Intro
- Part 2 - Defining the build with Cake and publishing to NuGet
- Part 3 - Building on AppVeyor and Travis CI
- Part 4 - Code coverage on Coveralls, badges and wrap up (this post)
The accompanying code for these posts is here (tagged to be sure the code reflects what's written here in the future).
PS: originally posted here.


Top comments (0)