
I recently had a chance to interview @colbyfayock during the Geekle JS Global Summit where we talked about Image Optimization with Cloudinary. Colby is a huge fan of Next.js. I was really interested in this topic and decided to dive into the topic and write an article how you can optimize images with Cloudinary in my favourite JS Framework - Nuxt 3.
To integrate easily with Cloudinary we will be using Nuxt Image module. This article is based on the one created by Colby but with Nuxt instead of Next. The original article you can read here
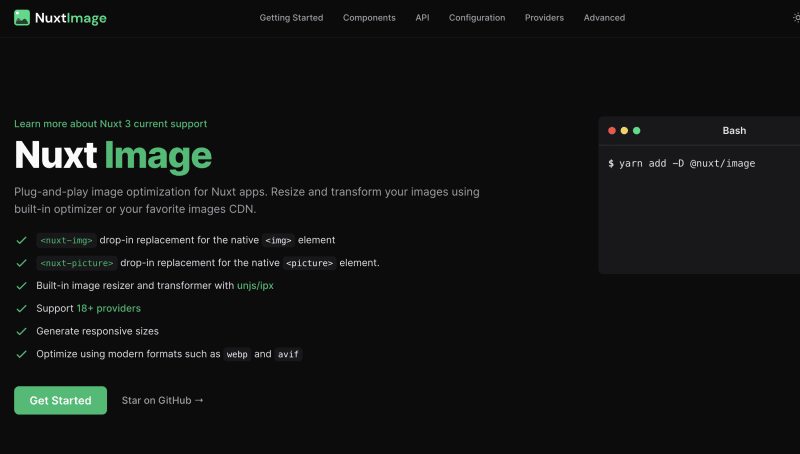
What is Nuxt Image?
Plug-and-play image optimization for Nuxt apps. Resize and transform your images using built-in optimizer or your favorite images CDN. You can check the @nuxtjs/image documentation here.
What is Cloudinary?
Cloudinary is a media management solution that not just allows teams to manage, optimize, and transform images, but video as well.
There are a ton of cool things you can do with Cloudinary, such as automatically generating social media images or at it’s simplest, using Cloudinary as a CDN. It also makes for a great way to smooth out a project workflow for designers and developers to manage and use images.
Coding time!
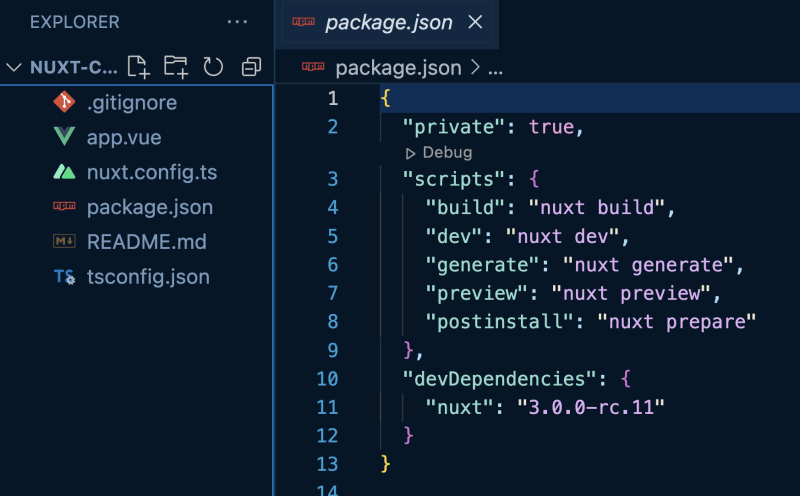
First of all, let's generate an empty Nuxt 3 project:
npx nuxi init nuxt-cloudinary
Your project structure should look like this:
Now, let's install the @nuxt/image-edge module in our project:
yarn add --dev @nuxt/image-edge
Next, let's register the module in our nuxt.config.ts file:
import { defineNuxtConfig } from 'nuxt'
export default defineNuxtConfig({
  modules: [
    '@nuxt/image-edge',
  ]
})
And that's it for the module. If you would like to use the default IPX provider, that you can check out here, that would have been all for the configuration. However, if you need more options, like we do in this tutorial, we will add the image object to our nuxt.config.ts file with the proper Cloudinary configuration.
image: {
  // Options
}
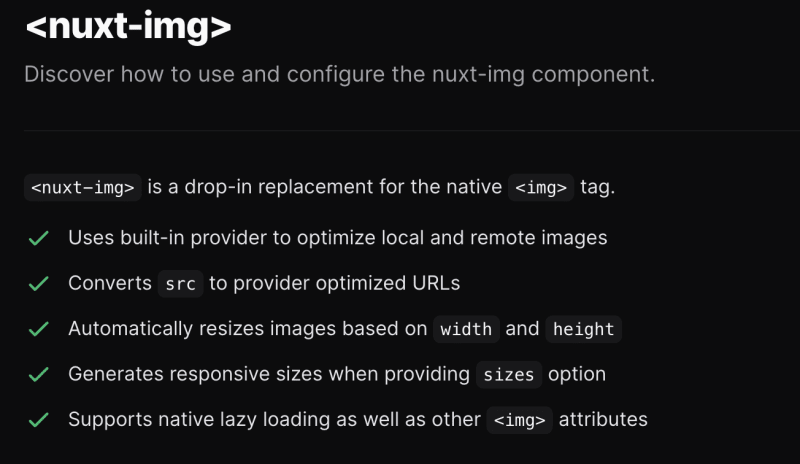
After registering the @nuxtjs/image-edge module in our nuxt.config.ts file we now have access to both nuxt-img and nuxt-picture components that will handle the image optimization for us. In this tutorial, we will be using the NuxtImg component only but feel free to play with both of them:
Short Intro to Cloudinary
After logging in to Cloudinary website, you will see the dashboard that will look similar to the one below:

Cloudinary is a Digital Asset Management so you can expect many different functionalities to be available there. I highly encourage you to try it out as in this tutorial we will be only using some of the functionalities. Below, you can see the media gallery that we will be using to fetch the optimized images from.

Make sure to copy the image path as we will be using it further in the app. In my case, the link was as following:
https://res.cloudinary.com/${YOUR_SPACE_ID}/image/upload/${YOUR_FOLDER_ID}/cld-sample-5.jpg
To the code again!
Let's configure the image module to work with the Cloudinary service. We will just pass the baseURL property in the cloudinary object as it is the only one needed to make the integration work:
// nuxt.config.ts

export default defineNuxtConfig({
    modules: [
        '@nuxt/image-edge',
      ],
      image: {
        cloudinary: {
            baseURL: 'https://res.cloudinary.com/${YOUR_SPACE_ID}/image/upload/${YOUR_FOLDER_ID}'
        }
      }
})
To see how it works in the browser, let's modify the app.vue code so that it looks like the following:
// app.vue

<template>
  <div>
    <h1>Image cld-sample-5.jpg from Cloudinary</h1>
    <nuxt-img provider="cloudinary" src="/cld-sample-5.jpg" />
  </div>
</template>
When you switch to your browser, you should see something like this.

Right now, we know that the integration works because we can fetch images directly from Cloudinary. Let's apply width/height and some modifiers to the image so that it looks a bit better:
    <nuxt-img
      provider="cloudinary"
      src="/cld-sample-5.jpg"
      width="300"
      height="169"
      :modifiers="{ roundCorner: 'max', effect: 'grayscale' }"
    />
Let's see in the browser how our modified image looks like:

If you are interested in the all available modifiers, check out the documentation here
Summary
Well done! You have just integrated Cloudinary with your Nuxt 3 project. Keep in mind however, that this is only the tip of the Iceberg in terms of Image optimization and manipulation so make sure to dive deeper into Image Optimization contept and Cloudinary service.


Oldest comments (5)
how to upload with nuxt3
Hey, check out this docs sections -> v1.image.nuxtjs.org/providers/clou...
thank
Is it possible to use this with a background url?
Hey,
I dont think so. The Nuxt Image component expects the src AFAIK.