I am sure that when you first begin learning full stack web development using the MERN stack, you will have questions like "What is it like to build a full stack application?" What exactly are frontend and backend? How do we connect them? Is there any magic? etc., So I'm writing this tutorial to address your queries and show you how to build a full stack web application.
Note
The goal of this tutorial is to provide you with a high-level overview of what it's like to build a full stack application, rather than a detailed explanation of MERN stack technologies.
Let's get started
Prerequisites
The Project
To keep things simple while covering more concepts, we will create a simple mini-project. We will create a simple productivity tracker application in which you can record what activities you accomplished during the day and for how much time. So that we may see how we are spending our time. We can also see all of the stuff on the home page.
How does this work?
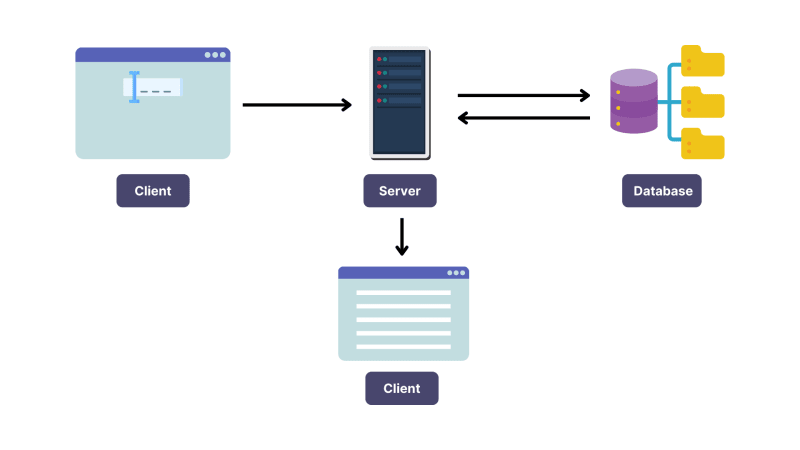
- You enter an activity and the amount of time you spent on it.
- The data is then submitted to the NodeJs backend.
- That information will be stored in the MongoDB database.
- All activities are displayed on the homepage.
We know what we need to do; now let's figure out how to do it.
Frontend/Client
What is a Frontend/Client application?
Client application refers to the frontend part of a full-stack application. The client sends requests to the server and receives responses. That request could be the client sending information to the server or asking for information. The client is the visible part of a full-stack application.
Let's start by making a client.
- Make a new folder and label it "productivity-app."
-
Create a react app called "client" using create-react-app.
npx create-react-app client Start your coding editor/IDE and open the project.
-
This is how your folder structure will look.
.
├── README.md
├── package-lock.json
├── package.json
├── public
│   ├── favicon.ico
│   ├── index.html
│   ├── logo192.png
│   ├── logo512.png
│   ├── manifest.json
│   └── robots.txt
└── src
    ├── App.css
    ├── App.js
    ├── App.test.js
    ├── index.css
    ├── index.js
    ├── logo.svg
    ├── reportWebVitals.js
    └── setupTests.js
For the time being, we are only interested in the
App.jsandApp.cssfiles.Remove all existing code from the
App.jsandApp.cssfiles.
Let's make a react component.-
Add the App component to the
App.jsfile.
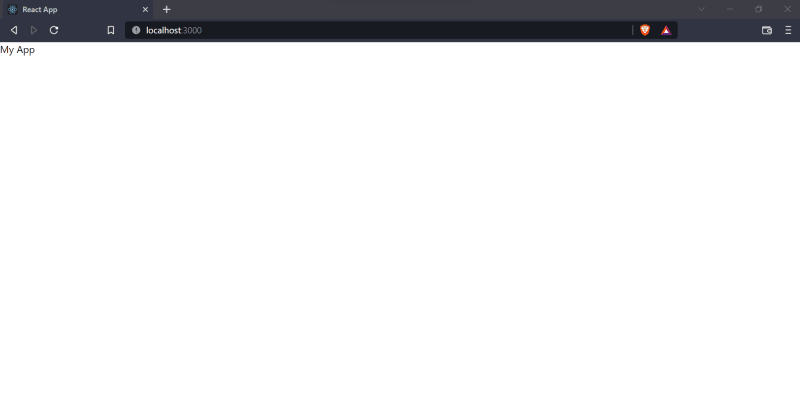
import "./App.css";

const App = () => {
    return <div>My App</div>;
}

export default App;
The above code creates and renders the App component.
-
Run the following command in the terminal and navigate to http://localhost:3000.
npm start
Design the app.
- We want the user to enter the name of the activity as well as the time it took. Then we'll display all of the activities on the homepage.
-
Copy and paste this HTML code into the App component.
...
<div className="app">
  <header className="app-header">
    <h1>Productivity Tracker</h1>
    <form>
      <div>
        <label htmlFor="activity">Activity:</label>
        <input
          type="text"
          id="activity"
          name="activity"
          autoComplete="off"
        />
      </div>
      <div>
        <label htmlFor="time">Time Taken:</label>
        <input type="text" id="time" name="time" autoComplete="off" />
      </div>
      <button type="submit">Add</button>
    </form>
  </header>
  <main className="app-main">
    <h2>Today</h2>
    <ol>
        <li> Activity 1 - 3 hours</li>
        <li> Activity 2 - 10 min</li>
        <li> Activity 3 - 2 hours and 25 min</li>
    </ol>
  </main>
</div>
...
Our app will now look like this.
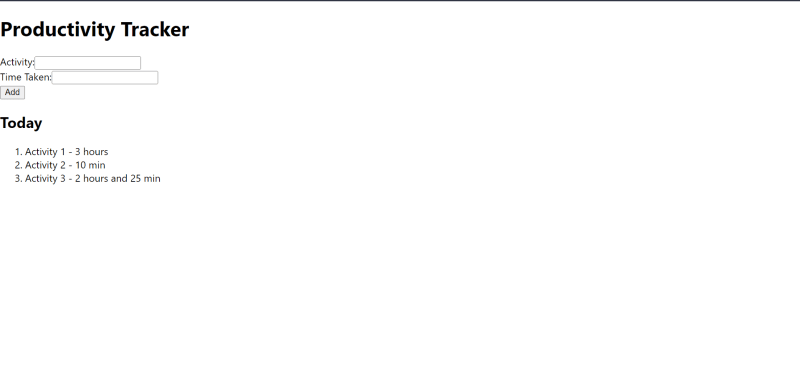
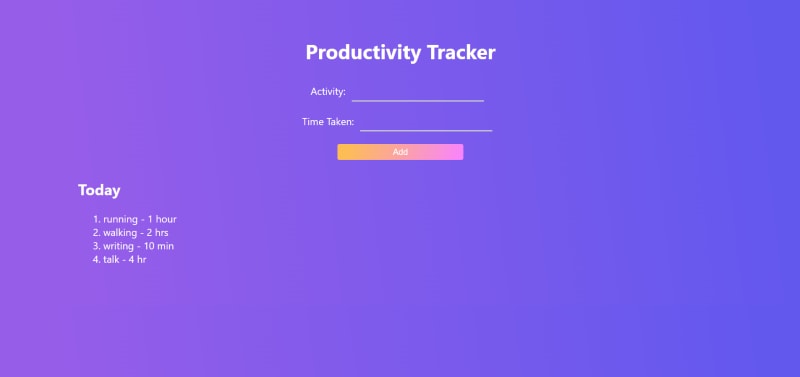
Let us now add some CSS. Copy and paste the CSS code from this file into the
App.cssfile.Our app now appears as follows.

Add logic.
-
The activities are currently hardcoded. So let's save and use activities in a state.
...
const [activities, setActivities] = useState([]);
...

...
<main className="app-main">
<h2>Today</h2>

{activities && activities.length > 0 ? (
  <ol>
    {activities.map((activity) => (
      <li key={activity._id}>
        {activity.name} - {activity.time}
      </li>
    ))}
  </ol>
) : (
  <p>No activities yet</p>
)}
</main>
...
But, Where do we get our activities? How do we add an activity to the list?
A backend is required to handle all of this.
Backend/Server
The backend component of a full stack application is frequently referred to as the Server. A server's job is to continuously listen to requests, implement some business logic, and return the results.
Database
Let's create a database first before we create a server. To record and add our activities, we need a database. We can use a cloud database instead of hosting a database. MongoDB offers a free cloud database (atlas) that may be used for small/hobby projects.
- Log in to your MongoDB account.
- Create a project.

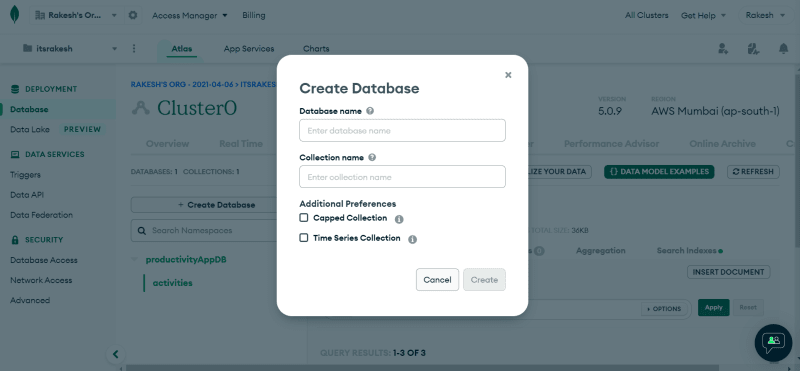
- Then go to "Browse collections" and create a database. For the collection name, write "activities".
-
Click on "Overview" and then in the overview tab click on "CONNECT" -> "Connect your application". Copy the connection string. Your connection string should look like this.
mongodb+srv://<username>:<password>@<clusterUrl>/<databaseName>?retryWrites=true&w=majority Save this string somewhere safe.
Server
We now have a database. Let us now build our application logic and connect it to the database.
- Make a folder called "Server" in your project folder.
- In the terminal, open the folder and type
npm init. Fill in all the details. -
Install the following packages.
npm i express mongoose dotenv- express: Used to create a server.
- mongoose: Used to work with MongoDB database
- dotenv: Used to load environment variables.
-
Make a
.envfile and save your connection string in a variable called "MONGODB URI".
MONGODB_URI=yourconnectionstring -
Create a
server.jsfile and paste this code.
const express = require("express"); const mongoose = require("mongoose"); const app = express(); /* Loading the environment variables from the .env file. */ require("dotenv").config(); const PORT = process.env.PORT || 5000; const MONGODB_URI = process.env.MONGODB_URI || "mongodb://localhost/todoapiDB"; /* Telling the application to use the express.json() middleware. This middleware will parse the body of any request that has a Content-Type of application/json. */ app.use(express.json()); /* This is a route handler. It is listening for a GET request to the root route of the application. When it receives a request, it will send back a response with the string "Hello World!". */ app.get("/", (req, res) => { res.send("Hello World!"); }); /* Connecting to the database and then starting the server. */ mongoose .connect(MONGODB_URI, { useNewUrlParser: true }) .then(() => { app.listen(PORT, console.log("Server stated on port 5000")); }) .catch((err) => { console.log(err); }); -
Run the below command and go to http://localhost:5000 in your browser. You will see something like this. (Make sure you have nodemon installed globally.)
npm run dev
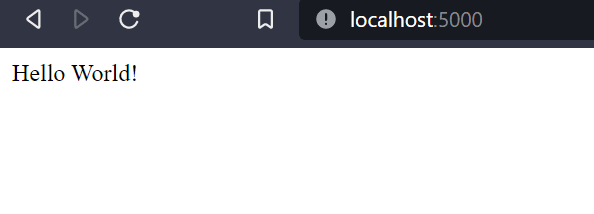
This means the server is running successfully.
-
Create a schema model to store activity.
- Create a folder called "models" and in that folder create a file
activity.model.js. Copy and paste the below code.
const mongoose = require("mongoose"); const Schema = mongoose.Schema; /* Creating a new schema for the activity model. */ const activitySchema = new Schema({ name: { type: String, required: true, }, time: { type: String, required: true, }, }); module.exports = mongoose.model("Activity", activitySchema); - Create a folder called "models" and in that folder create a file
-
Implement application logic in controllers.
- Create a folder called "controllers" and in that folder create a file
activity.controller.js. - We need to implement two things - 1) Get all activities to show on the homepage and 2) Add an activity.
const Activity = require("../models/activity.model"); /** * It's an async function that uses the Activity model to find all activities and then returns a status of 200 with the activities in the response body. */ const getActivities = async (req, res) => { try { const activities = await Activity.find(); res.status(200).json(activities); } catch (err) { res.status(500).json({ message: err.message }); } }; /** * It creates a new activity and saves it to the database. */ const addActivity = async (req, res) => { const activity = new Activity(req.body); try { const newActivity = await activity.save(); res.status(201).json(newActivity); } catch (err) { res.status(400).json({ message: err.message }); } }; module.exports = { getActivities, addActivity, }; - Create a folder called "controllers" and in that folder create a file
-
Register routes to handle requests.
- Create a folder called "routes" and in that folder create a file
activity.route.js. Copy and paste the below code.
const express = require("express"); const { getActivities, addActivity, } = require("../controllers/activity.controller"); const router = express.Router(); /* Creating a route for the get request. */ router.get("/activities", getActivities); /* Creating a route for the post request. */ router.post("/activity", addActivity); module.exports = router; - Create a folder called "routes" and in that folder create a file
-
Final folder structure will be like this.
. ├── controllers │ └── activity.controller.js ├── models │ └── activity.model.js ├── routes │ └── activity.route.js ├── package-lock.json ├── package.json └── server.js -
Use the above routes in the app.
- Open the
server.jsfile and use the registered routes.
... const ActivityRouter = require("./routes/activity.route"); ... ... /* Telling the application to use the ActivityRouter for any requests that start with "/api". */ app.use("/api", ActivityRouter); ... - Open the
Our backend is now wholly operational; we can add and retrieve data. Let's look at how to connect the backend to the front end.
Connecting client and server
It is not difficult to connect the client and server. It's as simple as adding a URL.
-
Navigate to the client folder and create a
.env.localfile. Paste the backend URL into a variable.
REACT_APP_BACKEND_URL=http://localhost:5000/api -
Navigate to the client folder and open
App.js. When the user clicks the Add button, we must make a POST request to the server via the/api/activityroute.- Create a function called
handleSubmit()and add theonSubmitattribute to the form element. -
In this function, we must send a request to the server, passing the activity name and time through the body.
...
const addActivity = async (event) => {
event.preventDefault();

const newActivity = {
  name: event.target.activity.value,
  time: event.target.time.value,
};

await fetch(`${process.env.REACT_APP_BACKEND_URL}/activity`, {
  method: "POST",
  headers: {
    "Content-Type": "application/json",
  },
  body: JSON.stringify(newActivity),
});

event.target.activity.value = ""; // sets input empty after clicking submit
event.target.time.value = ""; // sets input empty after clicking submit
window.location.reload(); // reloads the window after sending request
};
...

...
 <form onSubmit={addActivity}>
...
- Create a function called
Enter an activity name and time, then submit. (Ensure that the server is also up and running.)
An error message will appear in the browser console.

-
Access to the server is banned by CORS (Cross-Origin Resource Sharing) policy, which means your server does not allow access to its resources. We may avoid this problem by using the cors npm package.
- Open the server folder and install the cors package.
npm i cors- Then use this package in
server.js.
... const cors = require("cors"); ... ... /* Allowing the frontend to access the backend. */ app.use(cors()); ...- Restart the server.
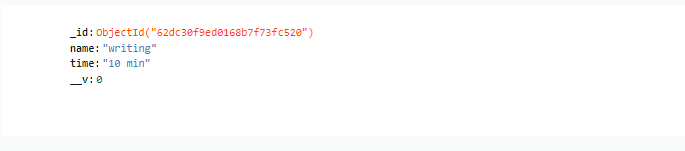
Try to add activity. It will work this time.
You can see the data that has been added to the database.
-
Now we must display the list of newly added activities.
- We must display activities as soon as the component renders. We can accomplish this by using
useEffect()hook. Fetch the data from the server and save it to the state.
... /* Fetching the data from the backend and setting the state of activities to the data. */ useEffect(() => { const fetchData = async () => { const result = await fetch( `${process.env.REACT_APP_BACKEND_URL}/activities` ); const data = await result.json(); setActivities(data); }; fetchData(); }, []); ...- Now you can see all the activities on the homepage.
- We must display activities as soon as the component renders. We can accomplish this by using
Hosting full-stack application
Before hosting, we must keep secrets safe and avoid committing unnecessary files/folders.
- Open the server folder.
- Initialize git, create a
.gitignorefile and paste the following stuff.
node_modules
.env
Backend
Heroku will be used for the backend.
- Create a GitHub repository for the server application and push server code to it.
- Access Heroku.
- Select "New" -> "Create new app."
- Give your app a name, choose a region, and then click "Create app."
- Navigate to Settings -> Config Vars -> Reveal Config Vars -> Add Environment Variables Here.
- Go to Overview and select GitHub as the deployment mechanism. If you haven't already, sign up for GitHub.
- Select your repository.
- Select "Enable Automatic Deploys" if you wish to create a deployment every time you commit to the repository. Finally, click "Deploy Branch."
- Make a note of the URL of the deployed site.
Frontend
Netlify will host our client/frontend part.
- Create a GitHub repository for the client application and push client code to it.
- Sign in to Netlify.
- Select "Add Site."
- Select "GitHub."
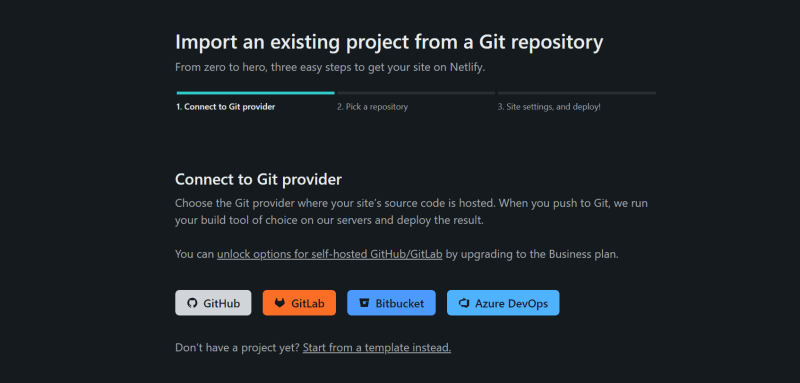
- Give GitHub permission.
Select your repository.
-
In "Basic build settings",
- For base directory - Leave empty.
- For build command -
npm run build - For publish directory - "build"
Select "Show advanced" -> "New variable" In the key field, enter the
REACT_APP_BACKEND_URLand the previously copied backend URL in the value field. Put /api at the end of the URL.Select "Deploy site."
That's all! Open the URL in your browser and have fun 🎉🎉.
Add your own features and share the URL in the comments.
Also read:
- The flow of building a full-stack web application
- Different ways to connect react frontend and node backend
I hope this has given you an idea of how to develop a full-stack MERN application. Follow me for more 🚀🚀🚀.
Don't forget to subscribe to my Newsletter.
Thank you!


Latest comments (14)
great explanation
That's an awesome tutorial.
What should I learn first in MERN stack? wcb approved physiotherapy calgary
Thanks for sharing this article.
Thanks for sharing, a very good article. 👍
Thanks Mohammad!
Awesome and thank you for sharing this!
Awesome ! Rakesh
Superb article !
Thanks Pramit!
Thanks for sharing 🙌
Now I myself am busy with my application developed by fullstack when studying **mern **stack. Thank you for this information was useful for me!
Glad this helped you 🙌
Well written rakesh. Keep the good work!
Thanks Ganesh!